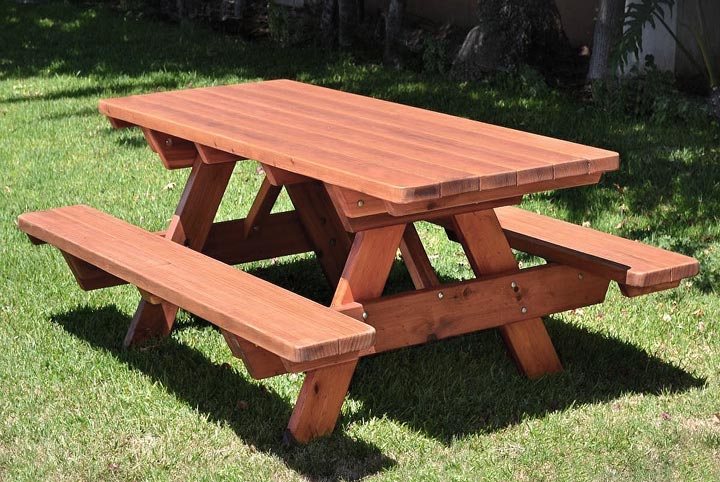
Squeeze the whole family in at the summer barbecue by creating a classic American picnic table with integrated benches or picking up a ready-made one
You could buy one of the ready-made options offered in a range of outdoor-friendly materials. But if you’re real diyer you’ll probably want to assemble stock lumber and sturdy bolts into one big enough to seat the entire clan. Either way, you’ll end up with family-style picnic table that leaves enough room for the dog to run laps while waiting for the first hot dog to drop.
For this project you will need:
Tools:
- Jigsaw
- Drill/driver, fitted with a 7/16-inch drill bit
- Adjustable wrench
Materials:
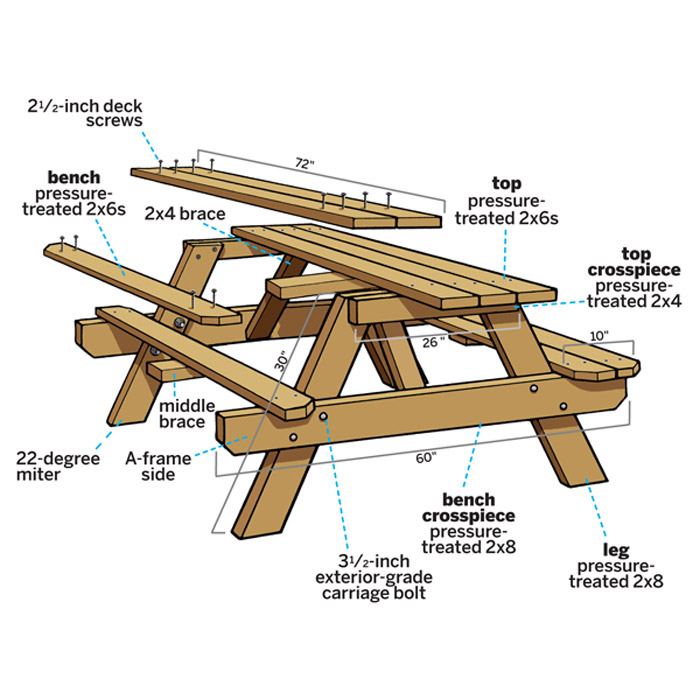
1. Pressure-treated 2×8 You’ll need three 8-footers to build the bench crosspieces and legs.
2. Pressure-treated 2×6 You’ll need nine 6-footers to build the top and benches.
3. Pressure-treated 2×4 You’ll need three 6-footers to build the top crosspieces and the braces under the top and bench. 4. 3/8 x 3½-inch exterior grade carriage bolts to attach the bench crosspieces to the legs. You’ll need 8.
5. 3/8-inch washers and nuts. You’ll need 8 of each.
6. 2½-inch deck screws to attach the top, benches and braces.
Step 1: Cut the Frame Parts
Cut four legs from 2x8s, mitering the top and bottom of each leg 22 degrees. Cut two 2×4 horizontal crosspieces to support the top and two 2×8 crosspieces for the benches. Cut one corner off each end of the bench crosspieces. Make two 2×4 braces with 45-degree mitered ends to run from the sides to the underside of the tabletop. Cut 2×4 middle braces for the benches and the top.
Step 2: Build the Frame
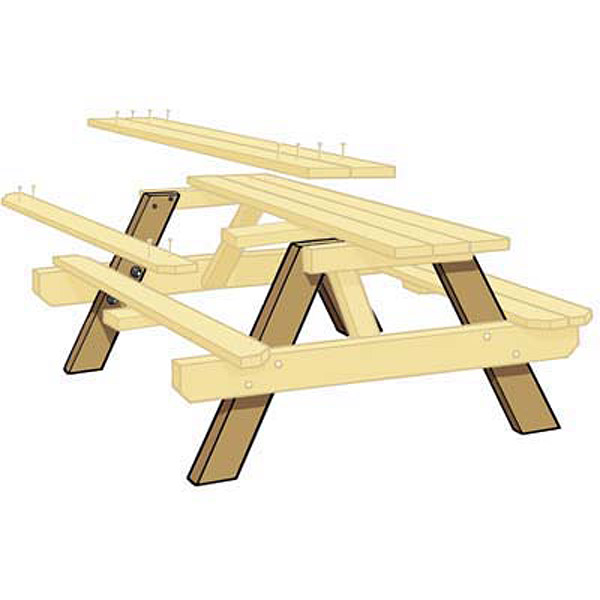
For each end of the frame, attach the top crosspiece to legs using 2½-inch deck screws. Attach the bench crosspiece to the legs with 3½-inch-long carriage bolts 15 inches from the bottom edge.
Step 3: Finish the Benches and Top
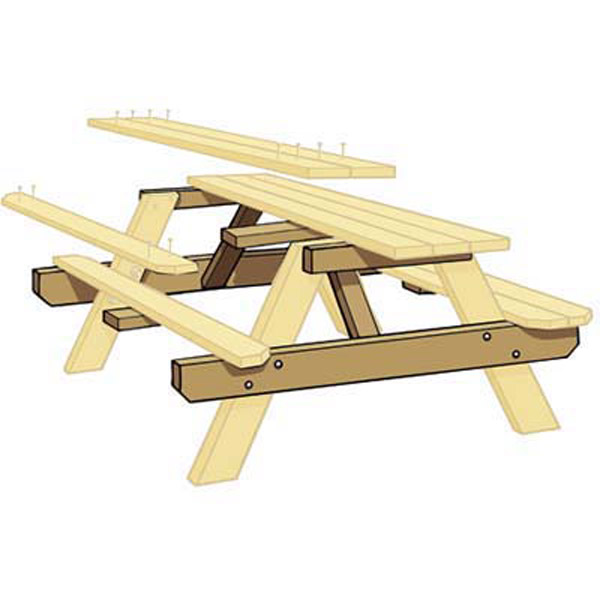
Cut two pieces of 2×6 for each bench and five pieces for the top, allowing for a 2-inch overhang on either side. Clip the corners on the bench pieces. Stand the A-frame sides up and attach the bench planks to the bench crosspieces with 2½-inch deck screws. Secure the top planks to the top crosspieces using the same screws. Space the bench and top planks 1⁄4 inch apart. Screw the 2×4 braces to the bench crosspiece at one end and the underside of the tabletop at the other. Paint the table with deck stain (optional).
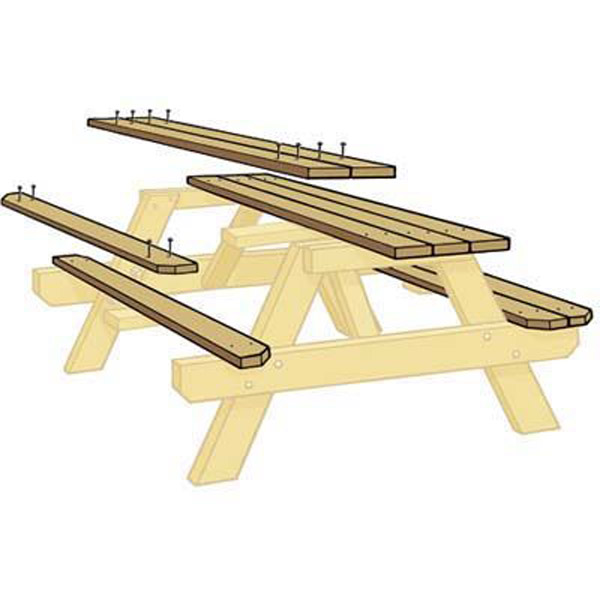
Now enjoy in your own DIY picnic table with your family!



Leave a Reply