How to Resurface Cracked & Splintered Wood Decks
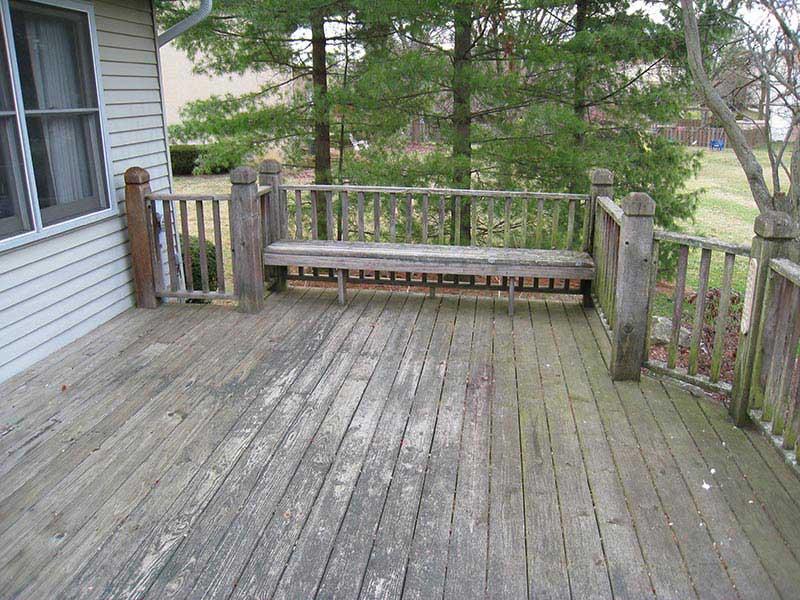
Because it faces the rain and sun, the surface of a wood deck usually deteriorates before the foundation. Rain makes the wood swell and warp, and the sun dries it out and makes it crack. As long as the wood isn’t rotten or fungus-ridden, it makes sense to restore it periodically — a resurfacing treatment can add many years to its useful life. To do this, you can power-wash the deck to clean it and then sand it to restore the integrity of the wood. You won’t get far using a hand sander, though; you need a floor sander.
1. Power-wash the decking boards. Use a machine that supplies 1,500 to 2,000 pounds per square inch — but no more — so you don’t gouge or splinter the wood and add to the damage. You also need a tip with a moderately wide spray pattern. The 15-degree yellow or 25-degree green tips that come with most machines are the best ones for deck washing.
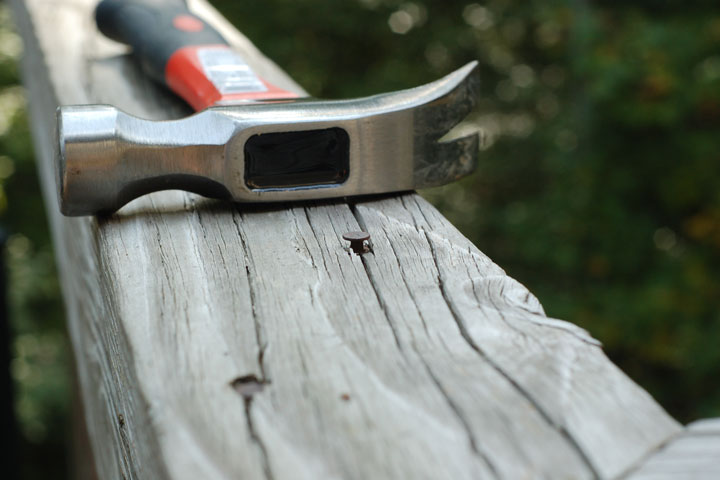
2. Let the deck dry for a day or two, depending on the weather, then pound down any nails that are sticking up with a hammer. If any nail is loose and won’t stay down, pull it out and drive a 3-inch decking screw about 1/2 inch away from the hole. If the decking boards are attached with screws, and any screws are sticking up, sink them with a drill and No. 2 Phillips bit.
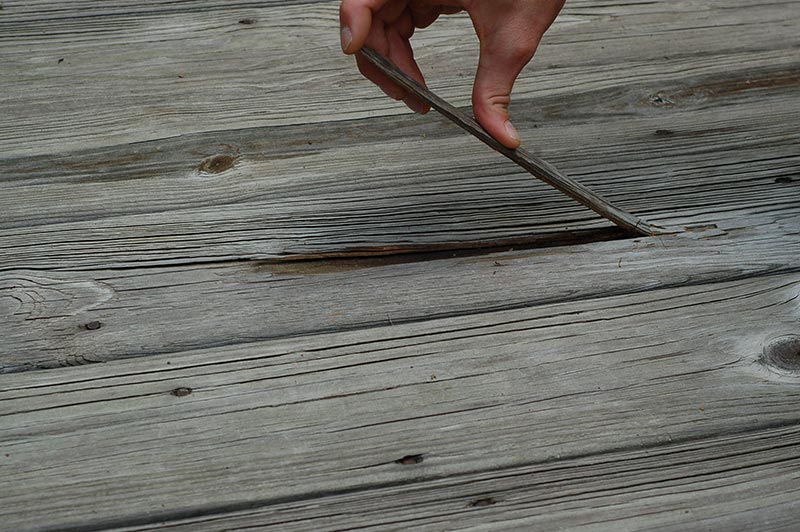
3. Patch cracks with two-part epoxy wood filler. Choose a clear product or one that matches the wood color. If you plan to stain the wood, make sure the filler matches the stained wood. Trowel the filler into the crack with a putty knife after mixing the two components according to the directions. Scrape off as much excess as you can because the filler doesn’t sand off easily.
4. Pry off any board that is too damaged to repair, using a pry bar, and turn it over. The back is probably in better condition, but watch for rot at the places where the joists intersected. If you find rot, replace the board.
5. Sand the deck with an orbital flooring sander. Because you’ve power-washed the wood, there shouldn’t be any finish to remove, so use 80-grit sandpaper for the first pass. It has enough cutting power to knock down raised edges and remove splinters from softwood such as redwood and cedar.
6. Vacuum the sanding dust or, if no neighbors will be affected, blow it off the deck with a leaf blower. Change the paper to 100-grit and sand again, the remove the dust once again.
7. Finish the wood with a protective coating. If the deck gets a lot of sun, the wood will last longer if you use a semi-transparent stain. If waterproofing is your main concern, on the other hand, you may prefer a clear sealer.
Things You Will Need:
- Power washer
- 15- or 25-degree tip
- Hammer
- 3-inch deck screws
- Drill
- No. 2 Phillips bit
- 2-part epoxy filler
- Putty knife
- Pry bar
- Orbital flooring sander
- 80- and 100-grit sandpaper
- Vacuum or leaf blower
- Semi-transparent stain or clear sealer
Tip
Most interior wood fillers, even waterproof ones, aren’t flexible and won’t last on a wood deck. Exterior fillers and caulks that remain flexible, on the other hand, will gum up the sanding machine.
Examine the foundation carefully before going to the trouble of resurfacing the deck. If there is any sponginess or other signs of extensive rot damage, you may have to replace some joists.


Leave a Reply