“It’s just like a riding a bike” may not apply when venturing onto the trails. Mountain biking requires a certain body of knowledge to ensure off-road adventures are both safe and fun. From knobby tires and seat position to braking and navigating the roots and rocks in front of you, these essential beginner tips and suggestions help you hit the ground riding.
From Road to Trail

First, a little history lesson: People have been mountain biking since the 1800s. That’s when most early cyclers rode on trails or dirt paths that required some sort of off-road technical skill. In the late 19th century, people in the military rode over long stretches of trails to test bikes’ suitability for army use. Yet it’s believed the true birthplace of mountain biking as we know it is Marin County, California, home of Repack (the first mountain biking race, held in 1976).
So what exactly is the main difference between modern-day road biking and mountain biking? Let’s begin with the bike itself.
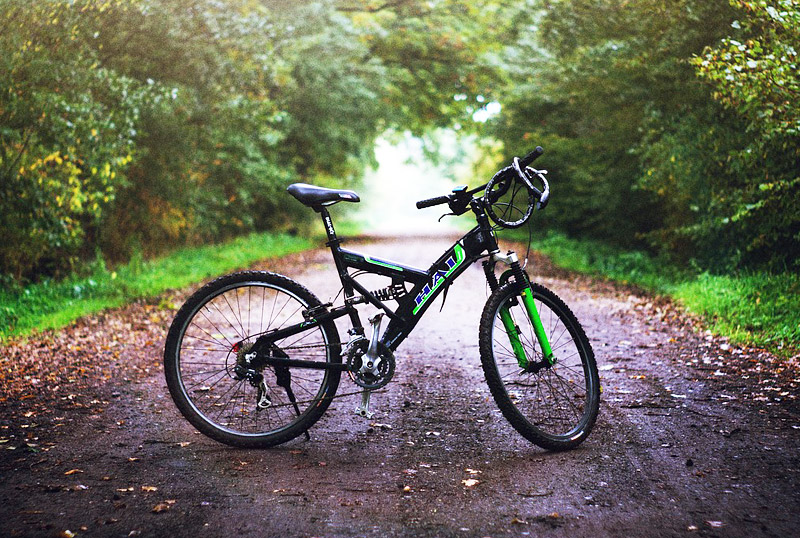
Mountain bikes are built differently to withstand the tough terrain and to keep riders safe. The tires are typically thicker and more durable than a road bike’s in order to navigate unpaved environments, including roads and trails with rocks, logs, and branches. The handlebars are either flat or rise up, depending on preference, and the frame size should be matched to the size of the rider.
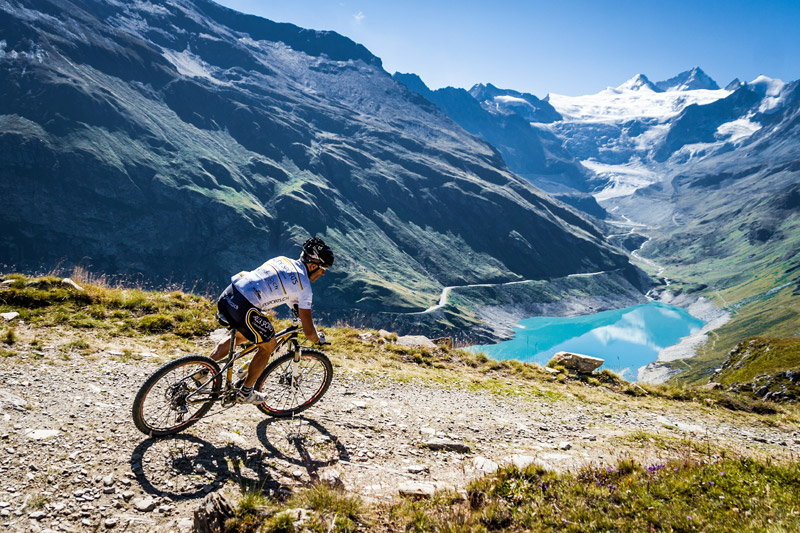
If you have a need for speed, a mountain bike is not for you. Mountain bikes are built for durability and sturdiness in order to travel varied terrain, technical trails, drops, and steep descents. Riding on the mountain versus the road has its advantages, including no cars, the solitude of nature, and a more challenging workout – the varied terrain requires riders to use different muscle groups.
Anatomy of a Mountain Bike

When it comes to mountain bikes, be ready to spend anywhere from $300 or more, depending on your level of experience and commitment to the sport.
- Frame: There are two main frame options: aluminum or carbon. Aluminum is light and strong, yet carbon (the more expensive option) is a bit tougher but still resilient and lightweight. Frames are perhaps the most important part of a mountain bike: they’re considered the backbone that joins every other part together.
- Front Fork: Forks aren’t just for eating. On a bike, the front fork is the movable part of the frame that holds the front wheel in place. The purpose of the fork is to provide a suspension effect for improved control and comfort on rooty and rocky terrain.
- Wheels: A hub, spokes, metal rim, and the tire itself make up a mountain bike wheel. The rims tend to be tougher than a road bike’s, yet they’re thinner and lighter. For the trail, mountain bike wheels are typically wide and knobby to absorb the rocky impact.
- Seat: The seat can make or break your riding experience. It needs to be comfortable but firm, and combat moisture from sweat and weather. A saddle is made up of four parts: the shell, padding, cover, and rails. The shell is typically plastic, and the padding is usually made out of nylon plastic, which provides cushioning and comfort. Covers are usually leather or a synthetic material, and the rails come in different materials, depending on the durability, price, and weight you’re looking for. (Titanium rails are more expensive but the lightest option.)
- Handlebars: Many people customize their handlebars to give optimum control for the way they want to ride. There are many types of handlebars to choose from, but straight or riser bars tend to be popular options for the trail. For risers, the lift assists when going downhill and doing small jumps, helping the rider land softly and maintain weight equilibrium.
- Pedals: When choosing pedals, riders should decide if they want to be clipped in or out. For beginners, flat (not clipped-in) pedals are good because you can quickly get off the bike or adjust your position if you start feeling uncomfortable or things go wrong on the trail. However, your feet are more susceptible to slipping on the rough road.
- Brakes: Disc brakes are the standard option for mountain bikes and work well in various temperatures and trail conditions. There are brakes on both the front and rear of the bike.
- Chain and gears: On the bike, you’ll see a set of chains and gears that keep everything in place. The front chain wheels, the rear freewheel, the derailleur, and shift levers on the handlebars and the cables are all designed to get muddy and roughed-up on the trail.
Mountain Biking Trail Tips
Now that you have a good understanding of the bike you’re getting on, it’s time to learn some basic mountain biking tips and tricks to boost confidence and excitement before you hit the trail.
Choose Your Line

This phrase means choosing the path you’ll take down a trail before you ride. On sections that are more technical than others, walk the route you want to take and imagine how your bike will get down before heading down tire-first.
Get in Position
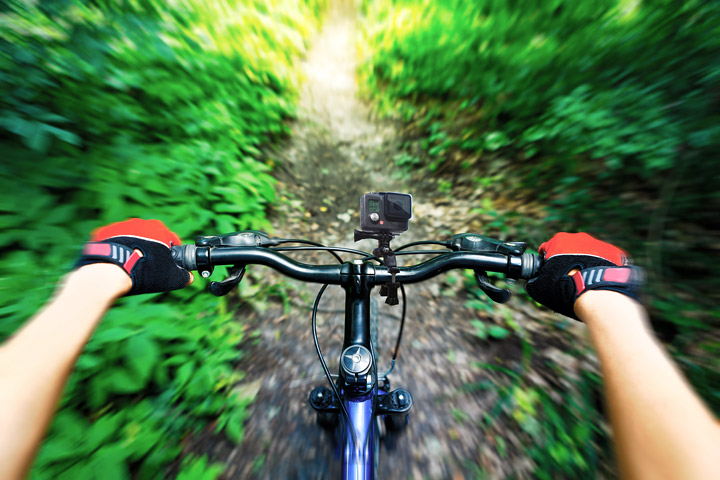
There are two basic positions: neutral and ready. When you’re biking over relatively flat, nontechnical trails, you should be in neutral position. Your knees and elbows should be slightly bent, index fingers on the brakes, and eyes looking around 20 feet ahead of you. For ready position, which is when you’re about to embark on an up- or downhill, or a rockier route, bend your knees and elbows more deeply, take your butt off the seat, and shift your hips back. Your back will be nearly parallel with the ground.
Don’t Look Down
The best direction for your gaze is straight ahead, about 15 to 20 feet in front of you. This helps you choose your line and anticipate rocks and other obstacles.
Brake Better
Braking well requires good judgment and planning. The number one rule is to never apply too much pressure, especially to the front brakes, which could cause your body to fly over the handlebars. For descents, the front wheel carries more weight than the back, so use one finger on each hand to brake and go lightly to avoid skidding. For optimum control, position your body by shifting weight toward the rear wheels.
Lean In
Not a Sheryl Sandberg bestseller: This leaning in refers to body position in the mountain biking world. Keep your body erect and able to move side to side as you turn. The point here is to guide and have control over the bike and its movements.
Time Your Shift
Before taking a technical ride, beginners should practice shifting gears to help build muscle memory for going up and down hills. A nice rule of thumb is to shift before ascending or descending – this enables you to keep a steady tempo as you pedal, and allows for maximum control and power. Moreover, switching gears while going over tough terrain could lead to a chain popping off.
Stay Loose

Beginner nerves and a lack of confidence often lead to gripping the handlebars too tightly. Keep your arms and shoulders relaxed. Also, maintain a soft bend in your knees and don’t lock any of your limbs. If you feel rigid, slow down, take a deep breath, and give your arms and legs a shake.
Commit with confidence
A lot of mountain biking accidents occur when riders hesitate on the course. Remember that momentum is your best friend, and the bike is built to absorb impact and travel safely over the trail. A sudden squeeze on the brakes can lead to a skid or fall; if that happens, try to keep your arms close to your body versus bracing your fall (which could result in a wrist or arm sprain or break).
Stay safe
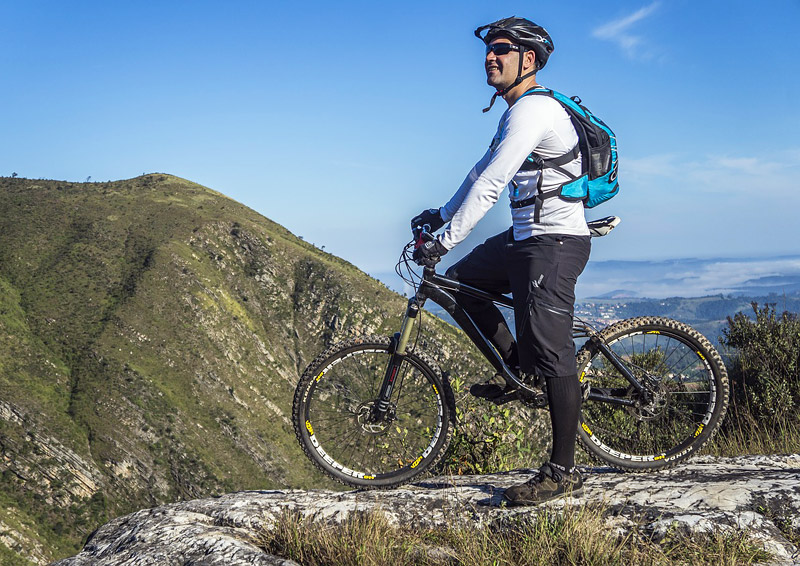
Remember that safety always comes first when mountain biking. Bring enough water and a small, protein-rich snack to stay energized and hydrated. Carry a spare tube and tire levers, along with a first aid kit, in a small backpack.
These tips, guidelines, and graphics should help any beginner mountain biker boost their confidence and have fun on the trail. Being smart and safe is the first step toward enjoying the sport. Now put on a helmet, hop on the bike, and see the beauty of nature in many different gears.


Leave a Reply