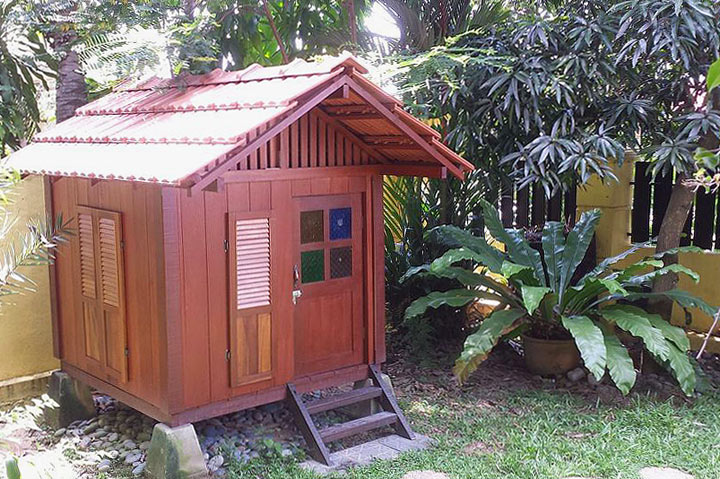
Part of the reason to move in a house with a garden was to be able to build a playhouse for the kids. My father built 2 playhouses for my siblings and I when we were kids. There is just a sense of magic about a playhouse when you are a kid. I think what makes them so special is that they are scaled to your size, while the rest of the world is mostly scaled for adults. They become your own mini-world. I was determined to give my kids a chance to have a playhouse.
So I thought about what kind of playhouse to build: a classic cabin, a castle, a boat, a mini house… I looked through a number of instructables. Then I thought, we live in Asia, let’s make something that’s inspired from local architecture. When you drive along countryside roads in Malaysia, you can still see a number of beautiful wooden traditional Malay homes build on stilts. I decided to use them as an inspiration. Some of the architectural elements I used were:
- the stilts
- the steps leading up
- the long narrow shutters
- the intricate railings at the windows
I decided to go for a simple roof. I still might add one day the intricate woodwork just below the roof line and a wooded spike at the top front of the roof
The garden is quite small, so size was a constraint. I would have liked to add a balcony, or make the playhouse higher to incorporate a slide, but in the end, I decided to keep it smaller. The base of the playhouse measure 150x150cm (5 x 5 ft).
A special word of thanks to the friends (especially YB!!) and family members who helped with the build!!
Step 1: The Foundation/ Base platform
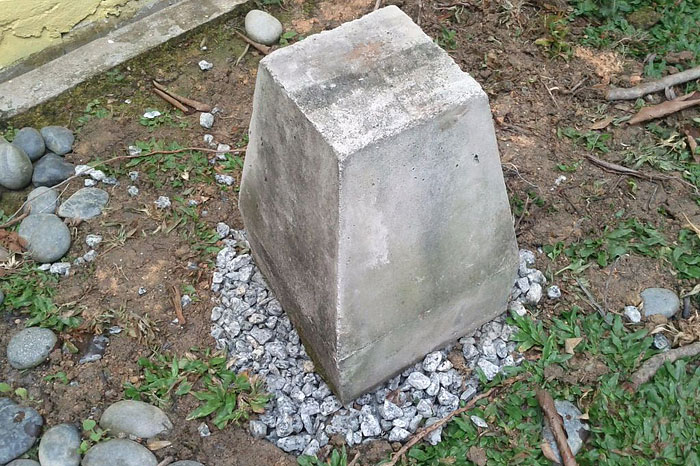
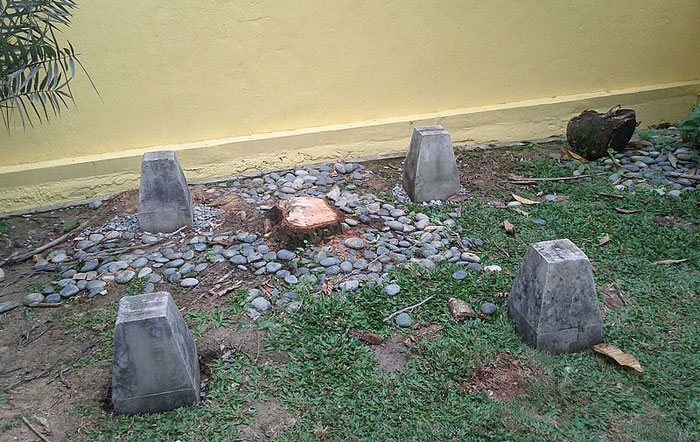

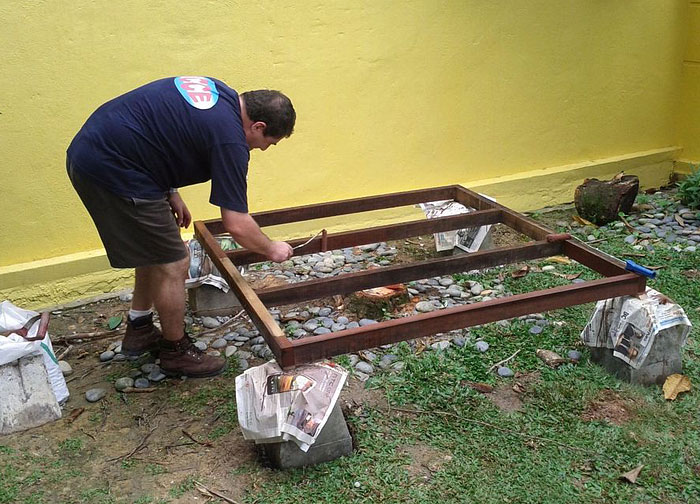
I managed to find some ready made concrete blocks. After laying out the position of the playhouse, I dug 4 holes in the ground. Then I filled the holes with gravel. After positioning the blocks, some time was spent to check that all 4 blocks were level. The blocks could be adjusted by removing or adding gravel. The lowest point in the terrain was used as reference.
After the blocks were in position, the wooden frame of the base was added and bolted to the blocks.
Step 2: Pre-building the Walls
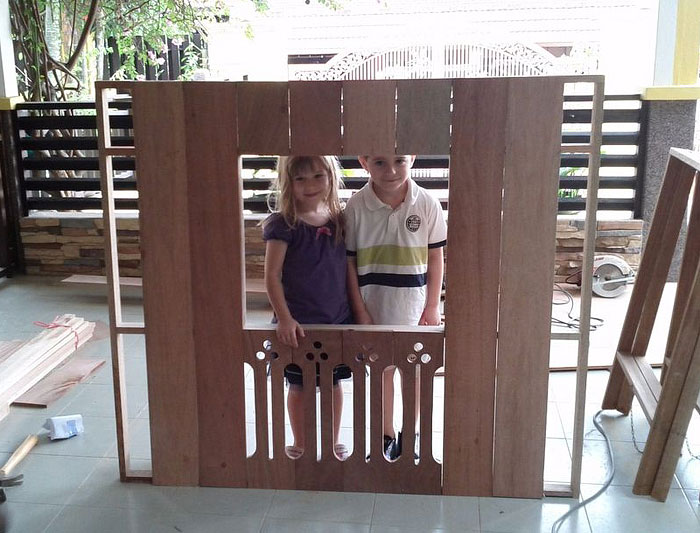
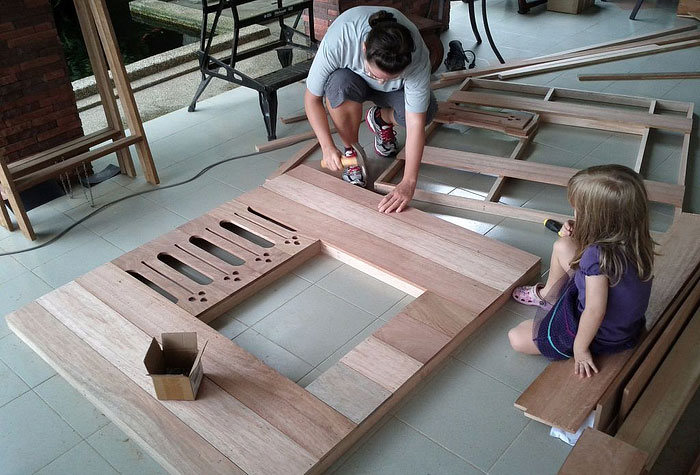
We pre-build the 4 walls. and then assembled them on the platform. The window railing needs to be incorporated at this stage. The next step explains how I made it.
Step 3: Creating the window railing
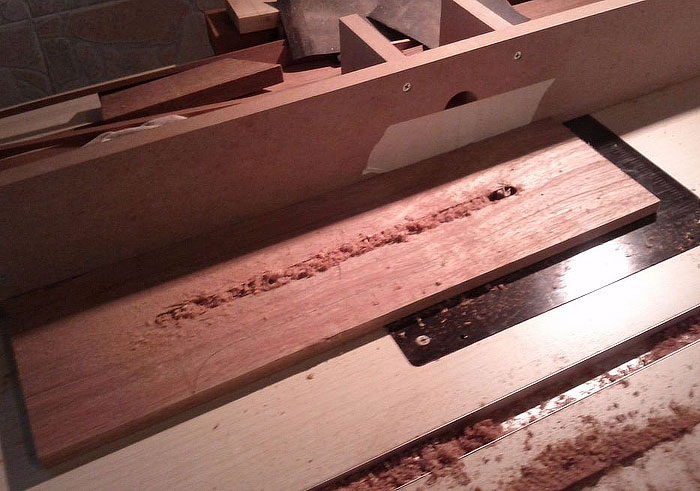
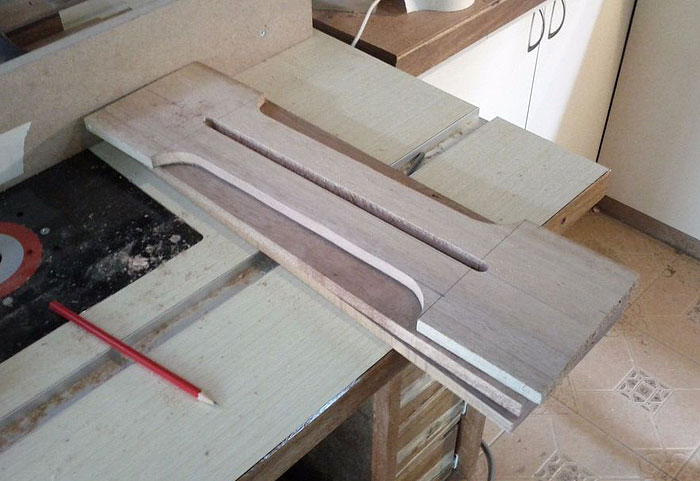
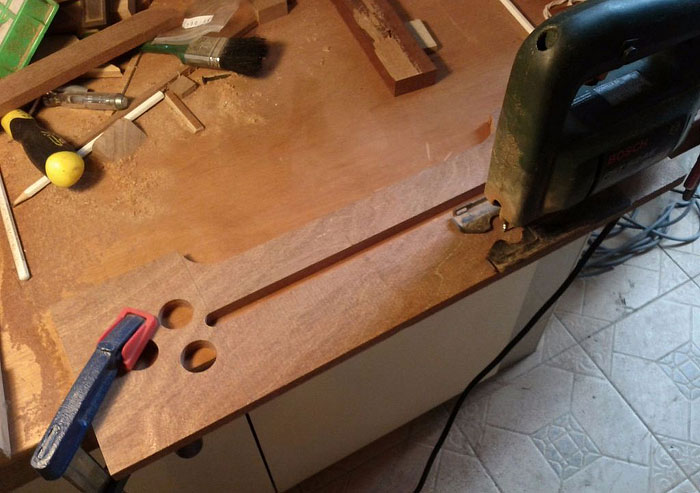
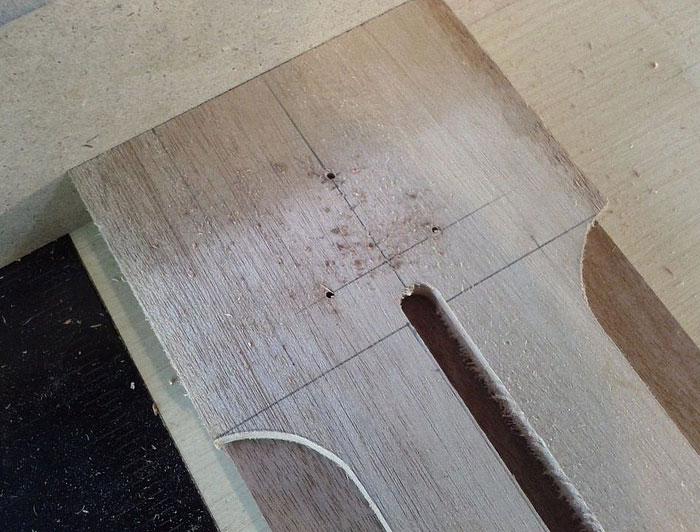
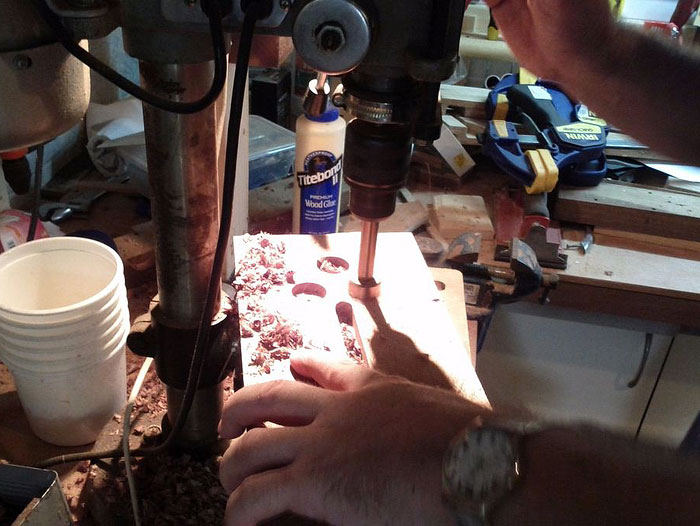
To make the window railings, I made a few test pieces. When I was happy with my template, I made however many were needed.
I used the router table to make the central groove. The drill press and a fostner bit to drill the 3 holes on top. Finally, the jigsaw to cut the sides out.
Step 4: Assembling the walls
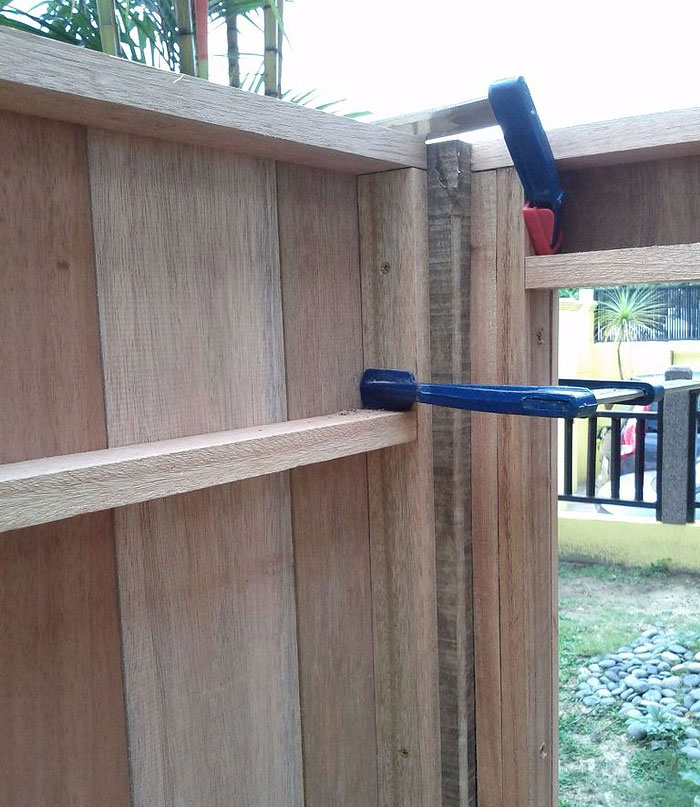
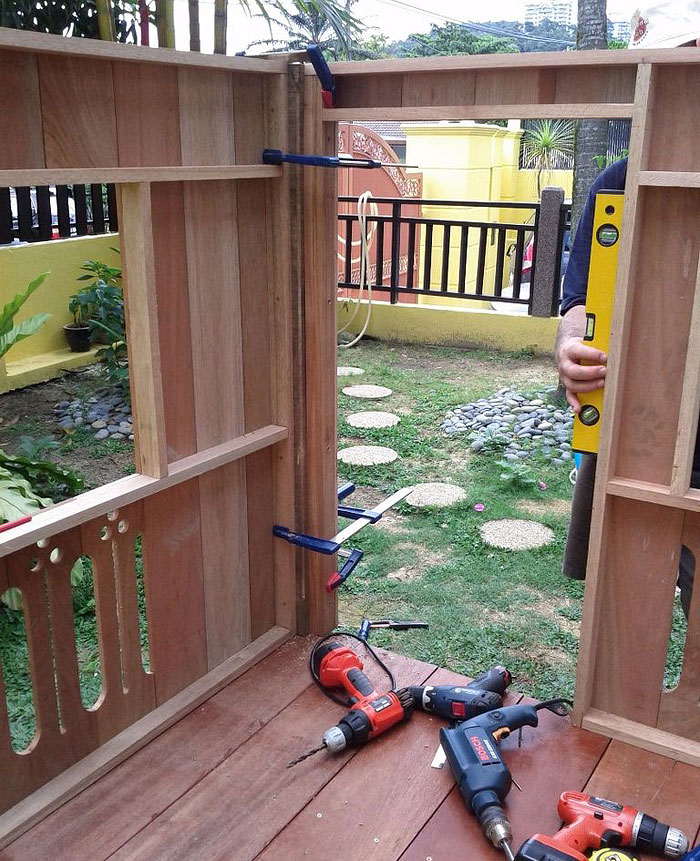
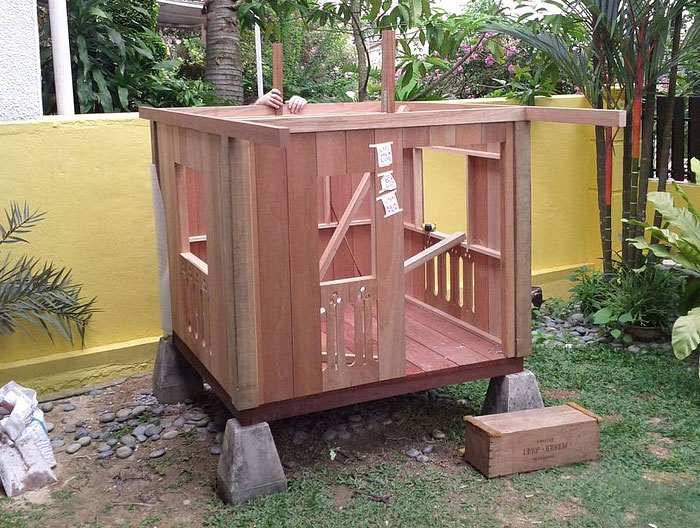
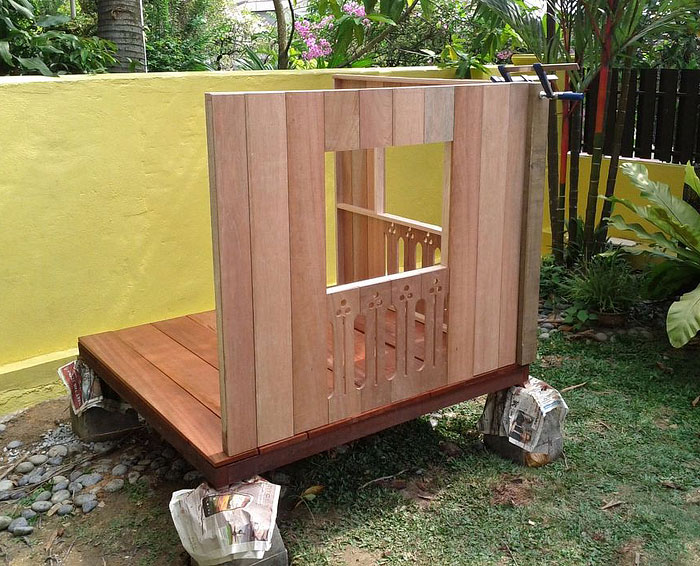
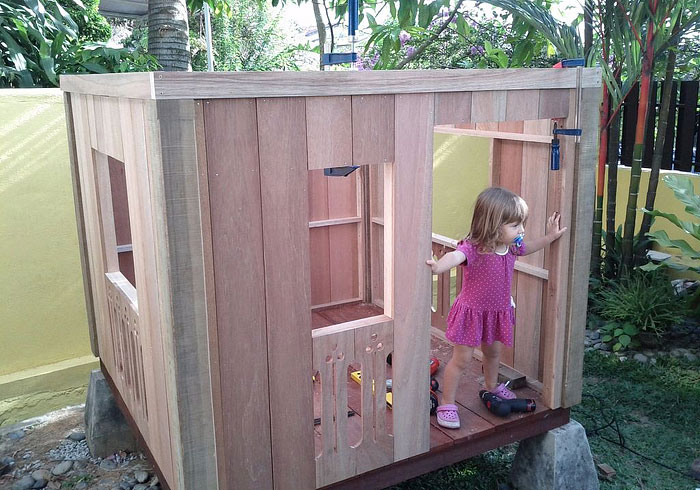
The corners of the playhouse are made out of 4 square posts. The walls were positioned and then clamped to the corner posts. Once the walls were fixed to the posts and and to the base platform, the clamps could be removed and the whole structure was very strong. Next step: the roof!
Step 5: Adding the tiled roof
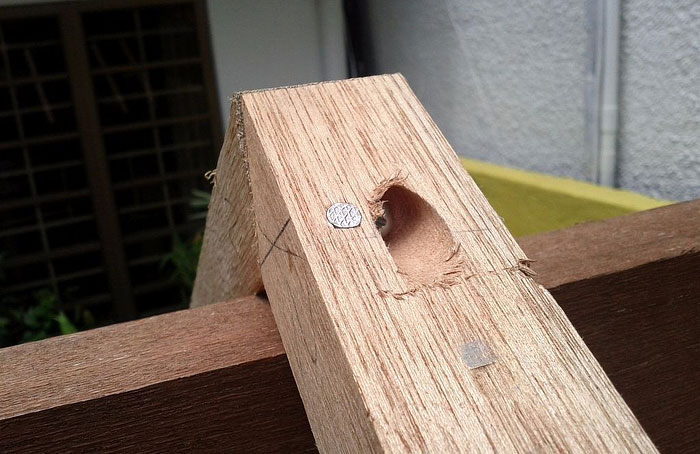

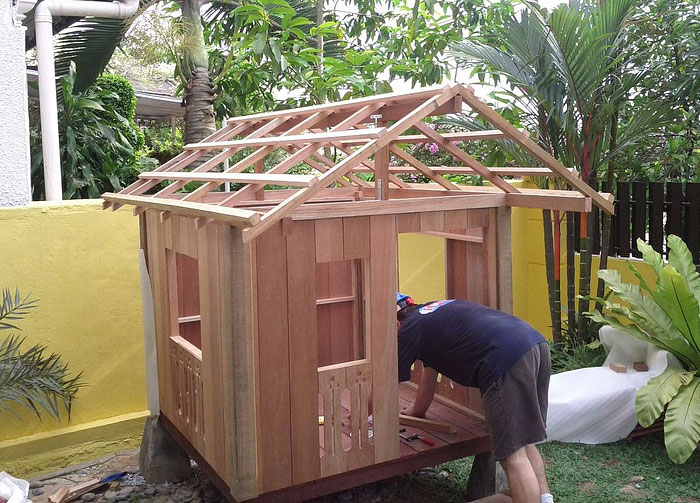
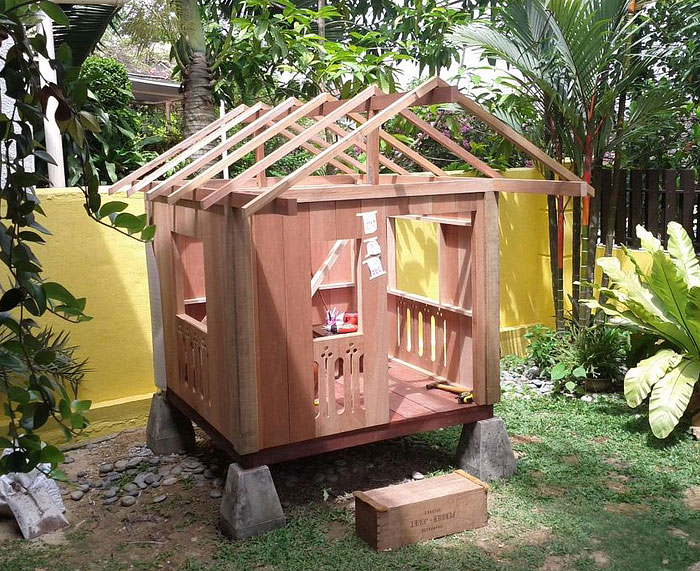
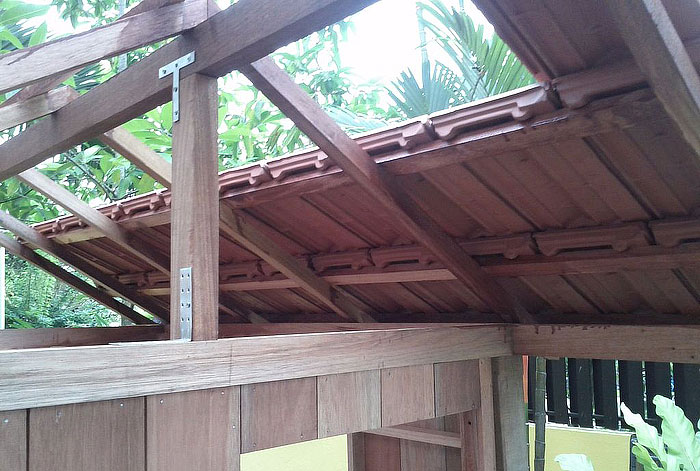
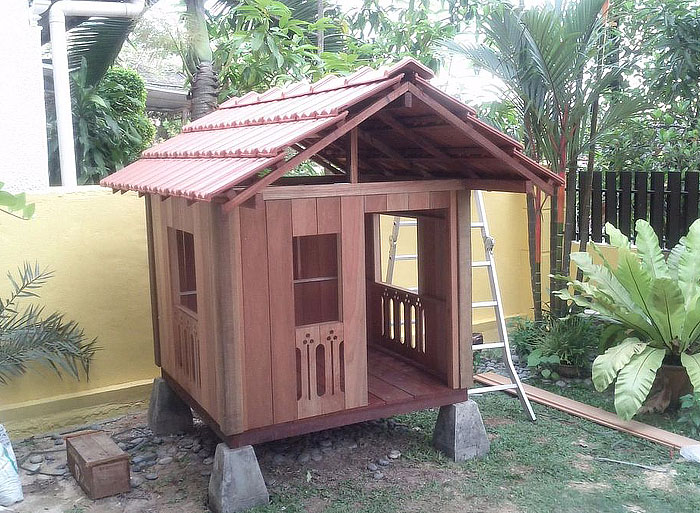
After assembling the walls, I had to build a temporary roof because I could not work on it for 3 weeks.
The roof structure was build. I did some tests to positions the battens that hold the tiles. Once the roof structure was all assembled and the protruding battens were cut to measure, the roof tiles could be placed.
What a satisfying moment!
Step 6: The Door
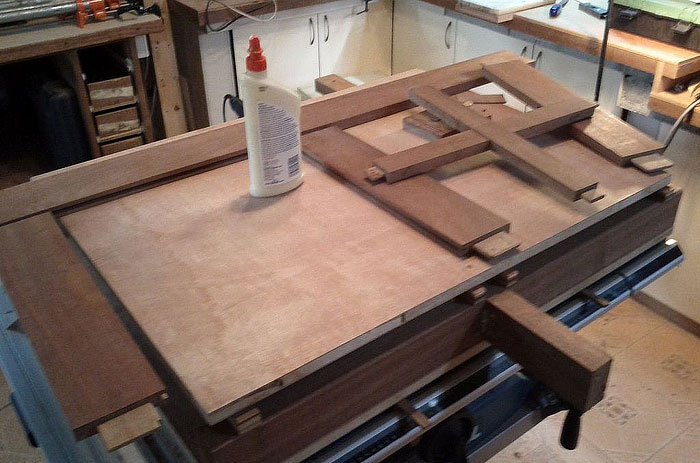

Once the roof was installed and a protective coat was applied to the structure, I took a break from the build for a few months. After much pressure from the kids, I got going on the door.
The door was build with mortise and tenon joinery. Another quite typical detail I incorporated in the door is the colored textured glass which is quite often seen on old traditional doors in Malaysia.
Step 7: The Blinds
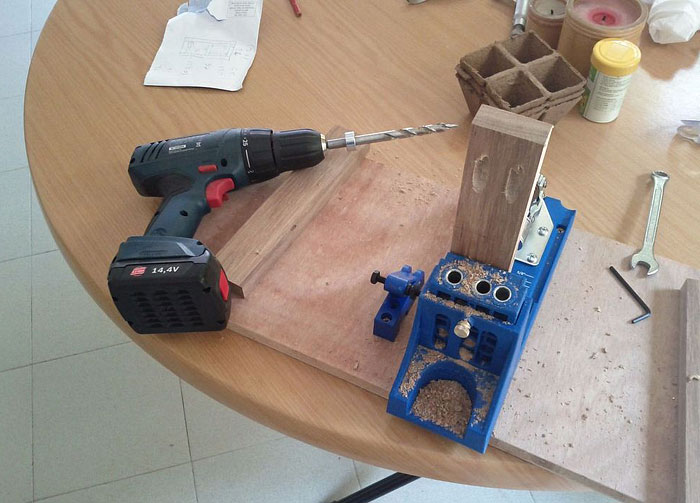
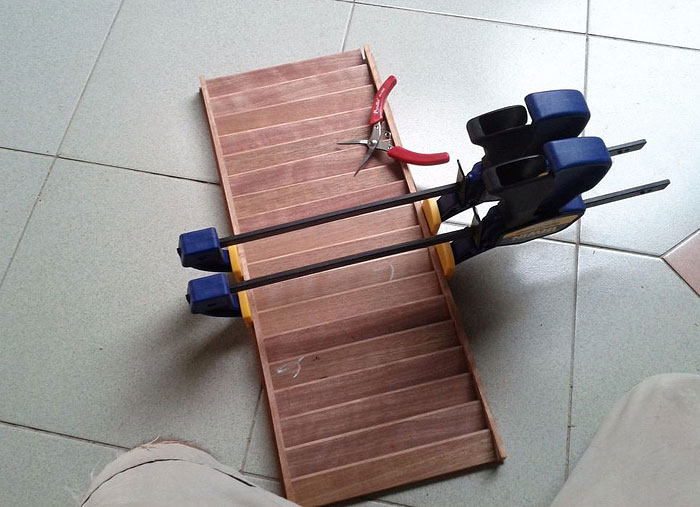
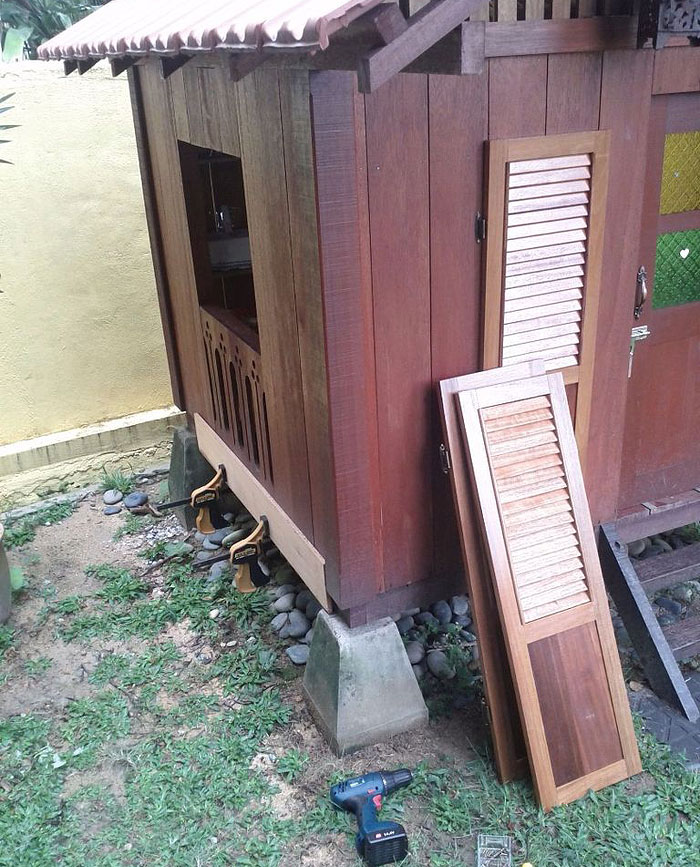
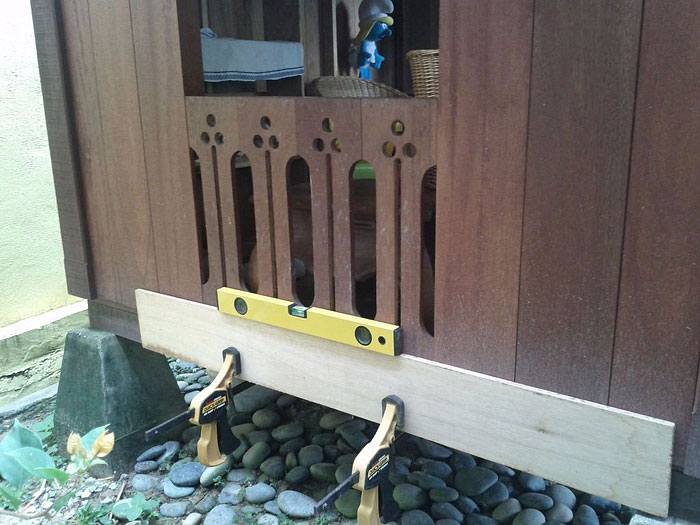
Last but not least, to complete the looks of the playhouse, I added the shutters with louvers.
I simplified my life by using pocket hole joinery to make the 5 shutters. Not aesthetically the best choice, but it was quick and painless. And it gave me a chance to use my brand new pocket hole jig…
For the louvers, I bought pre-machined elements that I just cut to measure and then inserted and glued in the shutter frames.
To fix the shutters, I clamped a plank on the side of the playhouse and then rested the shutter on it to screw the hinges.
Step 8: Final Thoughts
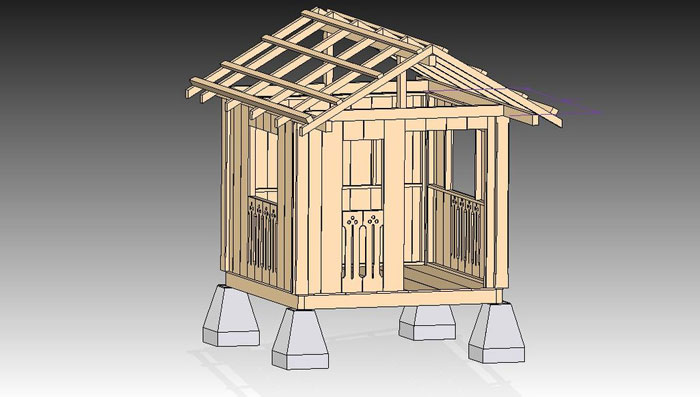
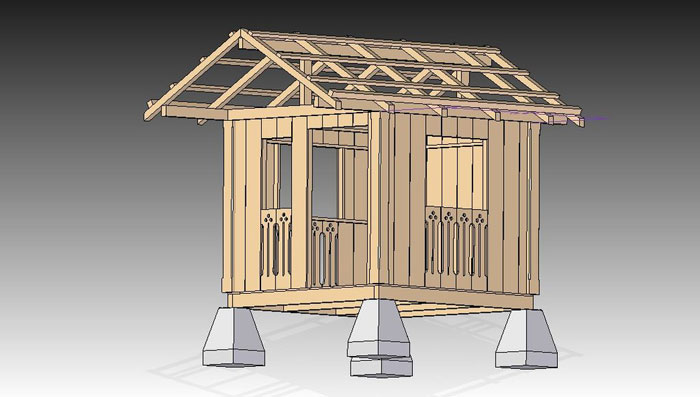
Overall, I was very happy with this project and it came pretty much as I envisioned it.
Plans / drawing…
I had a clear idea of what I wanted to build and what design elements I wanted to incorporate. I had made a rough sketch of the structure, but no detailed plans. The attached cad drawings were made by my friend YB after the playhouse was build. A set of detailed plans would have unquestionably accelerated the build.


Leave a Reply