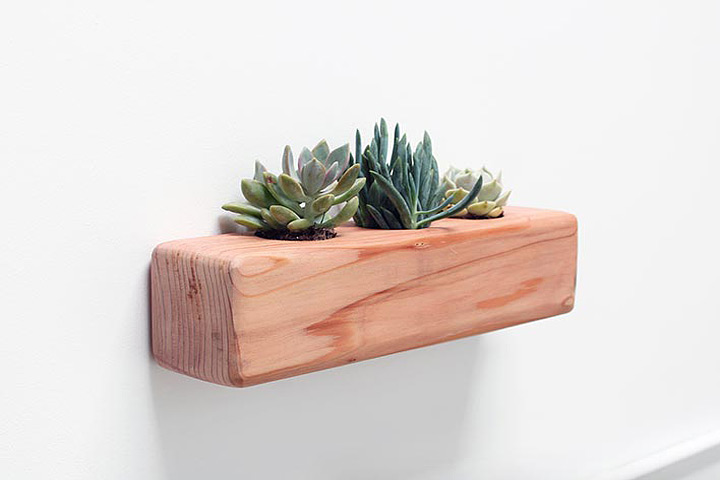
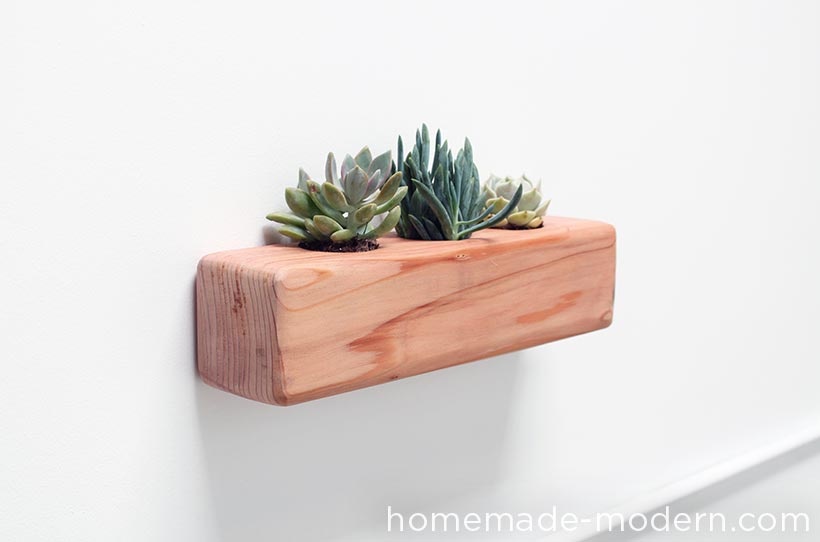
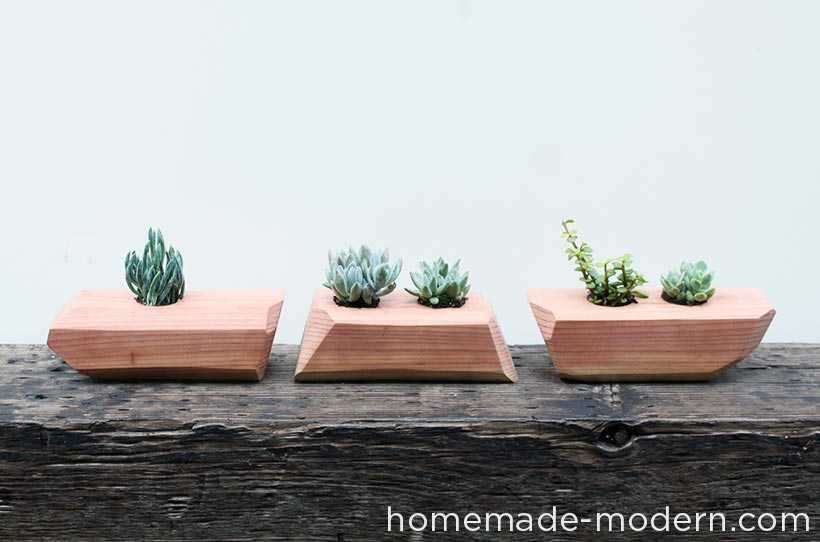
Succulents are great low maintenance, indoor plants that can be used to add life to any room. This DIY succulent planter looks great as a centerpiece on a table or can be wall mounted with a couple of L-brackets. I made the succulent planter from a short piece of a 4×4 post by drilling 2” diameter holes 2.5” deep and coating it with Minwax Polycrylic to make it waterproof. I created a simple one with three holes for plants first and then tried a really cool series of faceted planters with asymmetrical holes for the plants. Five or six of these planters could be made out of a single 8 foot long 4×4, which makes this an excellent option for DIY gifting.
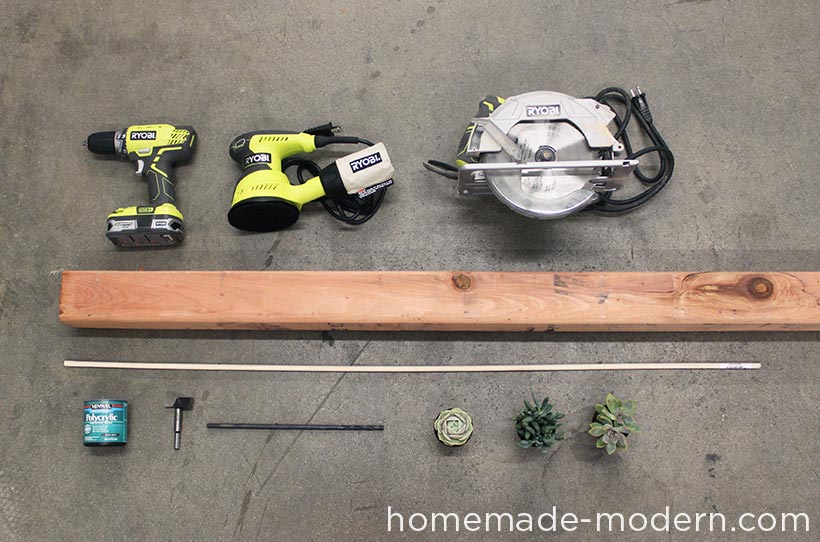
SUPPLIES:
- 4×4
- L-brackets – I used L-brackets to mount the planter to the wall.
- Dowel – I used a 5/16” diameter dowel to make the plug for the drain hole.
TOOLS:
- 18 Volt Cordless Drill
- 18 Volt Circular Saw
- 10″ Sliding Compound Miter Saw with Laser
- Orbital Sander
INSTRUCTIONS:
STEP 1: Cut the 4×4
Cut a 14” long piece of 4×4. It’s easiest to do this with a compound miter saw. You can aslo cut it with a circular saw, but you’ll have to make two cuts since it’s thick.

STEP 2: Drill Large Holes
I drilled three evenly spaced 2” diameter holes using a Forstner drill bit. Forstner bits are perfect for this application since they leave flat bottom holes and come in large diameters. When drilling large diameter holes, there’s a lot of torque on the drill and your wrists, so it’s a good idea to firmly clamp the piece you’re drilling to a work surface so that you can have both hands on the drill. I drilled the holes 2.5” deep.
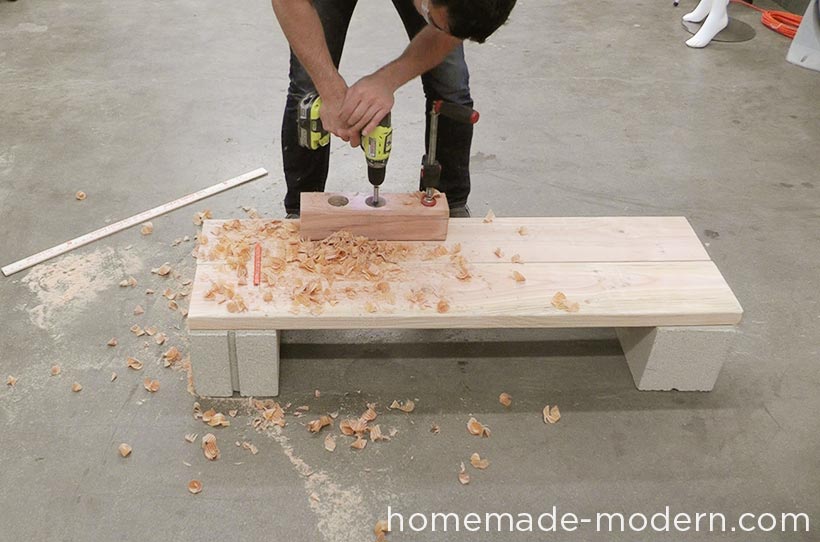
STEP 3: Drill Drainage Holes
I used my extra long 1/4″ diameter drill bit to drill one long hole through the side of the planters and connected the bottoms of the three 2” diameter holes. This hole will let the planters drain.
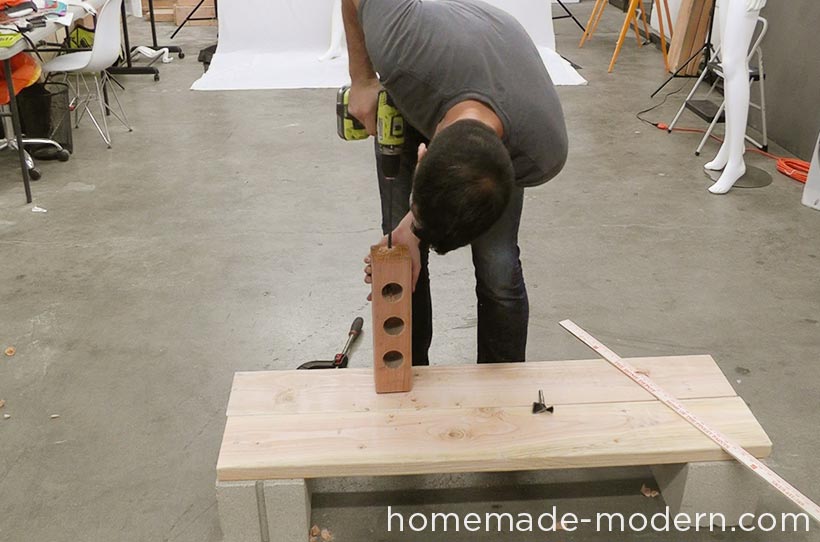
STEP 4: Sand the 4×4
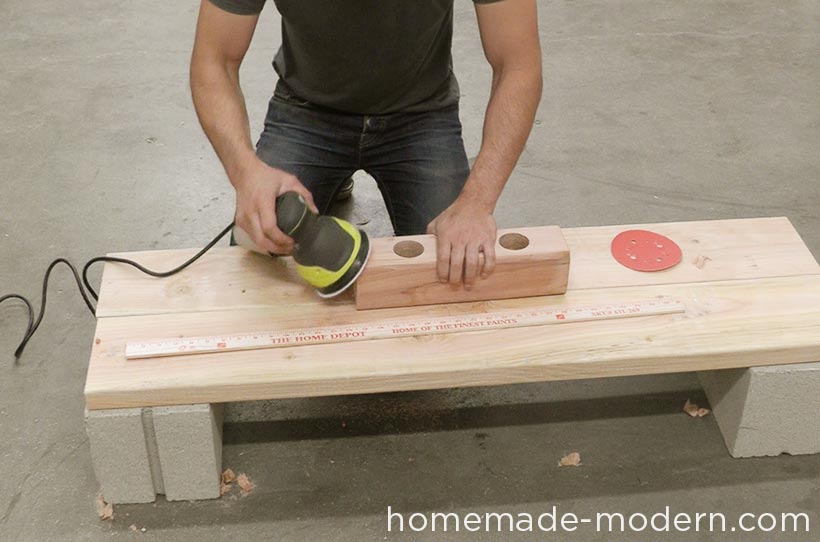
Use an orbital sander to sand the planter smooth and round over the edges. I started with 80 grit pads and finished with 220 grit.
STEP 5: Seal the Wood
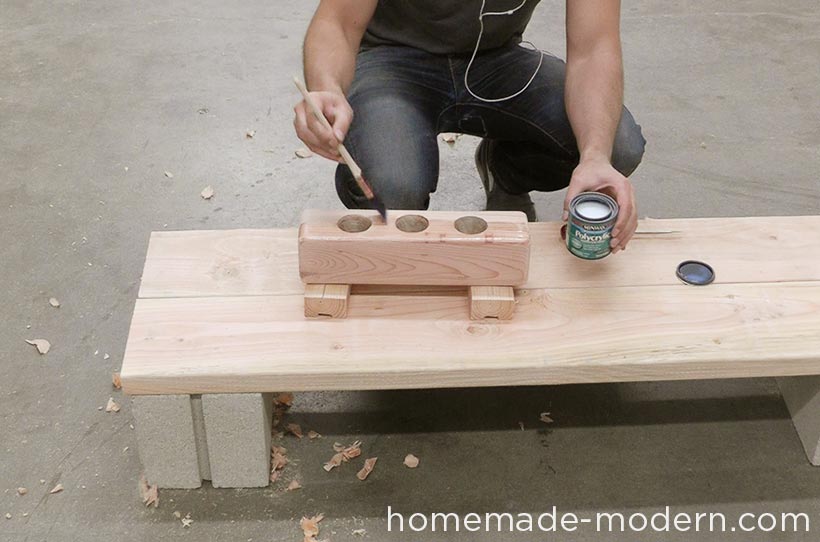
I brushed a coat of Minwax Polycrylic onto the 4×4 to seal it.
STEP 6: Cut a Plug
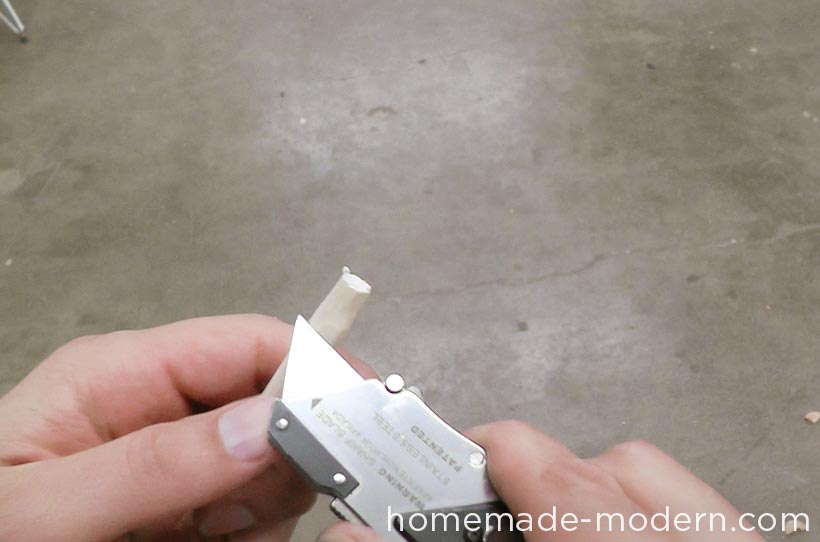
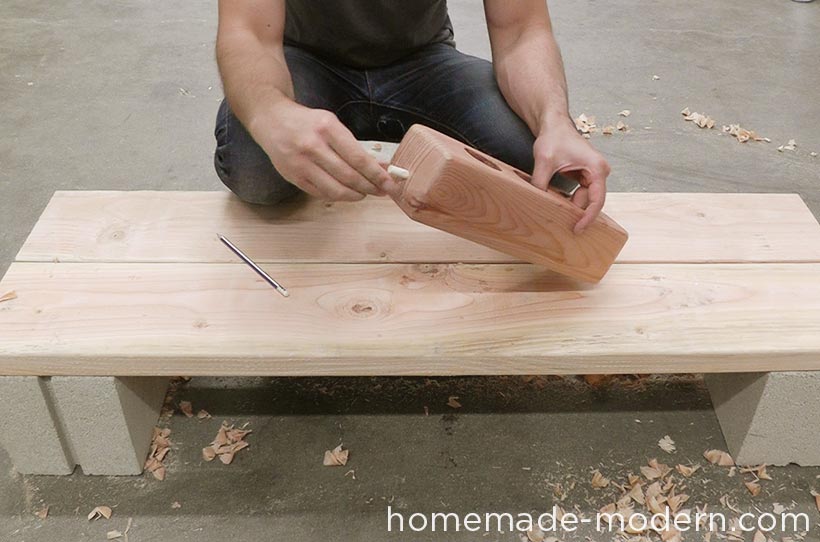
I carved the end of the 5/16” diameter dowel into a tapered plug to fit in the drainage hole. Then I cut off an end of the dowel to make a plug about 1” long. I stuck the plug in and tested the planter by pouring water into it.
STEP 7: Plant the Succulents + Hang
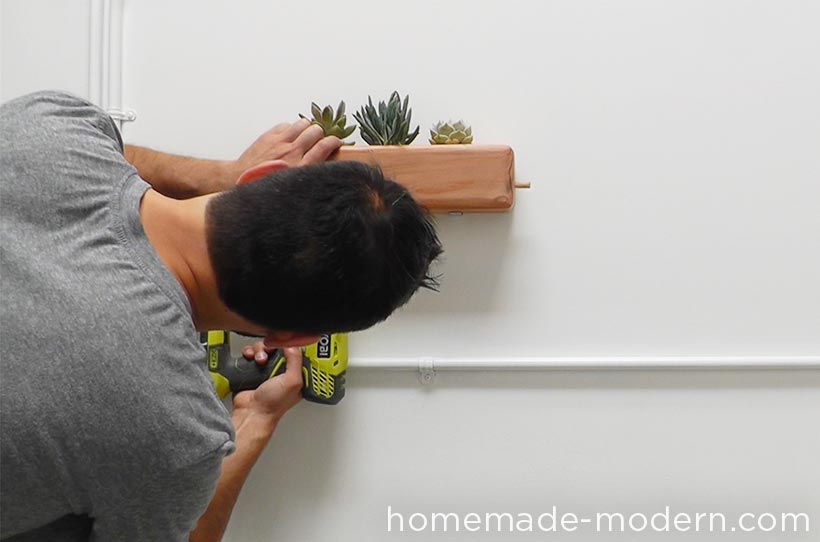
I placed three small succulents in the planter and used L-brackets to mount it on a wall.

Optional Steps
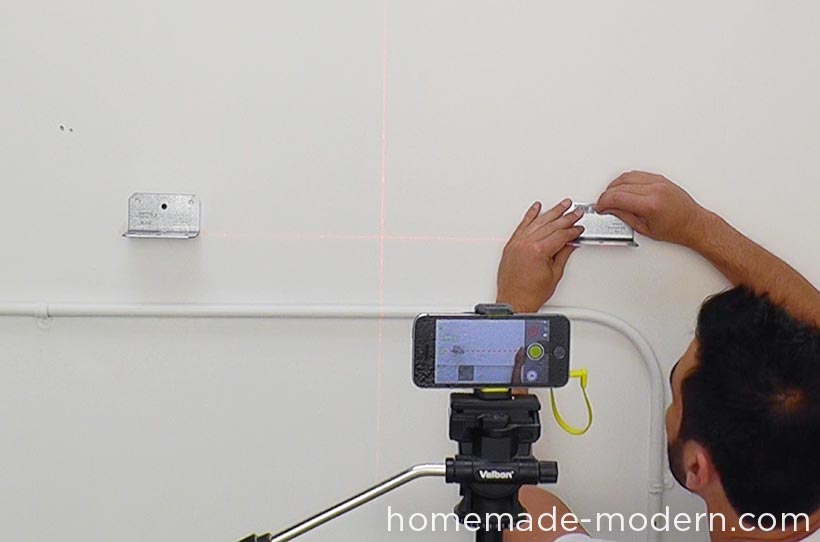
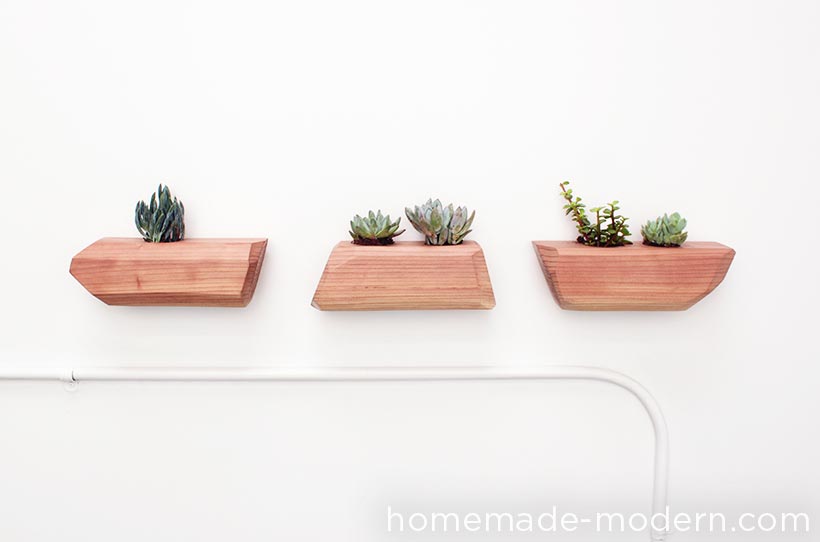
I wanted to try something with a slightly more aggressive aesthetic, so I cut additional pieces of 4×4 at an angle. Then I used 60 grit sanding pads to sand facets on the 4×4 pieces with my orbital sander. The result is a series of modern geometric planters. I wall mounted these as well and used my RYOBI PhoneWorks Laser Level to keep them in-line.



Leave a Reply