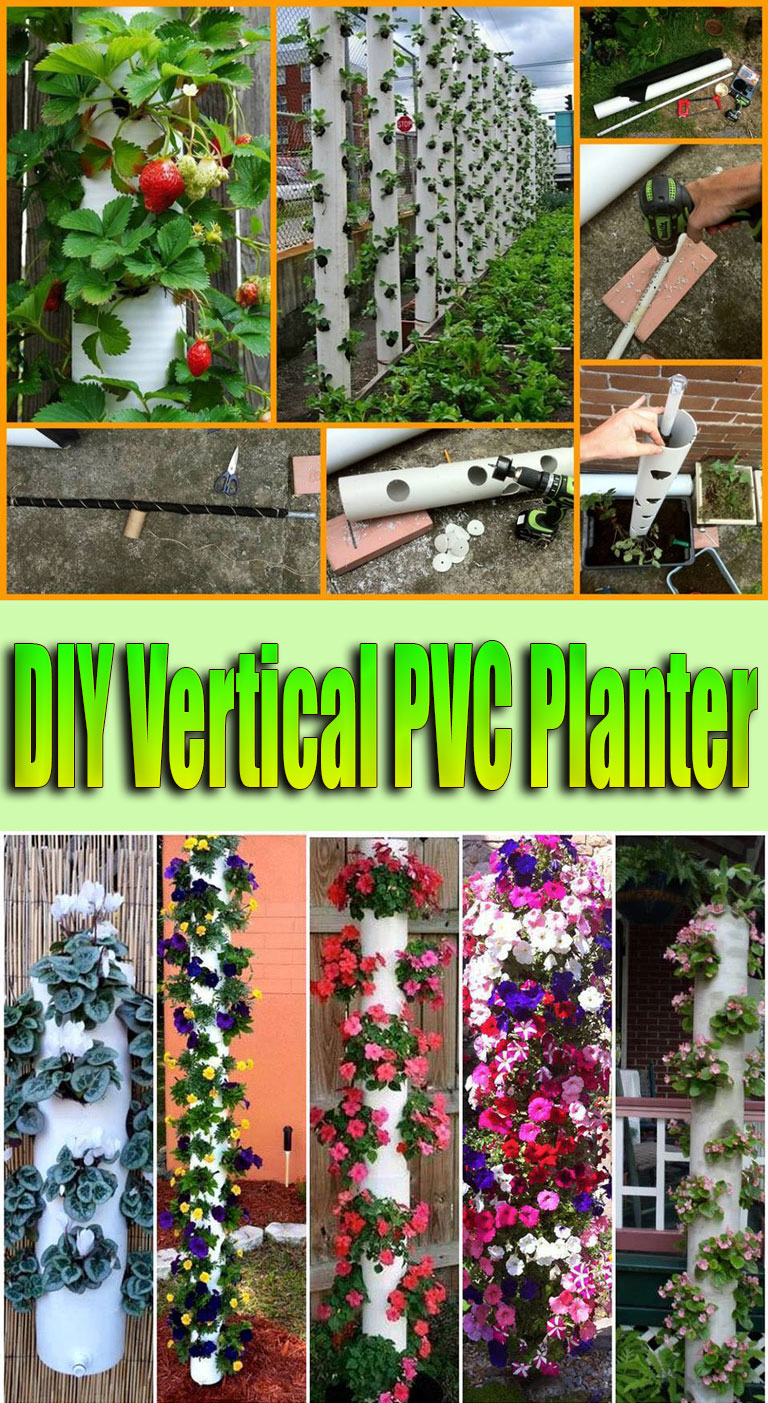
DIY Vertical PVC Planter – Space Saver for Your Garden
Here’s the perfect solution for anyone dreaming of a gorgeous garden but with little space to make it happen – a simple and easy-to-make DIY Vertical PVC Planter. After all, if you can’t expand your garden horizontally, why not think vertically instead!
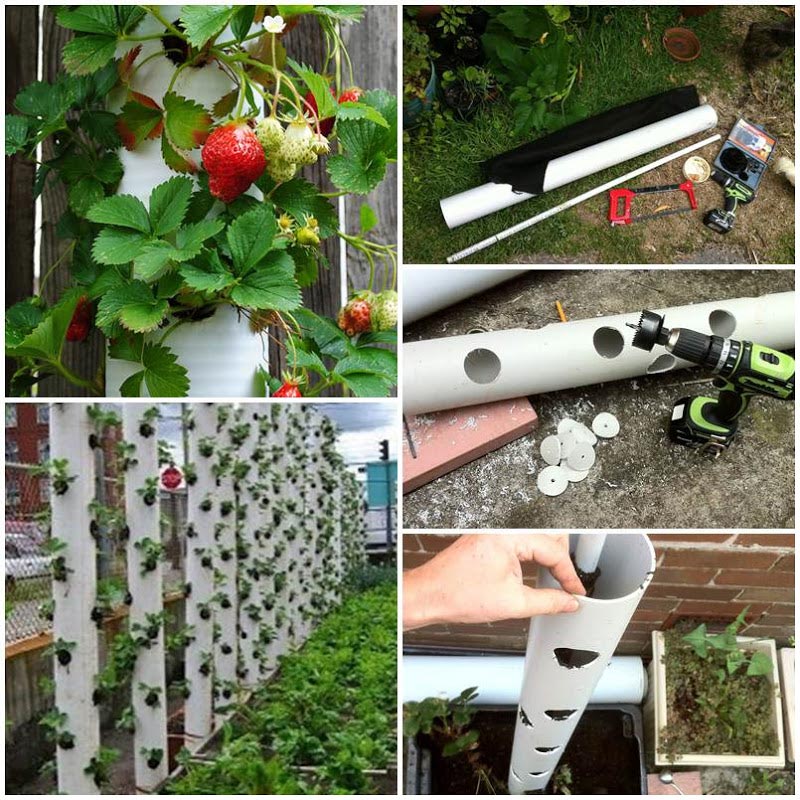
Genius in its simplicity, this planter not only makes maximum use of all available space, but is also wonderfully convenient and kind to the environment. Its unique watering system makes sure that as little water as possible is wasted – any excess water simply gets soaked up by the next plant below! Fully portable, impervious to weeds and reusable time and time again, you really won’t believe the kind of potential your own garden could have with just a few of these babies up and running!
Tools For the Job
You’ll need just a few bits and pieces to get started, of which many you might find you already have lying around the home:
- An electric drill with a hole cutting bit that will cut a 5 – 7cm hole
- A 2 or 3mm drill bit for the watering pipe
- A length of PVC downpipe 100mm or 150mm diameter. (The length will = the
- height of the unit)
- End cap for the downpipe
- A narrower diameter (15mm or thereabouts) length of downpipe for watering.
- Make it about 8 – 10cm longer than the downpipe.
- A cork
- A knife
- Duct tape
- A length of geotextile (or hessian would do) for wrapping the watering pipe
- Twine for tying the fabric to the watering tube
- Good fertile soil (test it if you can – strawbs prefer it slightly acidic)
- 1 liter or of coarse gravel
- Your choice of plants (I used a mixture of different varieties)
- Large tub or box (to stand unit in whilst filling)
- Fixing collar or ties
Take inspiration from the guides and plans pictures here and enjoy your new garden!
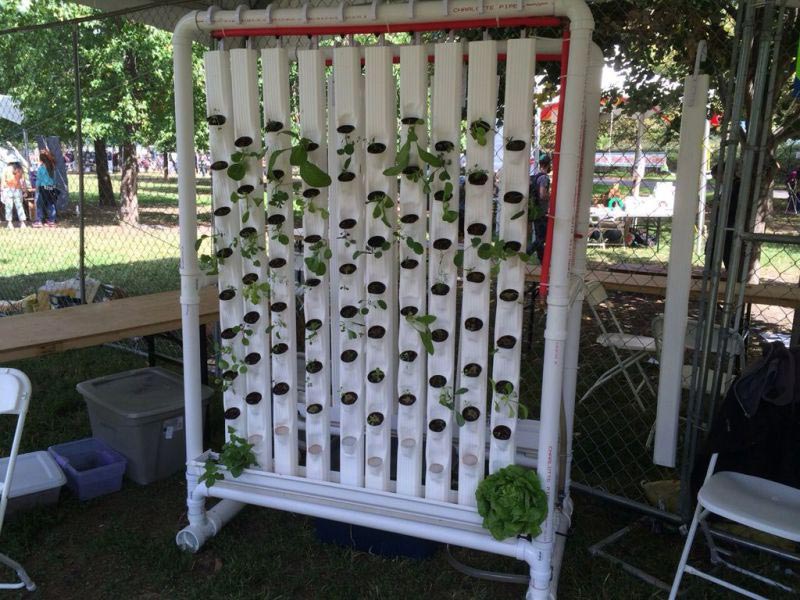
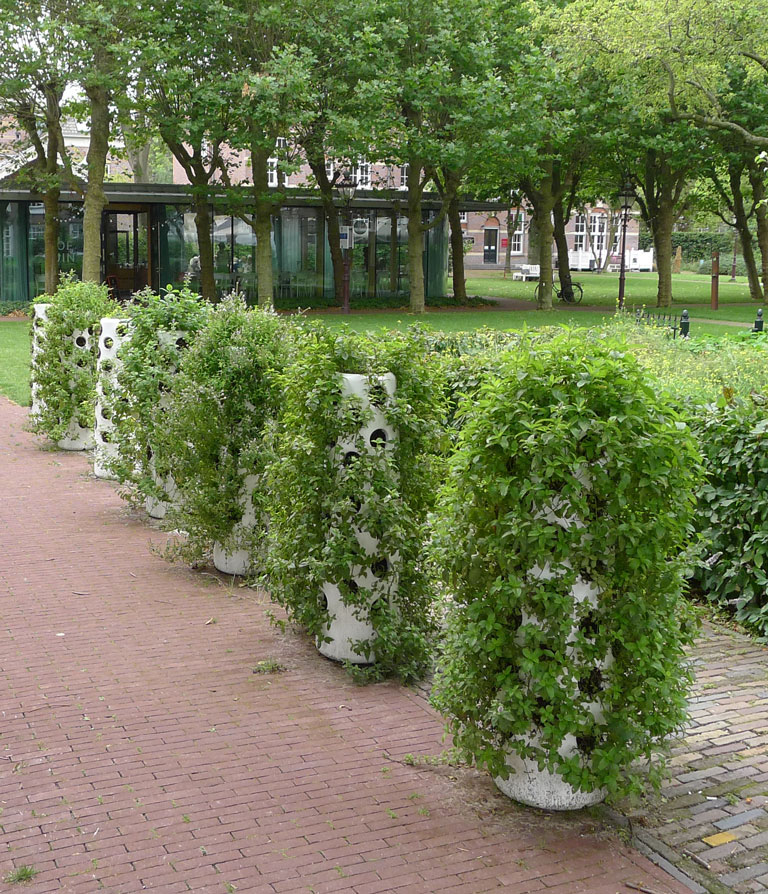
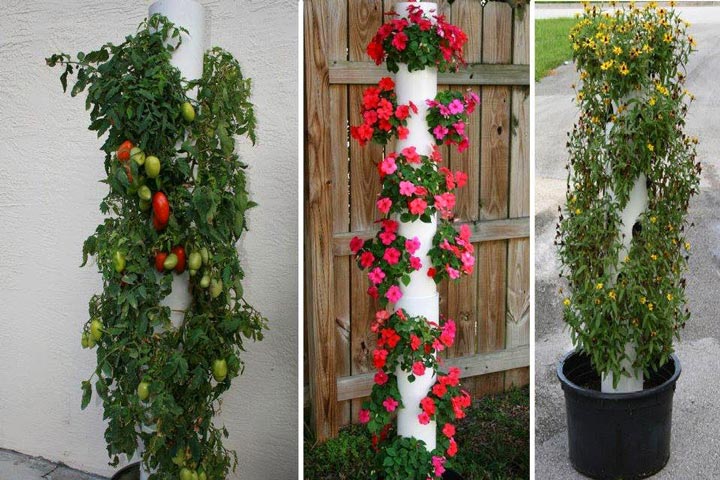
If you like this post, please give it a five star review and help me share it on facebook!


Leave a Reply