Saving Heirloom Seeds
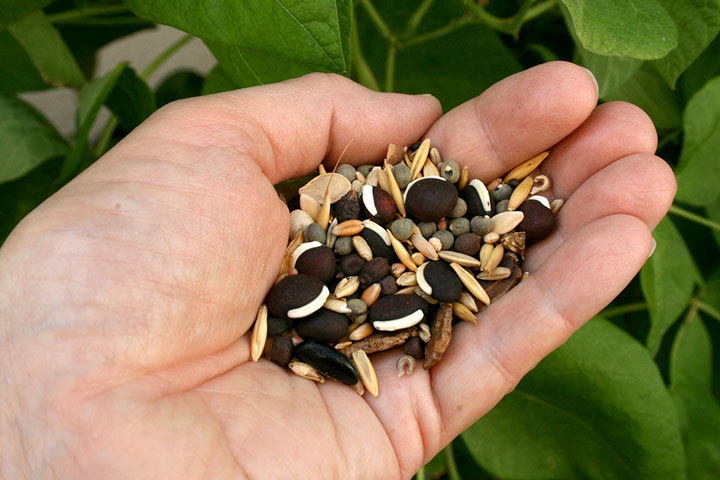
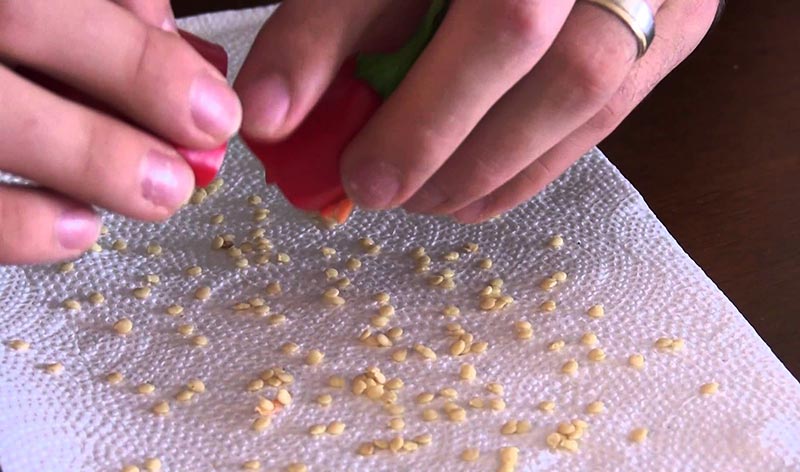
Saving heirloom seeds is a new obsession for me. Instead of buying new packets of seeds each year, my goal is to be able to raise heirloom plants so we can save seeds to plant our garden the following year. Up until a few years ago, I had no idea that I couldn’t save all vegetable seeds to regrow them. Several times I dried and saved tomato and pepper seeds only to have the seeds never germinate. At the time I chalked it up to some mishap on my part: maybe I didn’t water them enough, maybe the soil wasn’t good enough, maybe there wasn’t enough light. Then I learned the difference between an heirloom and hybrid seed and my seed saving techniques drastically changed.
A couple years ago, I was gifted a handful of heirloom squash seeds from a fellow gardener. It may sound silly, but I felt honored to be given these seeds. I felt a deep desire to continue nurturing this line of squash to feed my family for many years to come.
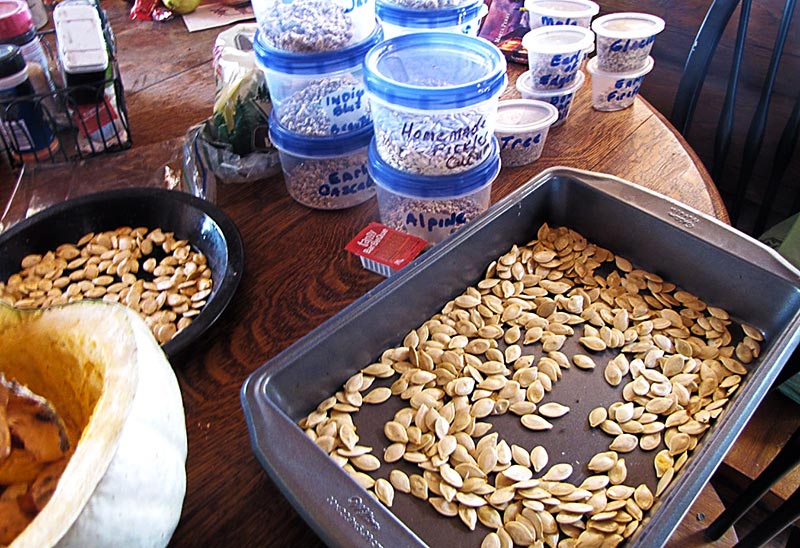
I recently pulled out our last homegrown squash to cook up for dinner and remembered I had yet to save any of the seeds. While it dumped snow outside, I stood in our kitchen and scooped out squash seeds to save and plant in our garden this spring.
Saving Heirloom Seeds
Saving heirloom seeds is fairly easy. For me the hardest part is remembering to do it. Last summer I left bean pods on the vine to fully mature in hopes of harvesting them for seed saving. The problem was I forgot to harvest them and they ended up in the compost pile with the vines!
When selecting heirloom vegetable seeds to save, there are a few things to keep in mind.
- Make sure the plant is an heirloom and not a hybrid. Seed packets typically will say “Heirloom” on them.
- Only harvest seeds from a healthy, strong, plant. Keep in mind you are saving seeds to propagate the next generation of plants so you want the heartiest plants’ seeds.
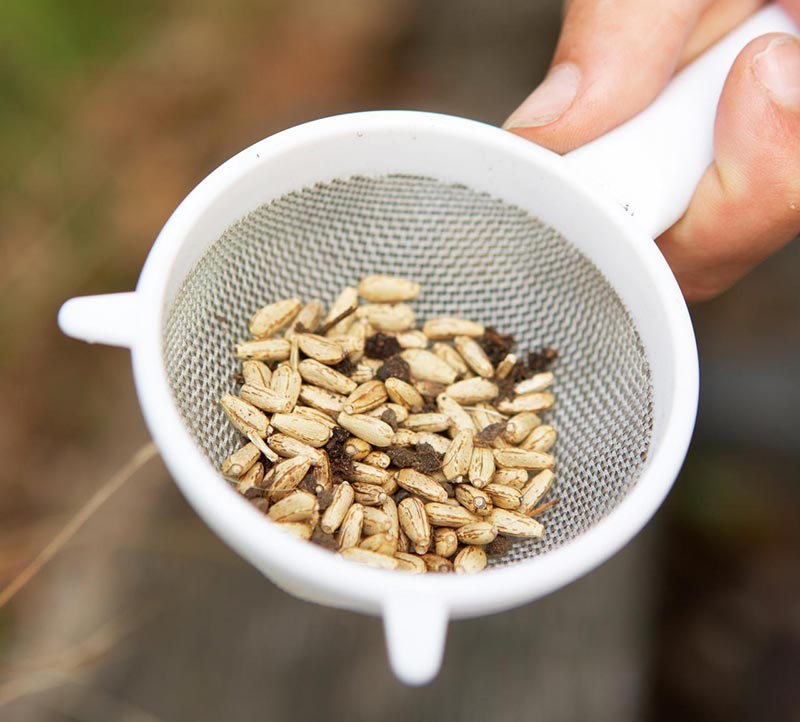
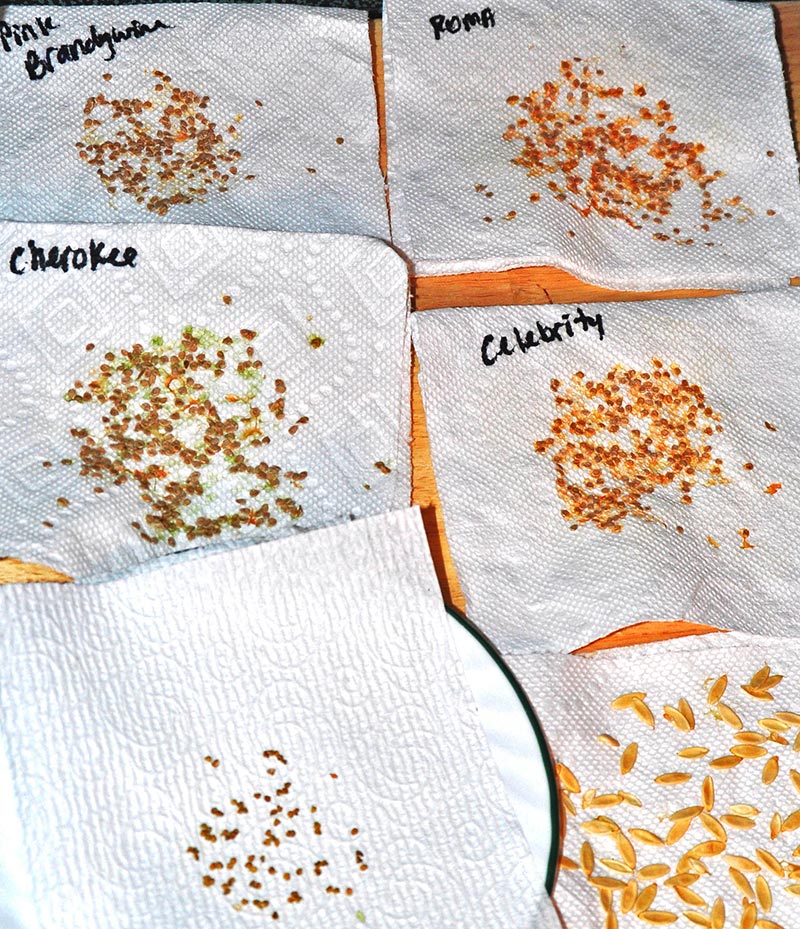
- Harvest seeds once they are fully mature. I wait until my tomatoes are nice and ripe to slice open and dry out the seeds. Here’s a picture of a mature squash seed (on the left) and immature seed (on the right). Interestingly enough, these seeds both came from the same squash. The immature seeds I ended up roasting and eating for a snack so they did not go to waste!
Once your seeds are selected, they will need to be dried out. This ensures that there is no moisture on them that will cause them to mold or rot over winter. My seed drying technique is quite simple. I lay the seeds on a cotton cloth and sit them in a windowsill. I’ve also used small wire cooling racks to lay bean seeds on so the air can circulate underneath.
Once the seeds are dry, they need to be stored in a cool, dry spot. I organize my seeds in small glass jars or plastic baggies that seal closed. These all are stored in a cardboard box on a low shelf in the pantry. I store root vegetables in there so I know that it is the ideal space for long term, cool temperature storage.
When gardening season rolls around, we’ll be ready to plant our garden with the seeds we saved! Our seed stash for this year’s garden are not all heirloom seeds we saved. I did have to buy some seed packets, but I made sure the ones I did buy are heirlooms so we can save seeds for next year. I’m looking forward to the day when we will have nothing but our own homegrown and dried heirloom seeds to plant in our gardens!
Source montanahomesteader.com



Leave a Reply