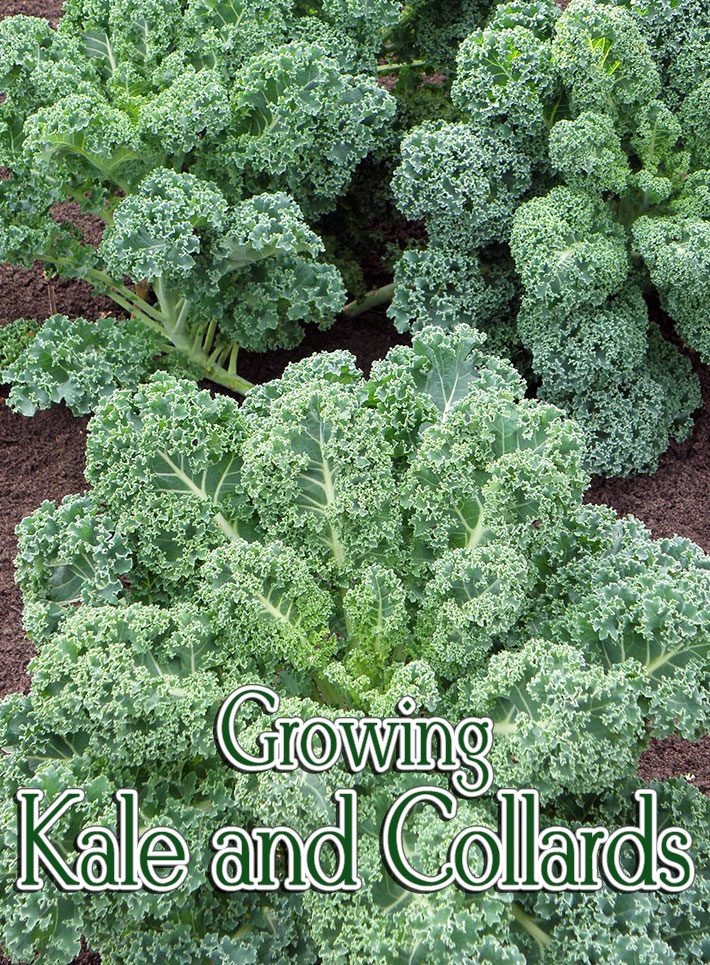
As winter crops, kale and collards can’t be beat. These two members of the cole family are the least problematic and hardiest plants in the wide and varied Brassica tribe. Their major value to gardeners is providing delicious, highly nutritious greens when the weather is far too cold for other vegetables. You can harvest the leaves as needed throughout the winter.
KALE AND COLLARDS SIMILARITIES
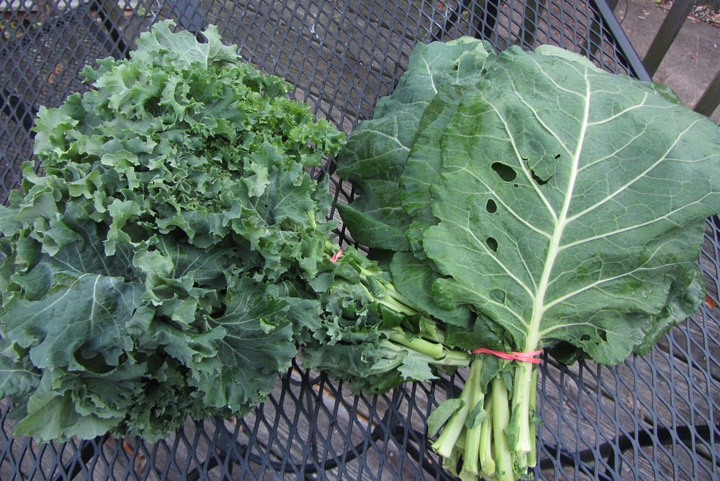
Although kale and collard look different, they are actually very closely related. They can be grown, harvested, and cooked in much the same way. Both share the botanical name Brassica oleracea. In fact, ‘Georgia’, the most familiar variety of collards, is actually a variant of kale.
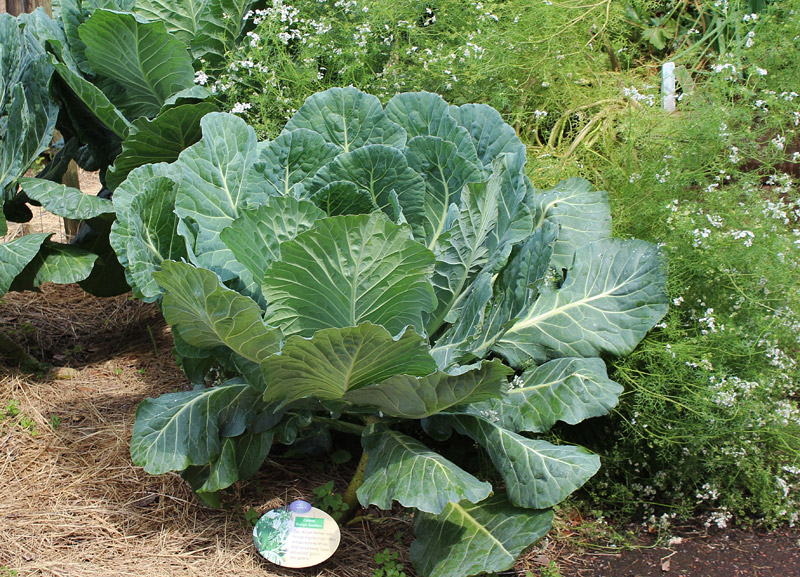
Collards have large, spoon-shaped, smooth leaves that are more succulent than greens like mustard and arugula. The leaves form on a strong central stem that often grows to 36 inches leading many people to describe collards as a non-heading cabbage. Collards can also tolerate heat, making them a prime substitute for cabbage in the South where most cole crops rapidly go to seed.
Unlike collards, kale has deeply ruffled sturdy leaves on a stem that rarely grows taller than 24 inches. Kale is strictly a cold-weather crop, losing quality quickly in hot weather. It is, however, the hardiest of all greens, surviving temperature down to 10 degrees below zero F. Where nighttime temperatures regularly drop below freezing, some gardeners protect their plants under a thick mulch of straw. Others are content to pick kale even under a blanket of snow. Where winters are mild, kale plants will produce into the spring. Because kale is a biennial, another spurt of growth will occur in the spring before the plants finally go to seed.

Nutritionally speaking, kale and collards have nearly as much iron and more calcium and vitamins A and C than other greens. A cup of cooked kale or collards contains more vitamin C than an eight-ounce glass of orange juice, more calcium than a cup of milk, and more potassium than a banana. All that and only 55 calories!
PLANT HISTORY
These leafy members of the cabbage family are two of the earliest vegetables cultivated by man. Originally native to the Mediterranean region, kale and collards were popular in ancient Egypt and Rome. The Romans and Greeks spread the vegetables throughout Europe. Eventually, most of the civilized world came to appreciate these nutritious greens.
Early settlers from the British Isles brought kale and collards to America, probably in the late 1600s. But in the past century, both fell from favor. Although American gardeners today largely ignore kale and collards, more gardeners should plant these easy-to-grow and delicious vegetables.
KALE SEEDS OR PLANTS?
In areas where warm weather arrives early, it’s best to plant kale as a fall crop, generally planting in July. In some areas of the South, gardeners can wait until October before planting. The trick is to time the planting so the kale matures in cold weather.
Collards can safely be planted in the spring and/or in the summer for a fall crop. Some gardeners in the South plant a spring crop, harvesting the tender leaves until hot weather arrives, then yank out the plants to grow beans or another summer crop before planting collards again for the fall.
Most gardening literature recommends direct sowing for both collards and kale. Although spring crops can be started this way, I’ve found when starting a fall crop the seeds are stubborn to germinate in hot soil under a scorching summer sun. I prefer to start kale and collard seedlings indoors in peat pots, as I do broccoli, cauliflower, and other fall cole crops.
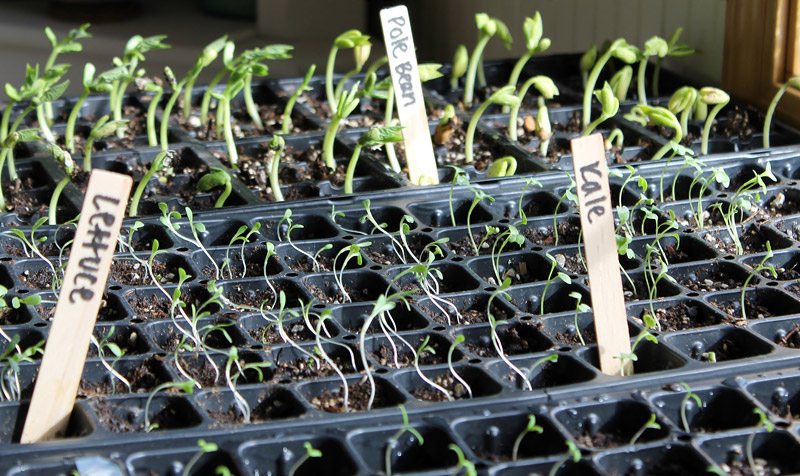
About two months before the first frost, transplant the seedlings at 18- to 24-inch spacings. To keep the plants from developing lanky stems and flopping over later in the season, plant the seedlings up to their first leaves. This also ensures stronger root systems.
CULTIVATION
Kale and collards grow best in a loamy soil that drains well and has been enriched with moderate amounts of organic matter. They will tolerate sandy or clay soils, but the flavor and texture of the leaves will be poor.
Like other greens, kale and collards require plenty of nitrogen for the best production. Prepare the soil by working in manure-enriched compost, leaf mold, and peat moss. Both vegetables grow best at a pH of about 6.5, although anything within a range of 5.5 to 6.8 is fine. If your soil is acidic, apply crushed calcium limestone or shell limestone to sweeten the soil. Collards produce best in full sun, so select a bed that receives sun most of the day. Kale also likes sun, but will tolerate partial shade.
KALE GROWING TIPS
Mulching is essential when growing kale and collards, particularly in the summer. Kale and collard roots run horizontally around the plant, only inches below the soil surface. Mulch the bed with a combination of grass clippings, clean straw, and compost. This keeps the soil cool, conserves moisture, and makes nutrients readily available to the feeder roots. Seaweed mulch has also been shown to improve yields.
To give kale and collards a boost when half grown, apply a side dressing of manure tea or diluted fish emulsion.
INSECTS & DISEASES
Kale and collards are carefree crops with few disease and pest problems. They share the same diseases as other cole crops, such as downy mildew and blackrot, but proper soil preparation and crop rotation will help avoid these problems. The worst pests are flea beetles and aphids, but these are easily controlled with regular dustings of rotenone or spraying with insecticidal soaps. If cabbageworms present a problem, use any of the Bacillus thuringiensis products like Dipel or Thuricide.
KALE HARVEST TIPS
Frost enhances the flavor. Some of the tastiest kale is harvested under a foot of snow! Never harvest kale until after a hard frost or two. A few freezing nights make all the difference in flavor as the plants need a hard frost to transform their starches into natural sugars.
Pluck individual leaves of kale and collards as you need them, counting on one or two leaves for each serving. To keep the plants in production, avoid cutting the developing bud at the center of each plant.
If you like this post, please give it a five star review and help me share it on facebook!


Leave a Reply