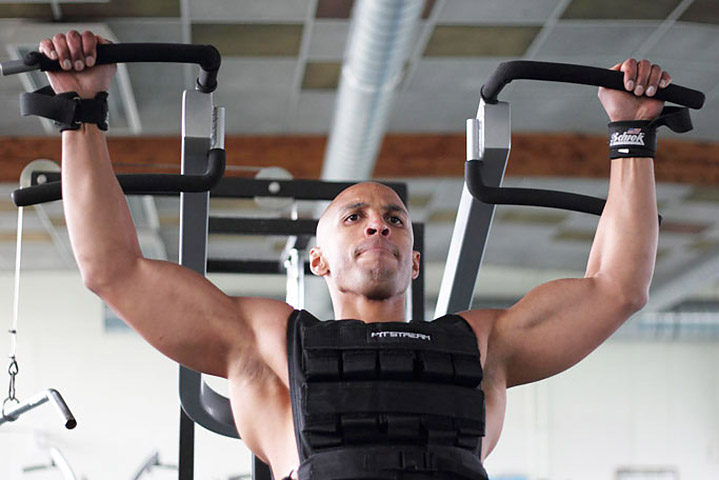
Dumbbells, barbells and kettlebells are great, but when it comes to increasing muscle gains and exercise performance, there’s a big difference between picking up a weight and wearing it around your torso.
Weighted vests, which move your workout load from your extremities or shoulders to your very core, enhance your ability to hammer your stabilizer muscles, increase bone strength, burn calories and rev fat loss. Plus, by allowing lifters to progressively overload bodyweight exercises like pull-ups, inverted rows and push-ups (without simply performing more and more reps), vests turn muscular endurance exercises into feats of max strength.
All strength training aside, weight vest training is a mainstay of sprint and speed-work drills. And for good reason. The extra weight (as well as the acceleration stance that wearing it puts you in) hones your ability to quickly generate ground reaction forces, improves acceleration mechanics, and enhances on-the-field speed, power and agility. Research published in a 2015 issue of the Journal of Science & Medicine in Sport even found that performing vest-loaded intervals increases peak running speed and running economy in endurance athletes.
So how much should you put on? It depends on your training status, bodyweight, workout and training goals. For instance, to max out your sprint or endurance speed, weight vest shouldn’t slow your regular running times by more than 10 percent. Meanwhile, if you’re training to block or scrimmage, you can gradually increase loads so that you’re sprinting while wearing up to 30 percent of your bodyweight. When performing otherwise weighted (dumbbell, etc.), bodyweight or plyometric exercises, start with a vest that weighs about 5 to 10 percent of your bodyweight and progressively overload from there.
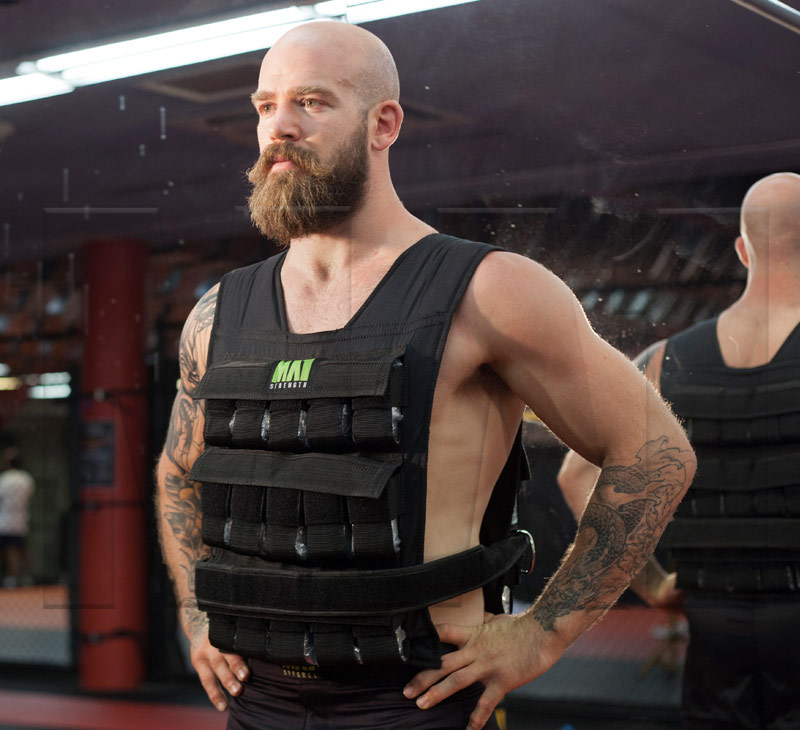
For instance, the Harbinger HumanX Weighted Vest adjusts by one-pound increments up to 20 pounds so that your loads can be specific to any given exercise, set and rep scheme, and can increase as your strength increases.
Now that you’re suited up, get the most from your weight vest with this strength and plyometric workout. It increases strength, recruitment patterns and force production in the body’s largest muscle groups — including the glutes, hamstrings, lats, pecs and abs — to improve total-body gains and performance. And you don’t even have to pick up a weight.
The Weight-to-Go Workout
To start, perform box jumps, landing each time in a half-squat position. Step down off of the box and take a few-seconds breather between reps. The goal here is strength, not cardio. Start with a low weight vest and box height, especially if you are new to plyos, and increase both as you progress.
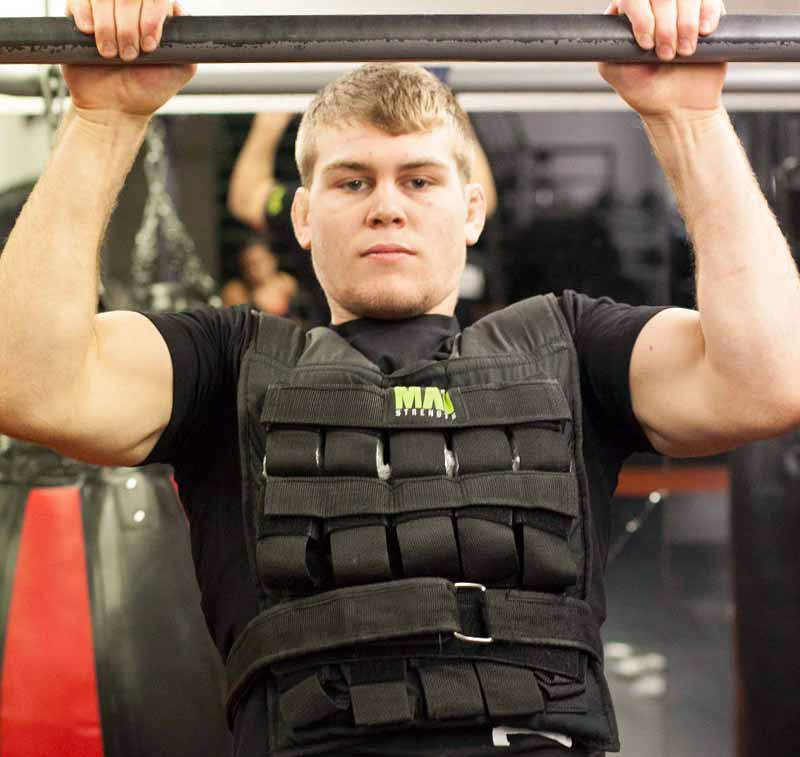
Then, do traditional pull-ups, wearing a weight that allows you to barely eke out six reps with proper form.
Switch to your lower body with pistol squats. Keeping one leg and both hands extended in front of your body, squat down as far as possible (ideally until your calf touches your hamstrings) and then push back up to start.
Next up: burpees. Focus on bending at the hips and knees to squat down, rather than bending at the waist to start every rep. Depending on your fitness level, integrate both a push-up and a jump into the movement; doing so will take your EPOC (excess postexercise oxygen consumption, aka afterburn) to another level.
Now it’s time for some lateral work, courtesy of speedskaters. To perform, hop to the side on one foot (the other foot crossing behind), then switch sides, making sure that the working (front) leg lands with a bent knee. During each hop, reach one arm across your body in the direction of travel and extend your opposite arm up and behind your body.
Round things out with resisted sprints, performed either on a treadmill or, if possible, on a track. Then cool down, recover and repeat on nonconsecutive days.



Leave a Reply