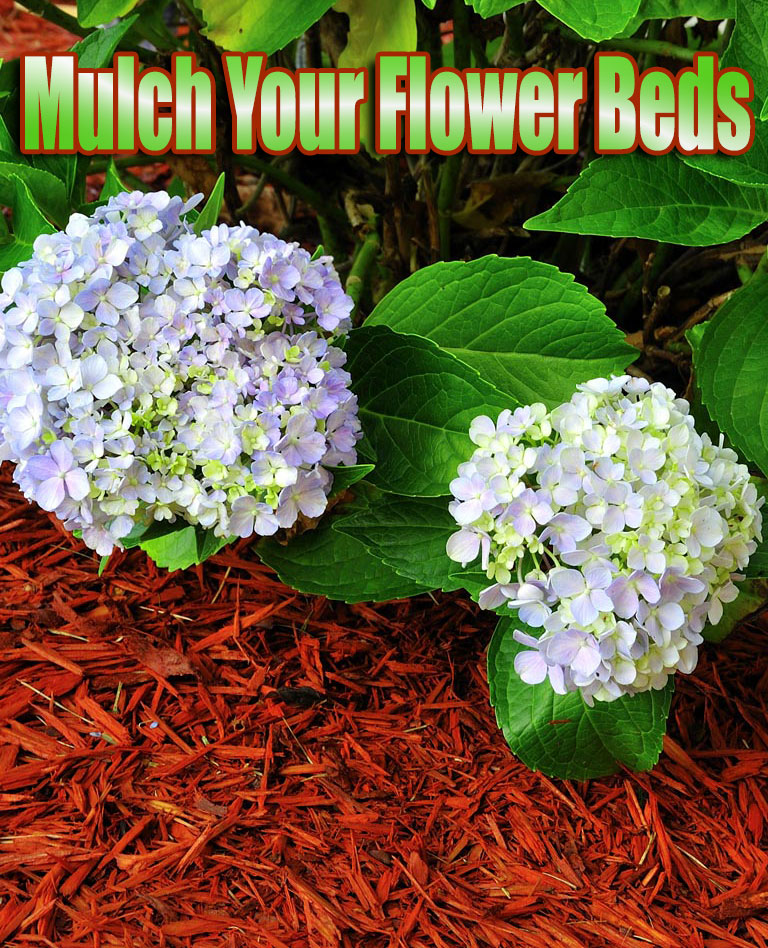
Mulch Your Flower Beds
Laying mulch before the winter gives your soil a head start for the next growing season. It also protects delicate plants, adding the equivalent of a whole zone level to those that might not be hardy enough for the area. Kristin Schleiter, the acting Director of Outdoor Gardens at the New York Botanical Garden, shares some tips to make the most of mulch.
When choosing the type you want to lay in your garden, avoid mulch made of raw wood (because it robs the soil of the nitrogen plants require) and any that are artificially dyed (since they add extra chemicals to the garden).
The New York Botanical Garden prefers leaf mold (pictured above), which you can make yourself in the backyard, and pine bark mulches (right). Other suitable materials include cocoa hulls, straw, even walnut shells—just keep in mind that the smaller the pieces making up the mulch, the faster it will need refreshing. Leaf mold, for example, will deteriorate very quickly and can be laid thickly, but one to three inches of bark mulches will do.
To overwinter delicate perennials, Kristin suggests a cover of evergreen boughs for protection against the elements. Don’t ever layer mulch over plant crowns, or they won’t grow properly come spring. For newly established plants, surround their roots with mulch after the ground freezes for the first time: this prevents them from heaving during the thawing/freezing cycles over the course of winter.
For trees, never let the mulch touch the trunk; leave about three inches of space all around. Those “mulch volcanoes” that many gardeners produce can cause disease and basal rot.
Making leaf mold
Unfortunately, if you don’t have leaf mold on hand, the process takes too long to prepare for this season. But with very little effort you can be laying down a free, moisture-rich layer next year. Pile up the leaves you’ve raked from your lawn in a little-used corner of the yard, and let the microbes do their thing. To speed up the process, run the lawn mower over the pile to break it up and keep the area wet. The mold is ready to use when it appears soft and crumbly.
Once you’ve prepared your flowerbeds, sit back and let the mulch do the work of enriching the soil for next spring and keeping your plants safe.
When and how to apply mulch
The best time to apply mulch is early spring before your perennials have gotten too much growth on them. This makes it easier and faster to put down the mulch and limits the damage to plants. However you can apply mulch at anytime during the year and many people in cold climate prefer to apply mulch in late fall to protect plants from winter damage such a winter burn and frost heaving.
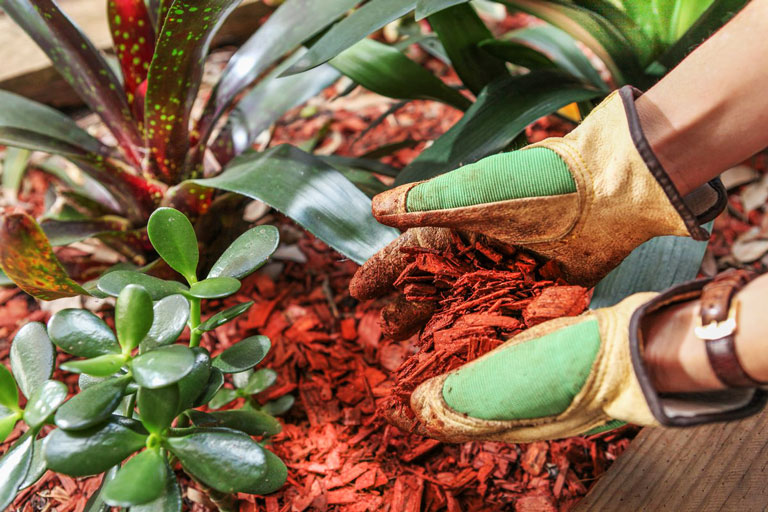
For tools all you will need are garden gloves to protect your hands, a garden rake to spread the mulch evenly, especially in large open areas and either a scoop shovel or pitchfork for loading your wheelbarrow. Use the wheelbarrow to transport the mulch around your yard whether you are using bulk or bagged.
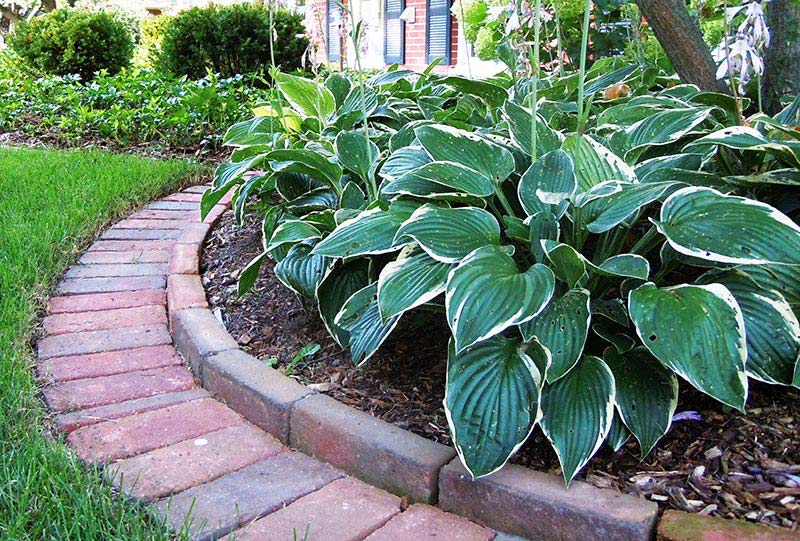
Spread the mulch evenly either by hand or with your garden rake. Be careful when working around plants, do not step on them and try not to damage the plants with the rake. When applying mulch next to trees, shrubs and woody perennials keep organic mulch 2-3 inches from the base of the plant. To help keep insects out of buildings stay 6 inches away from their foundations.
Controlling weeds in mulch
To help with weed control you have several options available to you. Apply a pre-emergent weed control product like Preen twice a year works well. You can also lay a layer of newspaper 4-6 sheets thick under the mulch or use landscape fabric.
The newspaper will decompose and provide some additional nutrients but becomes ineffective in suppressing weeds after a couple of years and landscape fabric can keep organic debris in the mulch and provide an environment for weeds to grow after a few years plus it can make adding or transplanting additional plants troublesome.




Leave a Reply