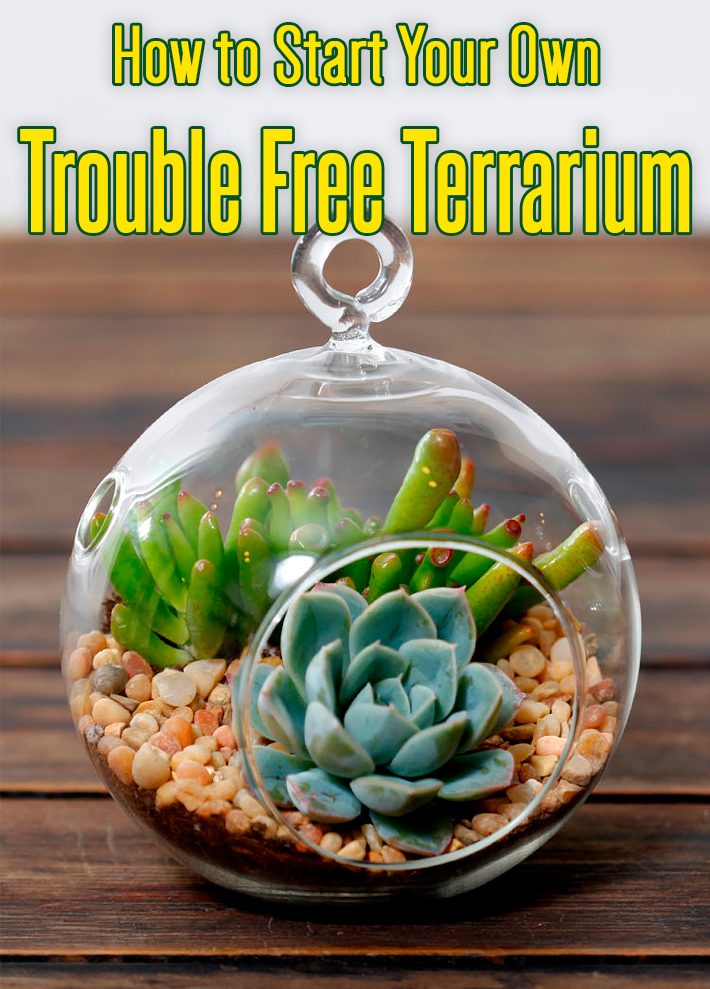
You know that sense of serenity you get when walking among lush plants at a botanical garden ? There’s an easy way to duplicate that same sense of bucolic calm in your own home or office.
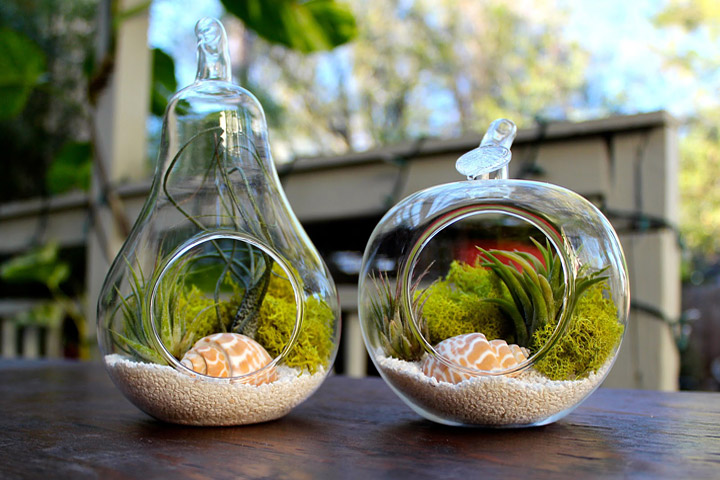
Create a terrarium. Yep, the same kind of terrarium you probably remember from your elementary school classrooms .
One of the good things about terrariums is that they can be easier to care for than many houseplants. How many times, for instance, have you lost a houseplant because you forgot to water it? You won’t have that problem with a terrarium. Once established, a terrarium creates an ecosystem that takes care of itself!
How can it get any easier than that? Here’s a five-step tip sheet for creating your own trouble free terrarium.
Step 1: Choose a container.
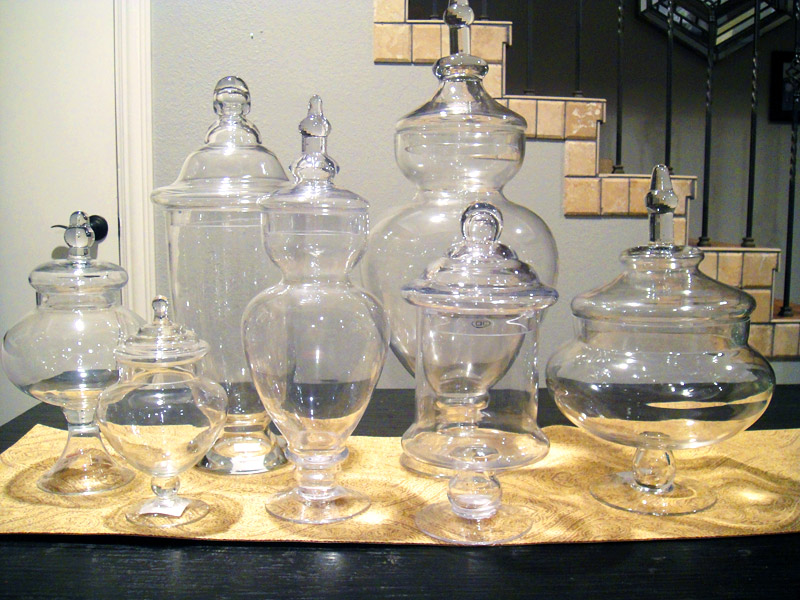
You won’t need a large aquarium, an expensive miniature greenhouse or even a terrarium kit, though they are available. Virtually any clear glass container will do —from funky vessels such as candy jars you might find in an antique mall to an old goldfish bowl you probably have lying around the house. Almost any transparent container will work. It will help, though, especially for terrarium newbies, if you can get your hand can through the container’s opening. Your choice of a container is limited only by your imagination.
Rinse the terrarium with a bleach/water mix before planting it to remove the possibility that the container may harbor unwanted pests or mold spores. Give it a day or two to completely dry out before assembling the drainage materials, potting soil and plants.
Step 2: Put in the growing medium.
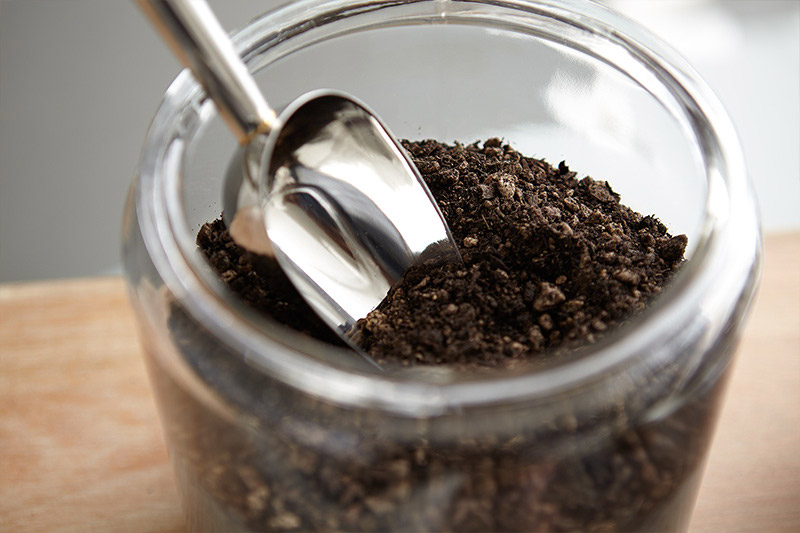
Because terrariums don’t have drainage holes, you’ll want to create drainage for the potting soil. To do that, first spread a bottom layer of pea gravel an inch or two thick on the bottom of the container. Before adding other ingredients, spread sphagnum moss or burlap on top of the gravel. The moss or burlap will prevent potting soil from seeping down to the bottom of the container. Be sure to wash the sphagnum moss before putting it in the terrarium and remove any weeds, seeds or insects that may be hiding there. When placing the moss, break it into pieces rather than using it as “sheets,” which is how manufacturers package it.
On top of the gravel, add a thin layer of horticultural charcoal about a quarter- to a half-inch thick. The charcoal will absorb unpleasant odors . For the final top layer, add about 2 inches of potting soil. Depending on the height of the container and the types of plants you choose, the soil layer might need to be deeper.
Step 3: Add the fun stuff — the plants!
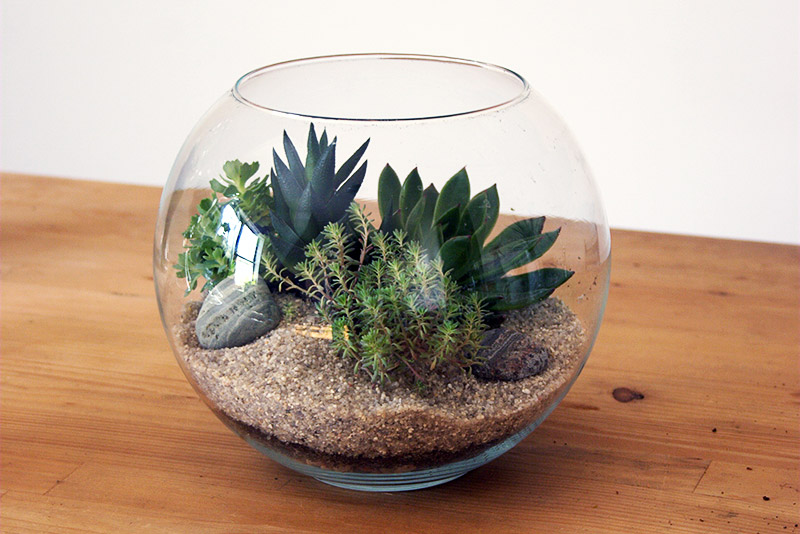
Terrariums are frequently planted thick and full with foliage rather than flowering plants. Many nurseries now offer a wide selection of plants in very small pots that are ideal for terrariums. Some frequent terrarium choices include pothos , ferns and ivy as well as decorative mosses. Reindeer moss, for example, adds unusual colors and contrasting textures to the foliage plants. The staff at your local nursery can help you make choices that fit the look you are seeking, the size of your terrarium and the light conditions in your home. It’s always a good idea to choose plants that have the same growing requirements.
Depending on the type of look you want, you can also add small pieces of driftwood or decorative rocks to your little landscape. If you want, you can also add tiny benches, figurines or other decorative items to create scenes that resemble a park or another favorite place you like to visit. If you are concerned about insects such as gnats getting into your open terrarium, you can cover the opening with cheesecloth and hold it in place with a rubber band.
Step 4: Care for your plants.

Keep the growing medium moist but definitely not soggy or even wet. You can accomplish this by misting the plants after the terrarium is assembled and occasionally thereafter. If you feel the need to give the plants an initial drink of water, do so very lightly. Remember that overwatering a terrarium causes fungal, mold and rot problems that are hard to reverse. It will be normal for condensation to form on the glass as the terrarium begins to develop its own ecosystem.
How much condensation is too much? If you can’t see into the terrarium because of the condensation, then that’s too much! If excessive condensation is a problem, either reduce the frequency of misting or open the top of the terrarium to increase air movement. Think of your terrarium as a closed loop system in which the plants are recycling moisture in an attempt to survive. If you are using a terrarium with a lid, adjust the amount of the opening to prevent the growing area from getting too moist. Terrariums with open tops will lose more moisture to evaporation than terrariums with lids. They also will require more misting than terrariums with lids. In time, the ecosystem will stabilize and require little care.
If you notice mold or fungus growing on the surface of the soil or plants, take the same steps as for too much condensation. Depending on the type of mold or fungus, you may be able to remove it with tweezers or chopsticks. You can also use tweezers or chopsticks to remove decaying or dead leaves. If you use flowering plants, be sure to remove the flowers when they begin to wilt. Dead flowers that fall from the plants can cause health problems in the closed environment. Twice a year add small amounts of a granular fertilizer to feed your plants. Trim plants as necessary if they grow too large and replace plants that don’t fare well.
Step 5: Place your terrarium.

Choose a place to put your terrarium where it will receive indirect light but won’t get direct sun. If the terrarium gets too much light, the temperature will rise too high. This can cause fungal and mold problems. Eastern windows tend to get morning sun, southern windows get bright light, western windows receive strong afternoon sun that can burn leaves, and northern windows tend to be shady.
Now that you’ve created your own botanical garden in a bottle, just sit back and relax with your lush little landscape.


Leave a Reply