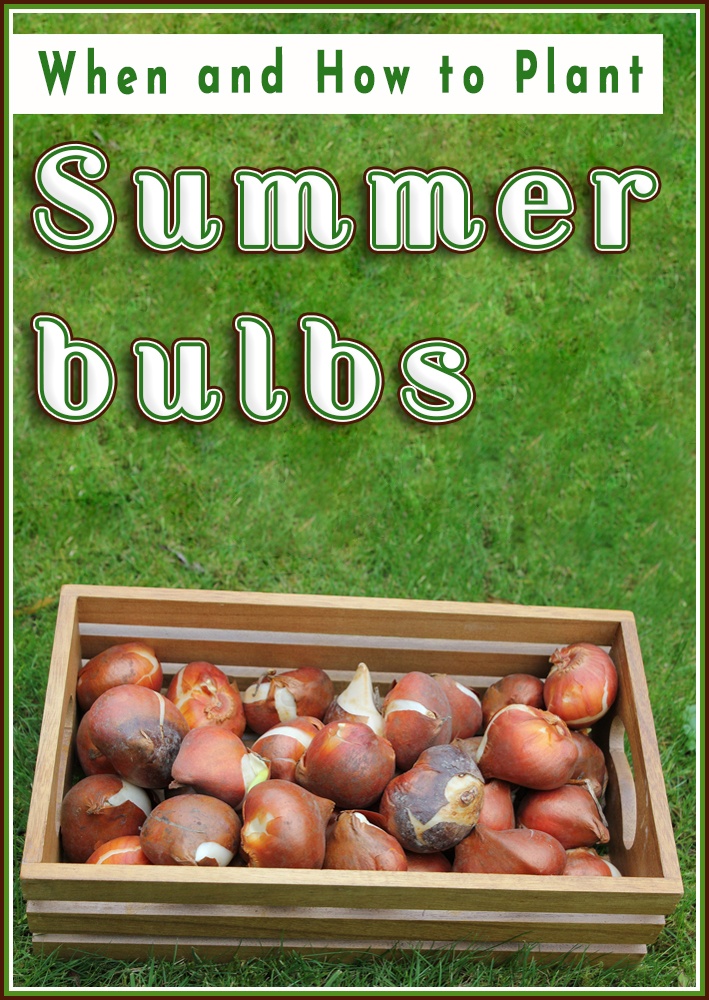
Summer bulbs – When and How to Plant
There are plenty of summer bulbs which you will want to grow such as the Gladiolus, Freesia, Dahlias, easy-grow Anemone and even the double-blooming Begonia.
There are many emotional and physical benefits to gardening and spending time out of doors. To help you get back to nature, you can now create a mini haven in your own space at home with our some bulb collection!
Maybe you should start with good old alliums. Affectionately known as ‘ornamental onions’, alliums are known for their dome-shaped heads and weird and wonderful blooms. Allium bulbs are perfect for those of you who fancy adding something different to your spring garden, and our collection includes everything from the classic purple headed ornamental onions, to more unusual varieties.
We love the fact that alliums attract pollinators to the garden, so they’re a great way to encourage bees and butterflies to visit your outside space and work their magic. And don’t worry if you’ve never grown your own before, alliums are easy to grow and simple to care for.
Summer bulbs are ideal for patio containers and add colour to mixed borders without taking up much space. Follow our advice to make the most of these versatile plants.
When to plant
Summer bulbs, such as alliums, agapanthus and cannas, should be planted in spring, when the soil is beginning to warm up.
The ideal soil temperature is 13°C as in colder soil bulbs will not start to grow and may rot. Aim to plant dry bulbs directly after purchase.
Bulbs you have stored over winter should be planted at the end of their dormant season.
Select bulbs
Buy dry bulbs when they’re as fresh as possible. Summer bulbs are usually on sale from early spring onwards, when they’re dormant.
Healthy bulbs will feel firm and show no signs of mould or damage. Look for bigger bulbs as they’ll produce bigger blooms.
Soil type
Different bulbs need different soil types but summer bulbs generally like a warm, sunny position. Free-draining soil is important as bulbs are susceptible to rotting.
If you have heavy, clay soil dig in one to two buckets of coarse sand per square metre.
Adding well-rotted organic matter will also improve drainage.
How to plant
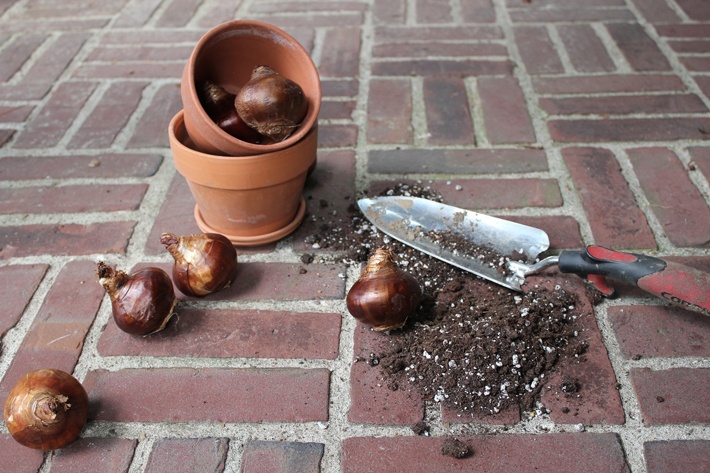
Dig individual holes for each bulb or a trench for many bulbs. Place bulbs in the holes without pushing down hard.
Make sure the growing point is pointing upwards. Cover with soil and firm.
Pot-grown bulbs may be planted directly in their desired position in a border where you want them to flower. This is known as planting ‘in the green’.
For these plants make a hole wide and deep enough to allow room for the roots to spread and plant the bulb at the same depth as before.
Many summer bulbs are ideal for growing in patio containers, especially tender species. These can then be lifted in winter and stored.
Planting depth and spacing
Use the bulb as a guide and plant it two or three times its depth. Space them approximately two to three bulb widths apart.
Lifting and storing
Most summer bulbs are not hardy so need to be lifted before the first frost. Bulbs generally prefer to be stored dry.
Remove loose soil, carefully pull or cut off dead and dying leaves and leave to dry overnight. Dusting with fungicide will help keep the bulbs healthy.
Store the bulbs in dry paper bags or trays of almost dry sand in a frost-free place.
A few bulbs need moist conditions and can be kept in slightly damp bark chippings.
Check out this video for more useful tips:

Leave a Reply