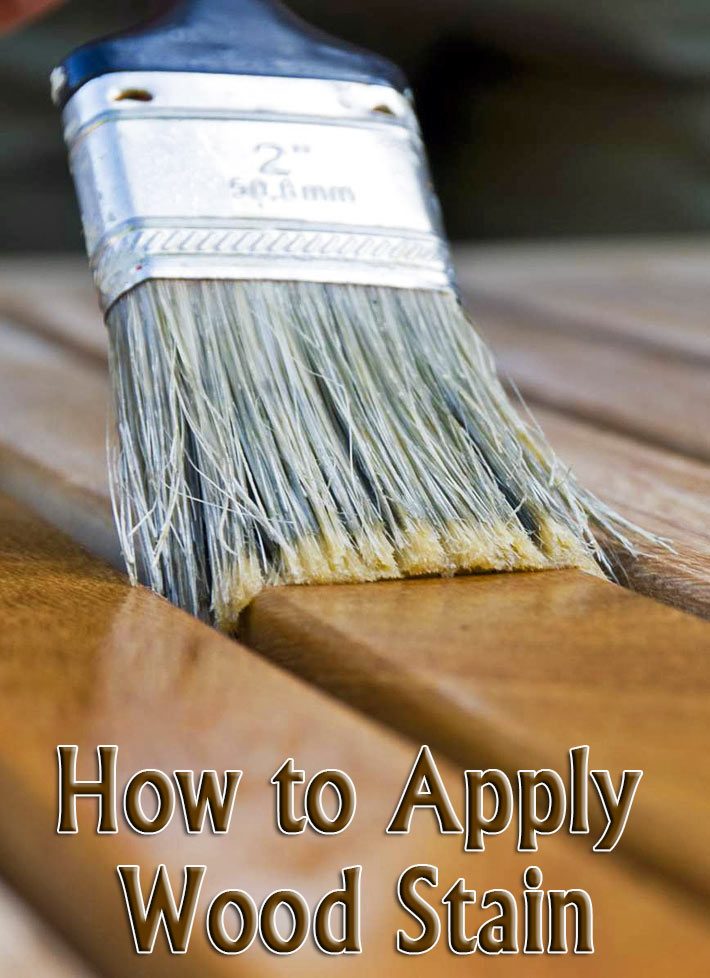
Wood pieces can enhance a home’s beauty and style so powerfully. The right wood, or wood stain, can make a huge difference in integrating wood into your space seamlessly and beautifully. If you’ve never stained a wood piece before, or if you’ve forgotten how to do it, this article will give you the basics. And the good news is: It’s not a hard process! By the end of your experience, you should have a treasure that you absolutely love.
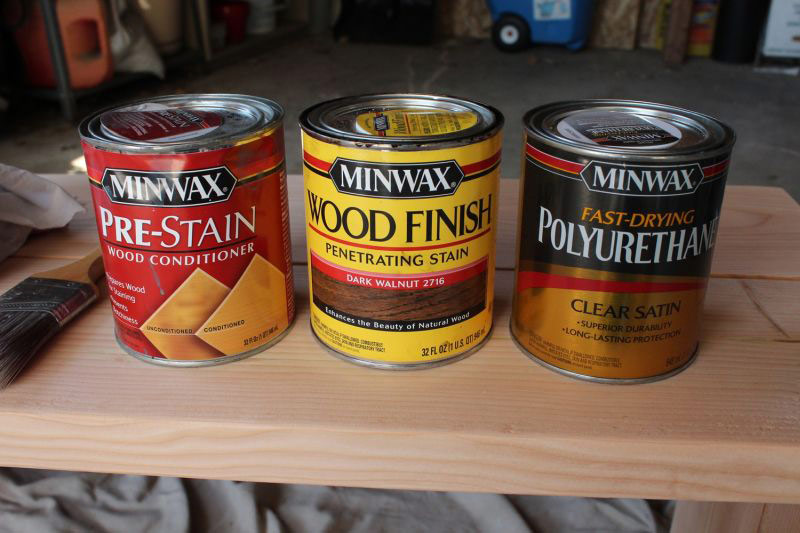
Materials Needed:
- Unfinished wood piece, clean and dry
- Wood conditioner (pre-stain)
- Wood stain of your choice*
- Wood finishing coat, such as polyurethane
- Brush
- Clean rags (recommend old white t-shirts)
*Note: It’s important that your pre-stain, stain, and topcoat be compatible. So if one is oil-based, the others must be oil-based as well. Water-based wood stain does not work well on top of oil-based pre-stain, for example.
Step 1: Wood Conditioner
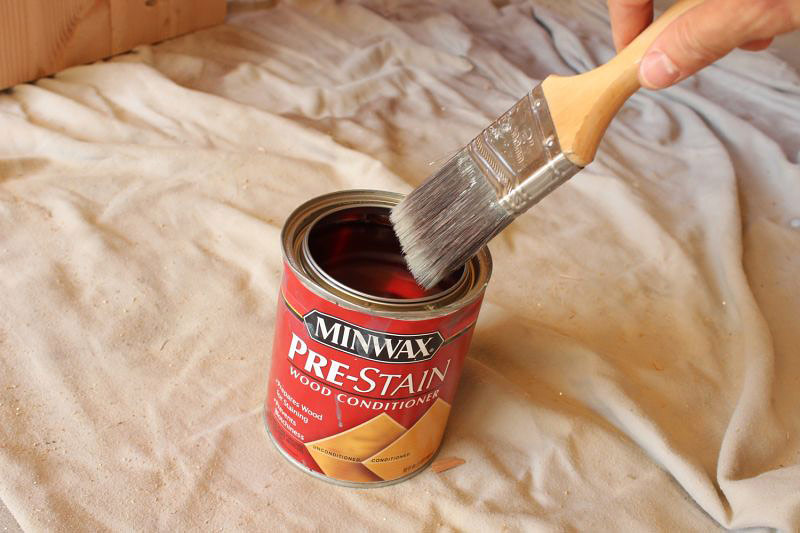
Begin with your pre-stain, or wood conditioner. Make sure your wood piece is clean and dry…and raw wood. There should be no other finishes on it, or this treatment will not work. Use a stripping agent to remove any other finishes.

Apply pre-stain with a clean brush to an inconspicuous portion of your wood piece. If the pre-stain is absorbing well, move on to the rest of your wood piece.
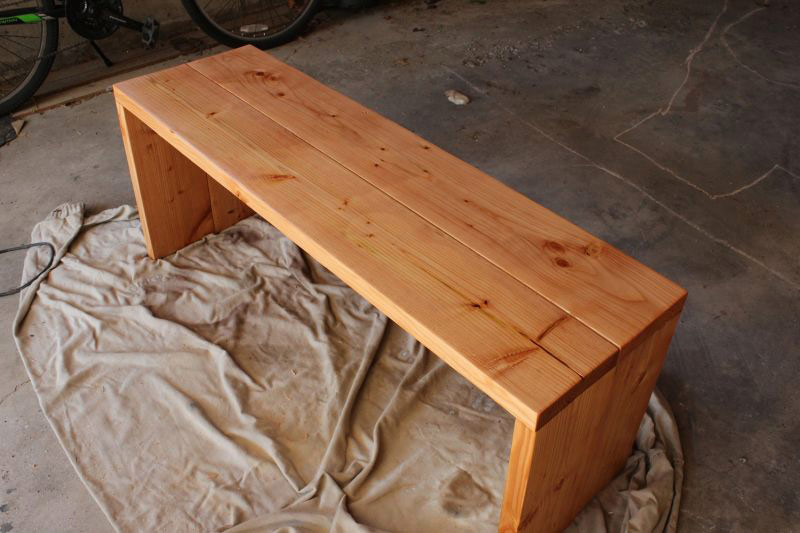
Apply the pre-stain to your entire wood piece. Pre-stain is a step that many people might skip, but it’s important because it evens out the wood so the stain will be absorbed more uniformly and, frankly, beautifully.
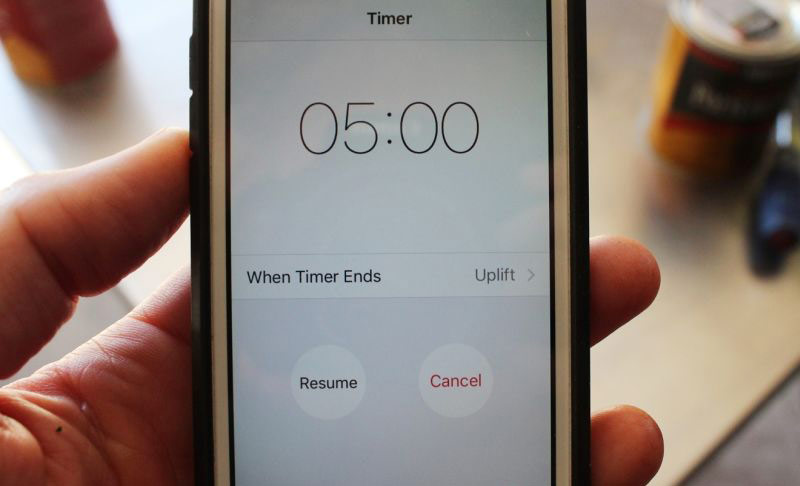
Wait 5-15 minutes for the pre-stain to be absorbed.

Use a clean rag (I find old t-shirts work the best for absorption) to wipe away any excess.
Step 2: Wood Stain

After your piece is pre-stained, you have a small window to apply the stain itself for best results – within 2 hours, in fact. Stir your wood stain (remember, it should be oil-based if your pre-stain is oil-based), taking care to avoid making air bubbles. You may want to stir the stain throughout your staining process, depending on the size of your project.
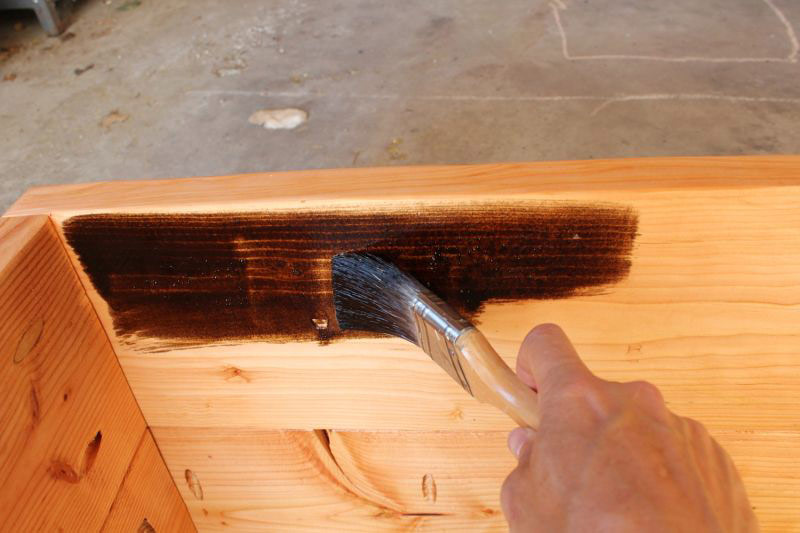
Apply the stain to an inconspicuous spot on your wood piece, such as the underside of the bench seat if you’re staining a wooden bench.
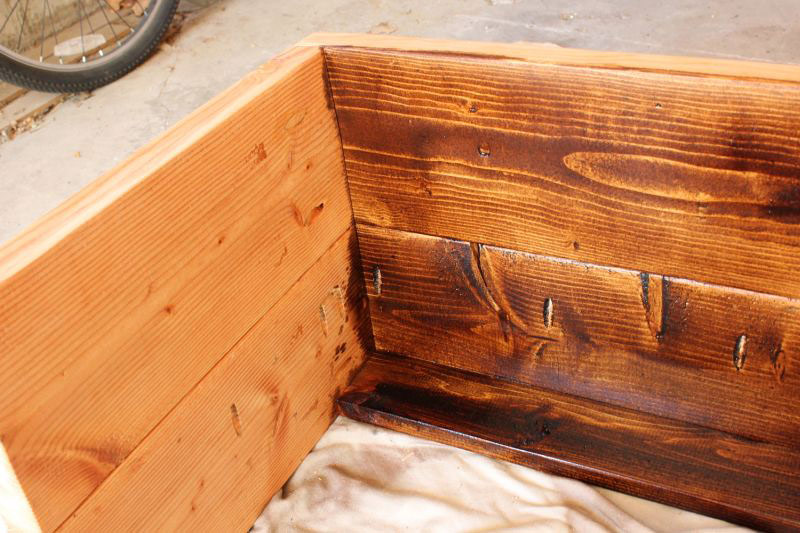
Apply stain liberally with a brush in the direction of the wood grain. Be sure to brush away drips, as these may cause odd lines or unevenness in your finished stain.
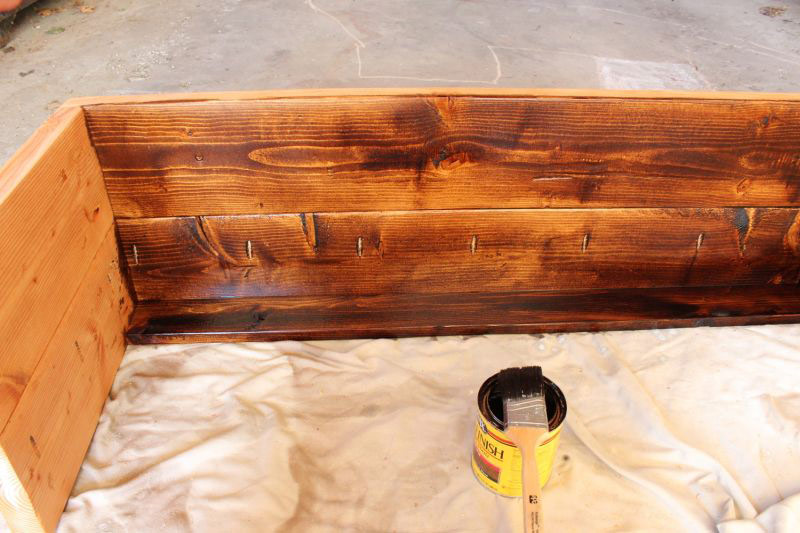
Work in small sections, such as one wood surface at a time, to create an even stain effect.

Wait 5-15 minutes to allow the stain to absorb. (This example shows a 7-minute absorption time of Dark Walnut stain.) The longer the stain has to absorb into the wood, the deeper, richer, and darker the wood will be. I was after a lightened-up dark-wood stain, so this example shows a shorter absorption time.
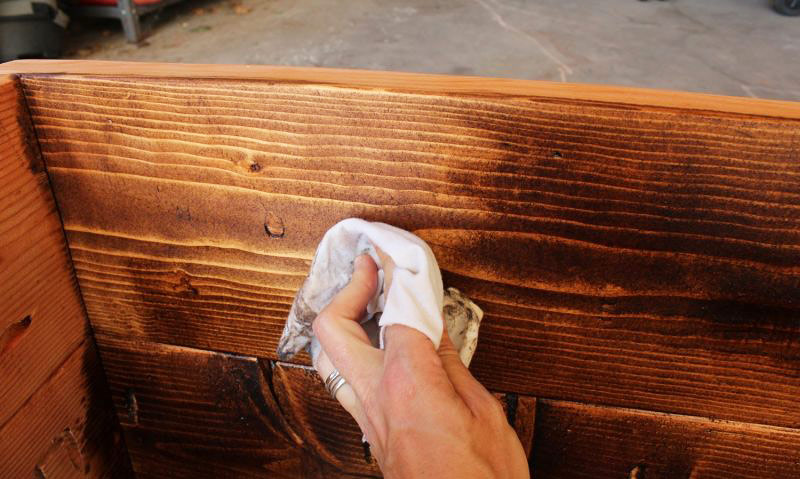
Wipe away all excess stain with a clean rag. Use as many rags as necessary to wipe away all excess – don’t let any unabsorbed stain just sit on your wood. It will look blotchy and probably be sticky forever.
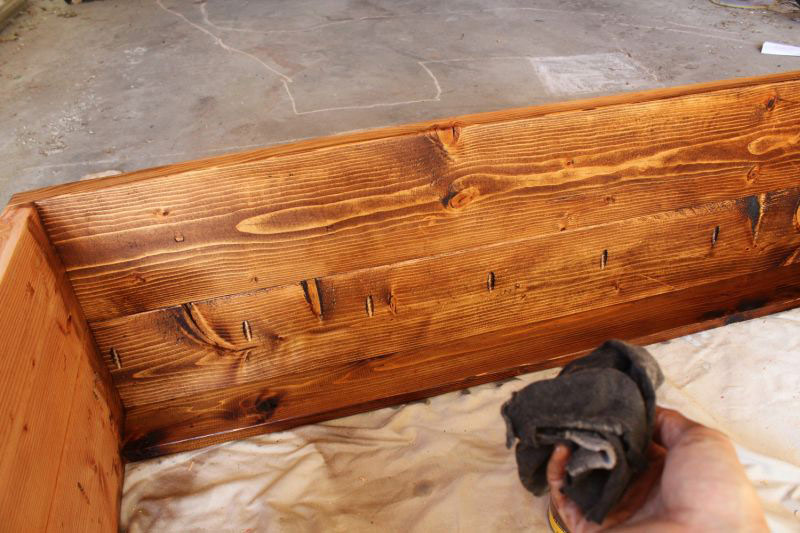
After completing the inconspicuous area and achieving the look you’re after, you’re ready to stain the entire wood piece. Be sure to check times and follow the same wait times throughout your process so your stain will absorb evenly and uniformly across your piece.
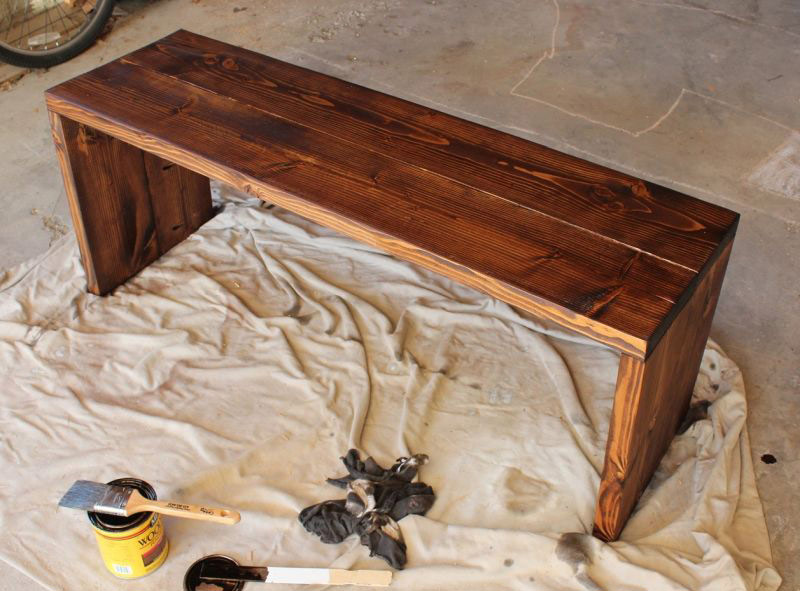
After applying, waiting, and wiping the stain all over your wood piece, it’s time to take a break. For at least 8 hours (perhaps more, depending on the humidity and temperature of your working conditions), allow the stain to continue to absorb and dry.
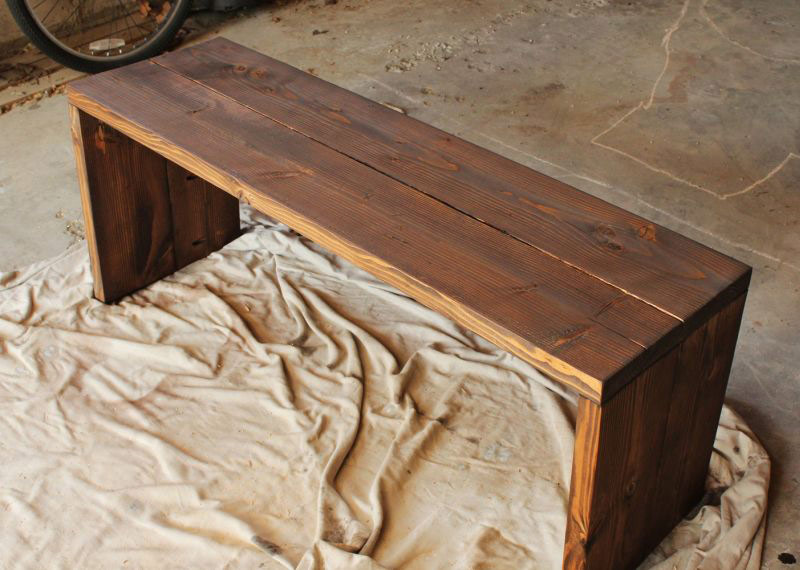
If for some reason you decide a few hours later that you want your wood piece a bit darker, go ahead and reapply a second coat of stain, following the same procedure as shown above. Allow full dry time after the last coat of stain has been wiped away.
Step 3 : Protective Coat
After the stain has dried thoroughly, and you’re happy with the result, it’s time to apply the top protective finishing coat. Remember that this top coat should be the same type as your pre-stain and stain products – oil-based to oil-based, water-based to water-based. This example uses clear coat polyurethane for the finishing top coat.
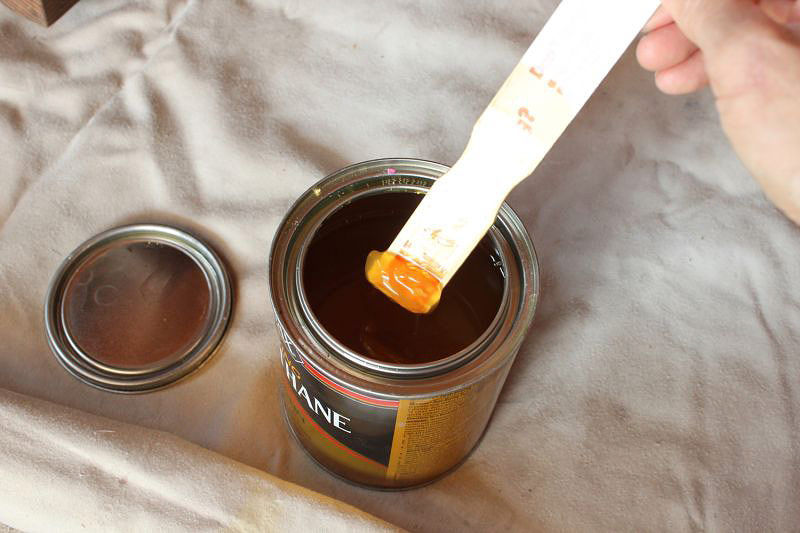
Carefully stir the polyurethane to mix in whatever has settled to the bottom of the can. Avoid shaking the can so there aren’t air bubbles.

Use a natural bristle or foam brush to apply the polyurethane. It should come as no surprise that you’ll want to apply it with the grain, in an even but light coat. Allow the poly to dry for 3-4 hours, until it is completely dry and no longer tacky. Lightly sand with 220-grit sandpaper, wipe clean, and apply a second coat of poly.
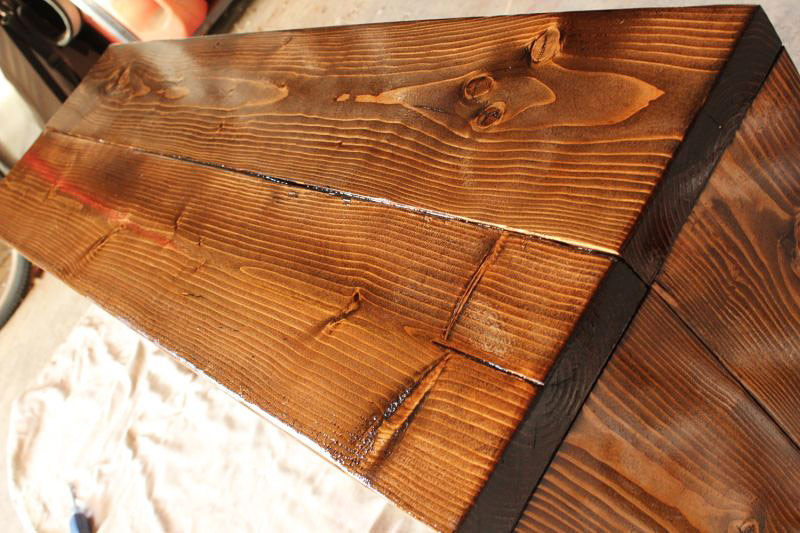
You can repeat the sand-and-apply-poly process several times. This example shows two coats of polyurethane. Allow polyurethane to dry completely for 48 hours after the last coat.

Congratulations! You’ve just successfully completed your wood stain project.
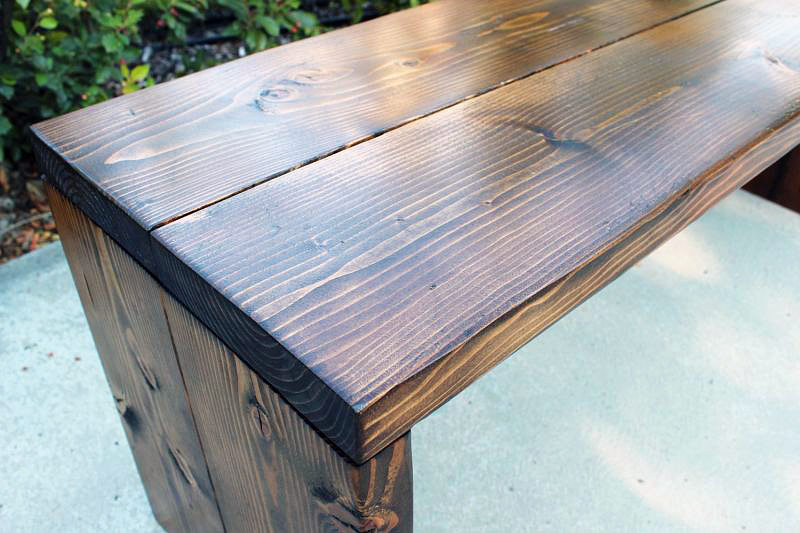
It’s amazing how a little wood stain can make a simple common board wood piece turn into something really stunning.


Leave a Reply