
When it comes to highlighting and contouring, there’s a fine (bronzer-caked) line between enhancing your best features and painting on an entirely new face. Here’s how to bring out your cheekbones, slim your nose, and sculpt your face subtly with contouring makeup.
Re-Think Contouring
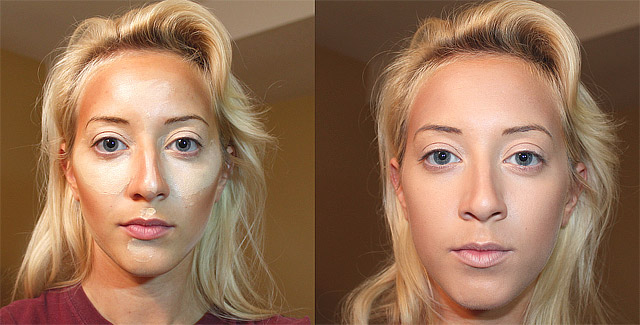
Old-school contouring—the technique of using shading to enhance and define facial features—used to mean layers upon layers (upon layers) of dark, dramatic makeup, harsh angles, and pretty much everything worn by the cast of The Rocky Horror Picture Show. Erase those images from your mind (if you can). The twenty-first century version is all about enhancing cheekbones, slimming your face, and tricking the eye in a believable way. Simply put: “It’s no longer about carving a line into your cheek,” says makeup artist Ashleigh Ciucci.
Get the Right Products
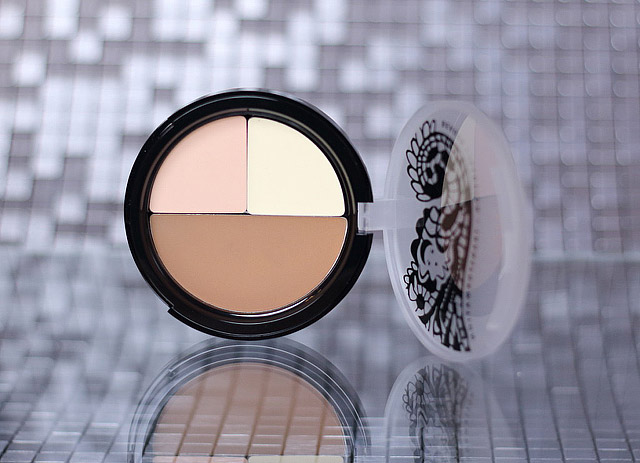
You only need two: a matte shading cream or powder and a highlighter. “I like to contour with a cream because you can pat it on with your fingers and it has a natural finish that doesn’t look like makeup,” says Ciucci (we like the Senna Face Sculpting Kit, shown). Or if you’re more comfortable with powder, choose a sheer formula, like Benefit Dallas Powder, which “gives a softer contour,” she says.
While the formula you use is up to you, make sure you’re consistent. That means using all cream or all powder products—from your foundation to your blush. Layering different textures can cause a caked-on effect, and it won’t blend as seamlessly, says Ciucci.
Consider Your Skin Tone
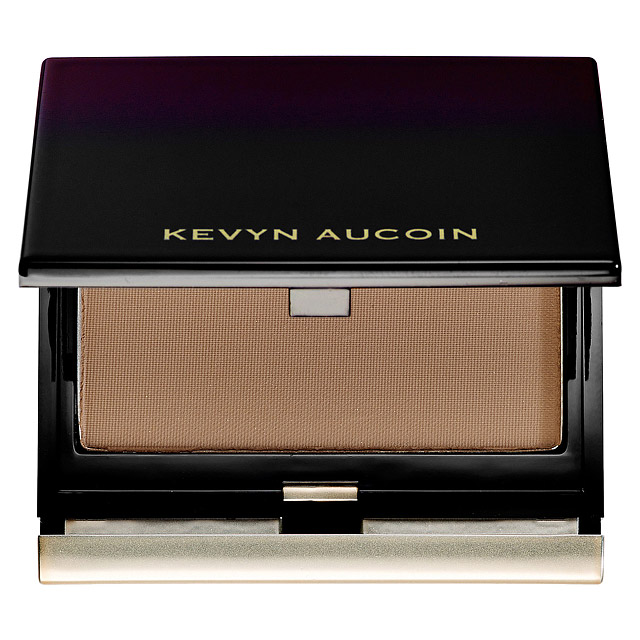
Anything that stands out too much against skin is going to look obvious. “If you’re fair, use a contouring cream or powder that’s one shade darker than your skin tone,” says Ciucci. In keeping with the idea of shadows, look for formulas with a grayish cast (like Kevyn Aucoin The Sculpting Powder) and stay away from anything too red or orange, like most bronzers.
Lose the Glitter
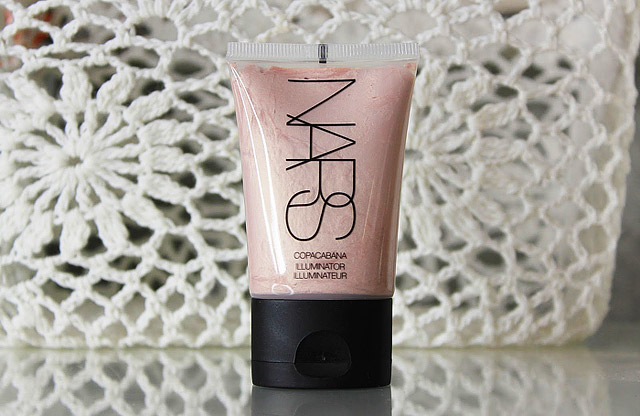
Highlighter should be “almost the color of your skin, with just a hint of shine,” says makeup artist Polly Osmond. Avoid anything with noticeable sparkles, which can look chalky or just plain unnatural. (Have you ever seen a sparkle in nature?) Ciucci likes working with liquid highlighter formulas, like Nars Copacabana Illuminator (a glistening light pink, shown here) for fair skin or Laguna (a shimmery golden brown) for dark skin. “These formulas mimic your skin’s texture so it just looks more believable,” she says. If you have fair skin, a pearly shade works well, but those with medium and dark complexions need a warmer golden highlighter for a glow that looks natural, not pasty, says Ciucci.
Pick the Right Tools
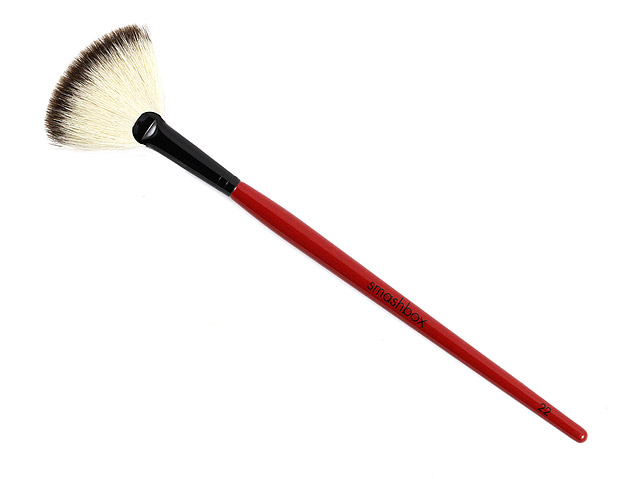
Using creams? Use your fingers. They warm the makeup so it melts and blends more seamlessly into your skin. If you’re working with powder, Ciucci recommends the Smashbox Fan Brush #22, which has natural bristles. “Because there are so few bristles and they’re so soft, you’re less likely to overdo it. The shape of the brush also lets you really control the placement,” she says.
Know Where to Shade
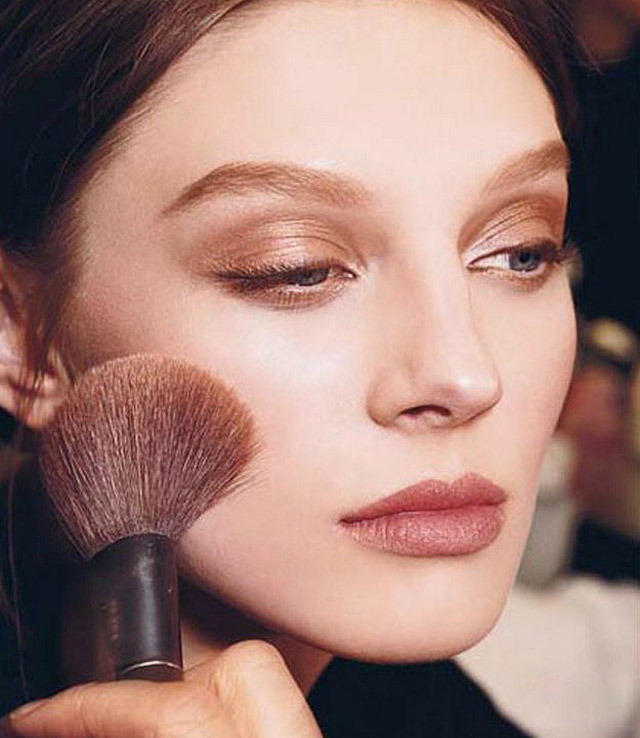
Want instant cheekbones? Suck in your cheeks (“It’s the best way to find the hollows,” says makeup artist Troy Surratt). Then, working from the tops of the hollows inward, shade along—and just beneath—the sunken area, stopping about an inch from the corner of your mouth, then blend well with your finger or a sponge. To slim your nose, blend two lines of the shading cream or powder from the start of your brows down the sides of the bridge of your nose with a small shadow brush.
Highlight Strategically
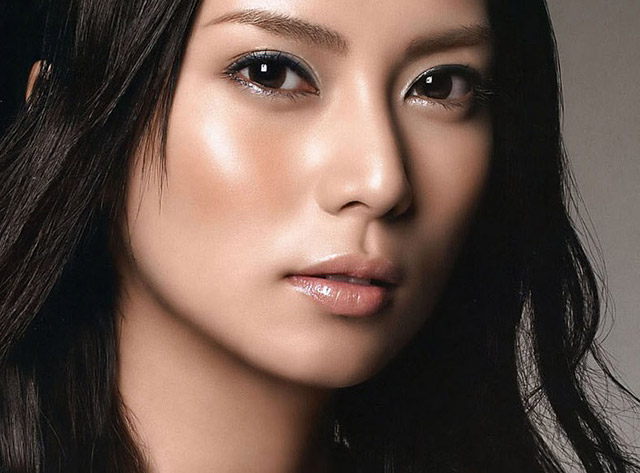
Highlighting is especially important when you’re contouring because it brings the light back into your face, says Ciucci. But once again, you don’t want to overdo it. “Most people slap on too much highlighter and look like the Tin Man,” says makeup artist Mally Roncal. Her technique: “I lightly coat my pointer, middle, and ring fingers with highlighter, and then rub them against the same fingers on the other hand,” she says. “Tap your fingers up and down your cheekbones, and then dab whatever’s left over on your brow bones, the center of your chin, and just one tap on the tip of your nose,” she says.
Know Your Face Shape

Not all of the rules of highlighting and contouring are universal; it’s also important to keep your face shape in mind. If you have a round face, contouring under your cheekbones can make it appear smaller (score!). But if you have a narrow face, it could make it look even longer. Instead, “shade along the top of the forehead and a bit on the chin,” says Ciucci. This technique softens angular features and creates a more rounded effect.
Blend, blend, blend

“Blending is the most important thing,” says Ciucci. Even if you’ve gone overboard, blending with a sponge, like the BeautyBlender, can reign it in. Or if you used powder, run a fluffy brush with natural fibers over the finished look in a circular buffing motion. “It’s important to hold your brush really softly. Holding the brush toward the end of the handle will give you a softer, more seamless finish,” says Ciucci.
Don’t Fogret (The Right) Blush

“Adding bright blush would give you that retro stripe,” says Surratt. But leaving cheeks completely colorless can have a flattening, zombie effect. “Stick with a creamy soft peach or pink if you have fair skin, or soft plum for darker complexions,” says Ciucci. Blend a cream formula, like Josie Maran Cream Blush in Sunset, on the apples of your cheeks for a natural (but not doll-like) flush.




Leave a Reply