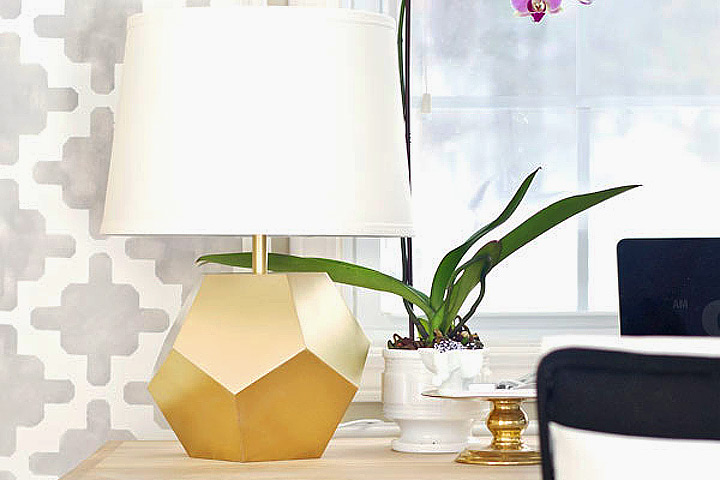
When I first saw Land of Nod’s Between a Rock and a Hard Place lamp, I instantly pinned it and put it on my wish list. What’s not to love!? This Gold Geometric Lamp is shiny (the facets amplify the gorgeousness), it’s interesting – making a statement, but not over the top, and the size is perfect for a dresser or desk. At $79, it’s not too expensive, but after mentioning DIYing it to David and getting him on board, we decided to go for it. We were able to make each base for about $11.50!
Here’s how we did it.
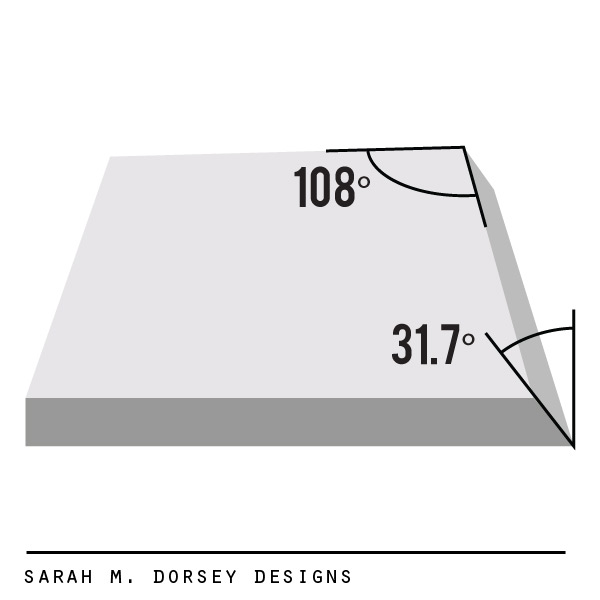
First, David did a little research and we found out that the shape (12 sided pentagon) is called a dodecahedron. Then after a little more googling and brainstorming, he determined what angles would be needed (see diagrams below). Math is definitely not my strong suit .. so I’m glad that it is David’s 🙂 The angles were pretty tricky to figure out (probably took about an afternoon), but there here in case you’d like to try it 🙂
Materials for 2 lamps:
- 1/2 sheet of 1/4″ MDF (enough for two lamps)
- Wood Glue
- Wood Filler
- Lamp Socket x2
- Wire (we used an extension cord x2 and cut off the end)
- Primer/Paint 1/2″ Copper Pipe (3″ section per lamp)
- Threaded Lamp Rod
- Nuts
- Miter Saw
- Sandpaper
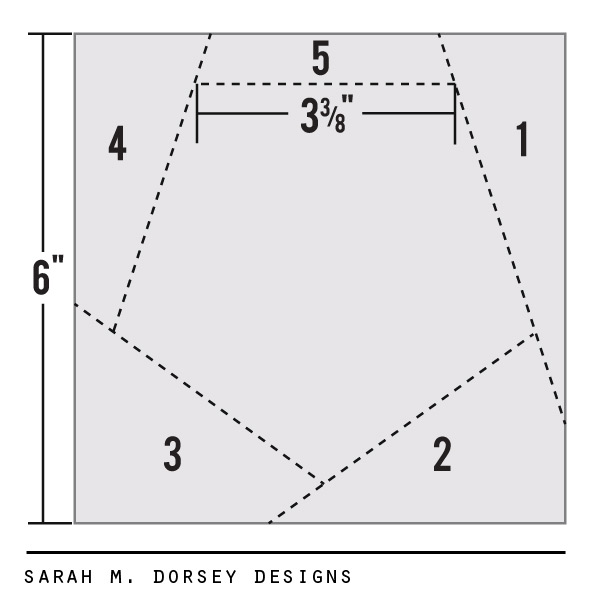
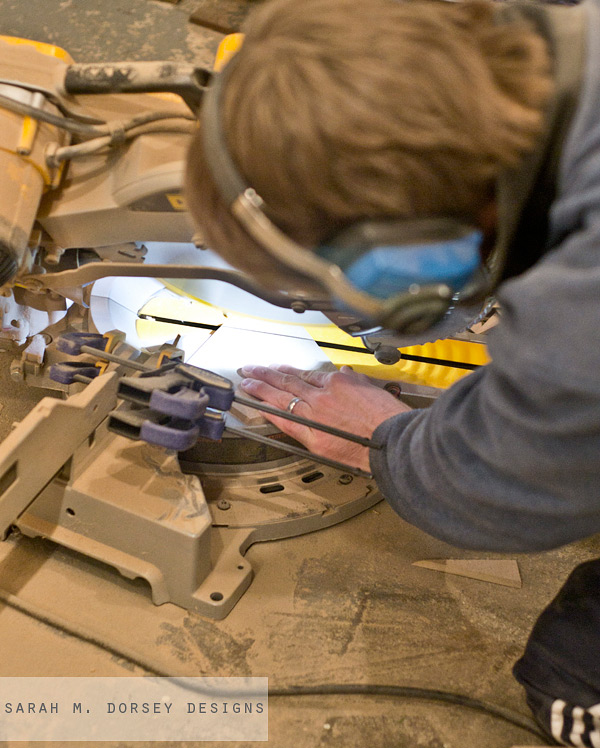
First, David cut 24 – 6″ squares (12 per lamp) out of the 1/4″ MDF. If you don’t have a table saw or sliding miter saw, have it cut into 6” strips at the hardware store.
1. Using a miter saw, set the bevel (blade tilt) to 31.7° and the miter angle to 18°.
2. Put a piece of tape or draw a pencil line on the miter saw fence 3-3/8” (this measurement was determined from scale that we wanted, feel free to adjust) from the blade. The mark will be used to line up all of the pentagon cuts to ensure that all of the sides are equal.
3. Make the first cut holding the 6” square straight on the fence. Rotate the piece so the cut edge is against the fence to make the second cut. Now that one of the angles is finished, line up the angle with the mark at 3-3/8” and make the third cut. Continue rotating and lining up the angle with the mark for the 4th and 5th cuts.
4. Finally, drill holes for the lamp assembly and the wire. Per lamp, drill a hole in the bottom side of one piece for the wire to exit the base and drill a 3/8” hole in the center of another for the threaded lamp rod to penetrate the top.
 After cutting one, we then traced the pentagon on remaining 23 MDF squares.
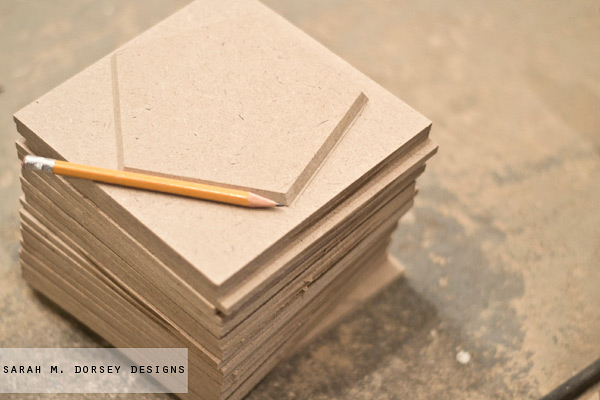
After David cut out all of the pentagons, we started assembling. Ideally we would have made a jig as a guide, but since we were only making two, we glued, held in place till the glue set and then taped to help hold it in place. It worked surprisingly well!
NOTE: The final lower pentagon and top pentagon had predrilled holes for the wire and lamp assembly. Don’t glue it all without those important holes!
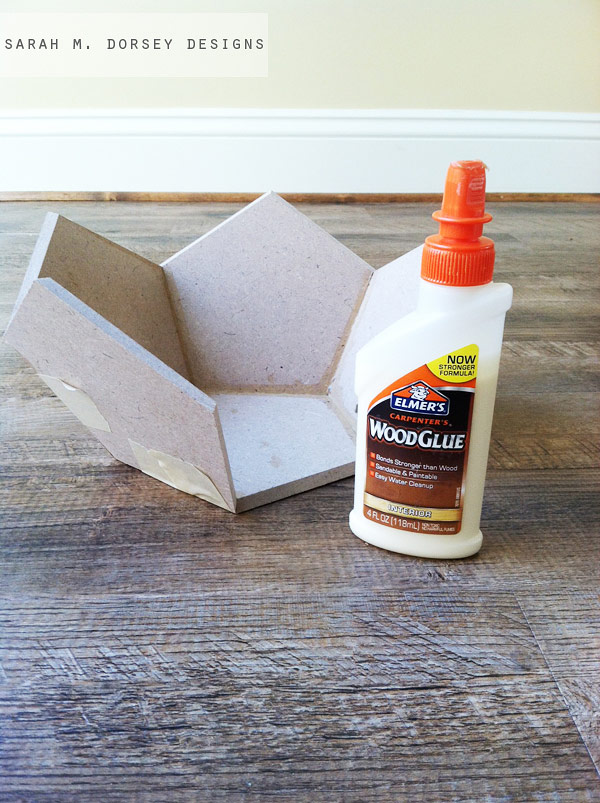
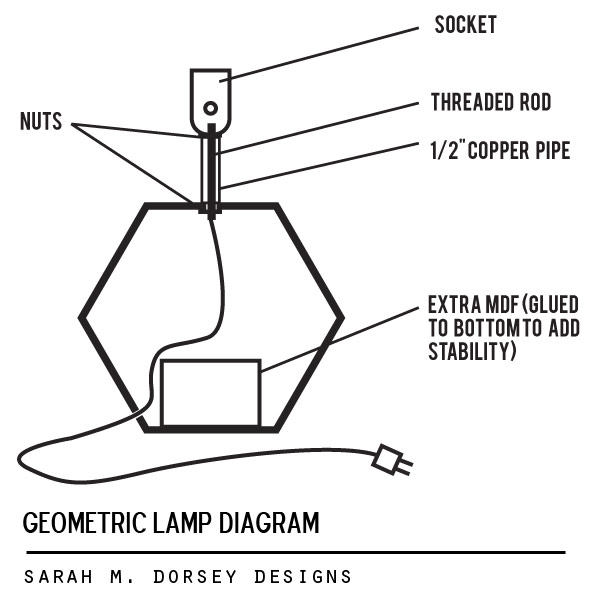
Prior to attaching the final pentagon on the top, we glued extra MDF to the bottom to give it a little extra weight. Then we attached the threaded rod to the top pentagon with a nut and ran the wire through the bottom hole and through the threaded rod. To finish the lamp base, we then glued the top pentagon on.
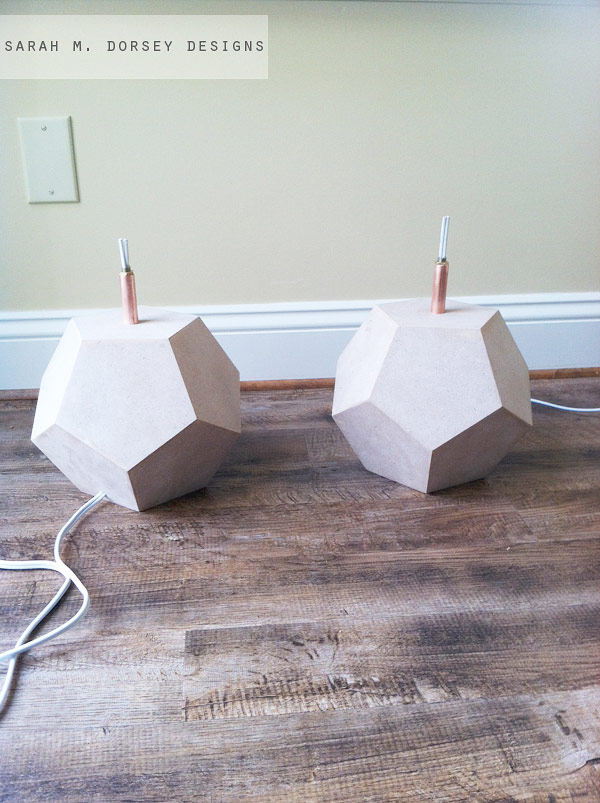
Since it’s difficult to get the angle exact every time, we filled in the little crevices with wood filler (sanding smooth, once dry).
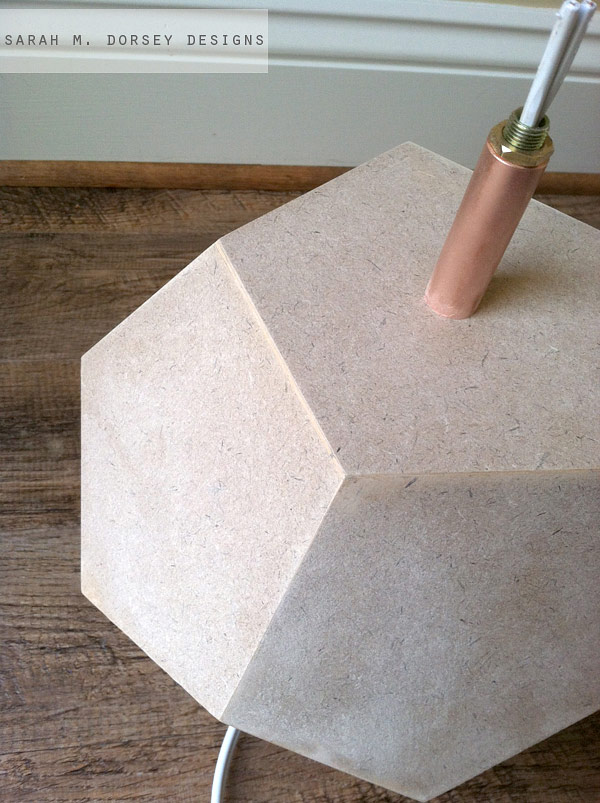
Next, we taped up the cord, primed and then painted with Rustoleum gold (apply in thin coats to make sure that it didn’t drip). About three thin coats.
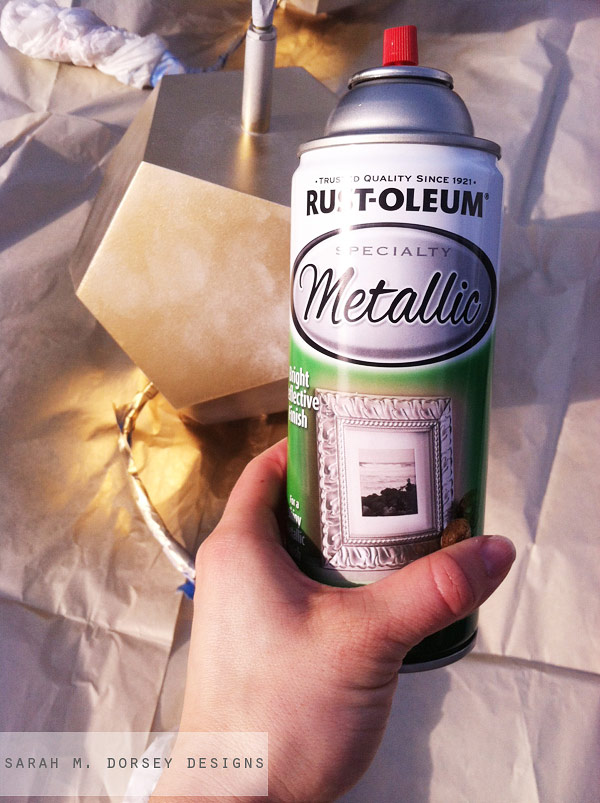
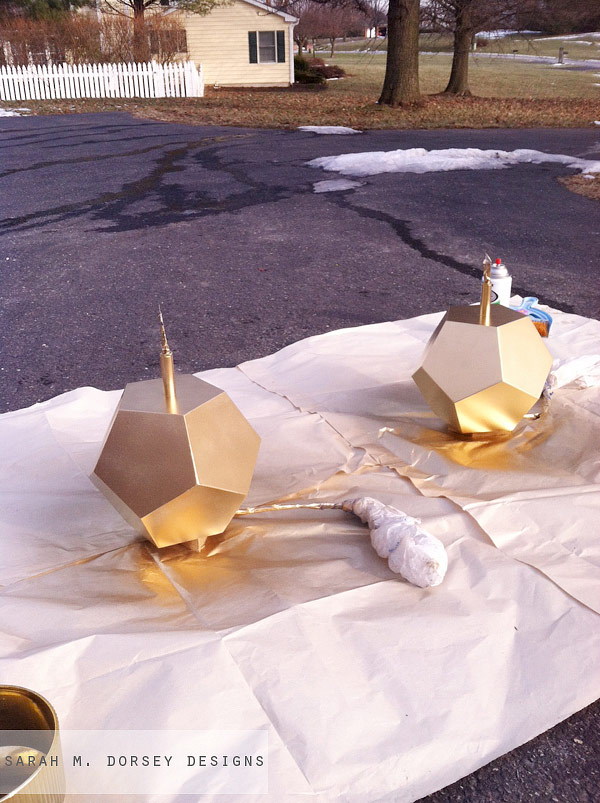
They got a little scratched while moving them to our new house, so I sanded and put another top coat on. Then I applied Rustoleum Triple Thick Glaze, trying to get an even coat, I applied it too heavily and got some drips. SO I sanded and repainted again ..
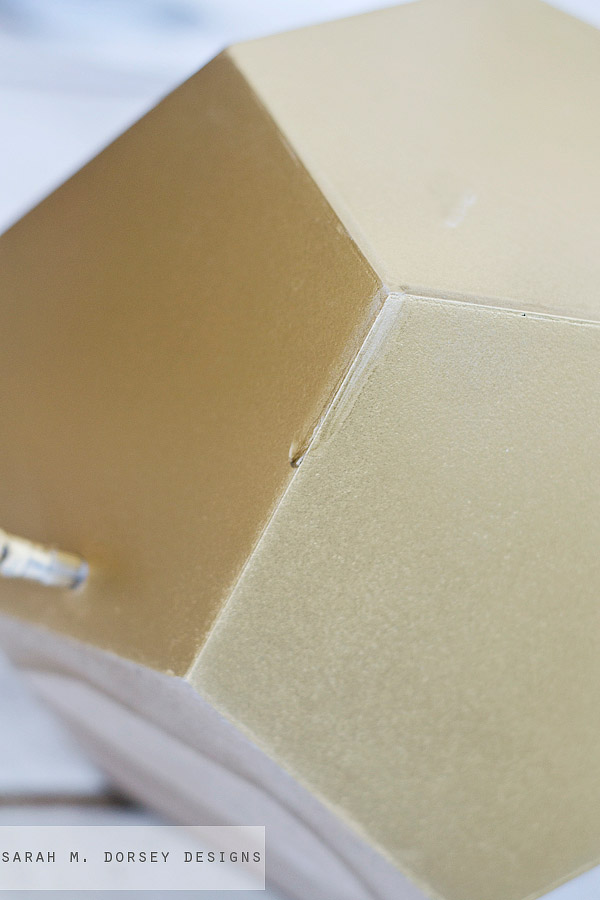
The gold spray paint easily takes fingerprints, so I would recommend using a clear coat THINLY. I’ll be applying one once the weather cooperates with me 🙂
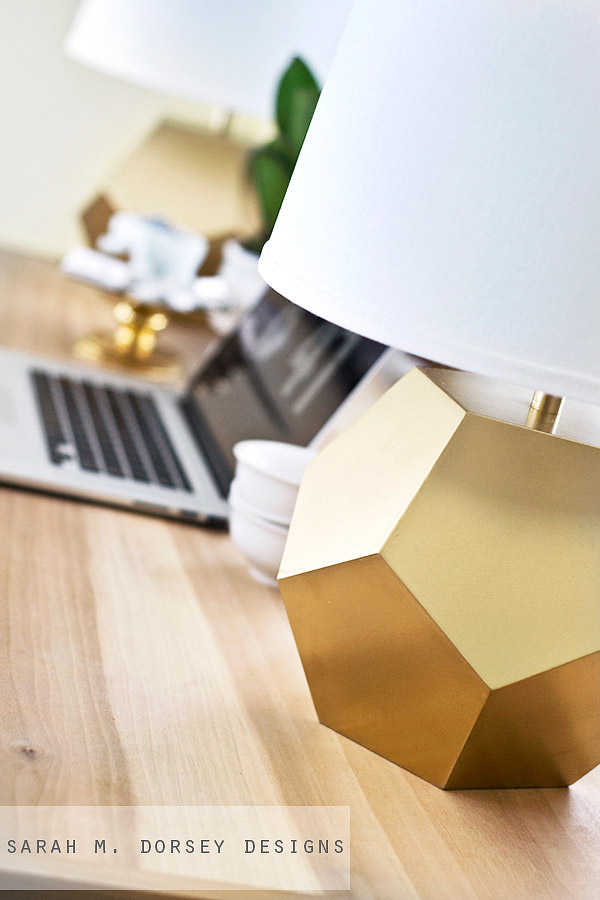
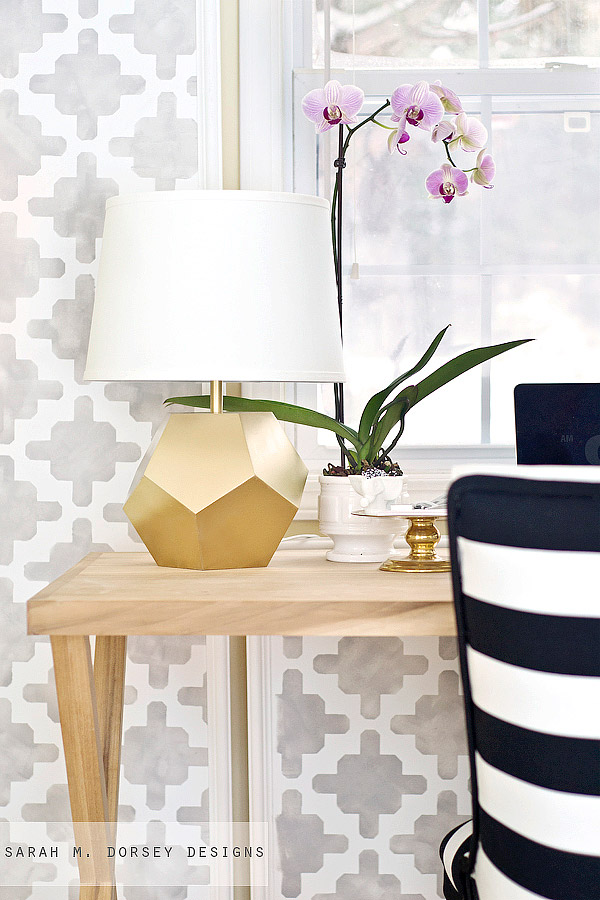
Total Cost:
- 1/2 sheet 1/4″ MDF $6
- Lamp Socket and Wire (extension cord with end cut off) $14
- Spray Paint $3
- Threaded rod, primer and copper pipe on hand $23,
- $11.50 per lamp base.
Not bad! I’m so glad that we tried DIYing before buying! Though I think the real thing would definitely we worth it if you don’t have a miter saw. What do you think, would you give it a try?




Leave a Reply