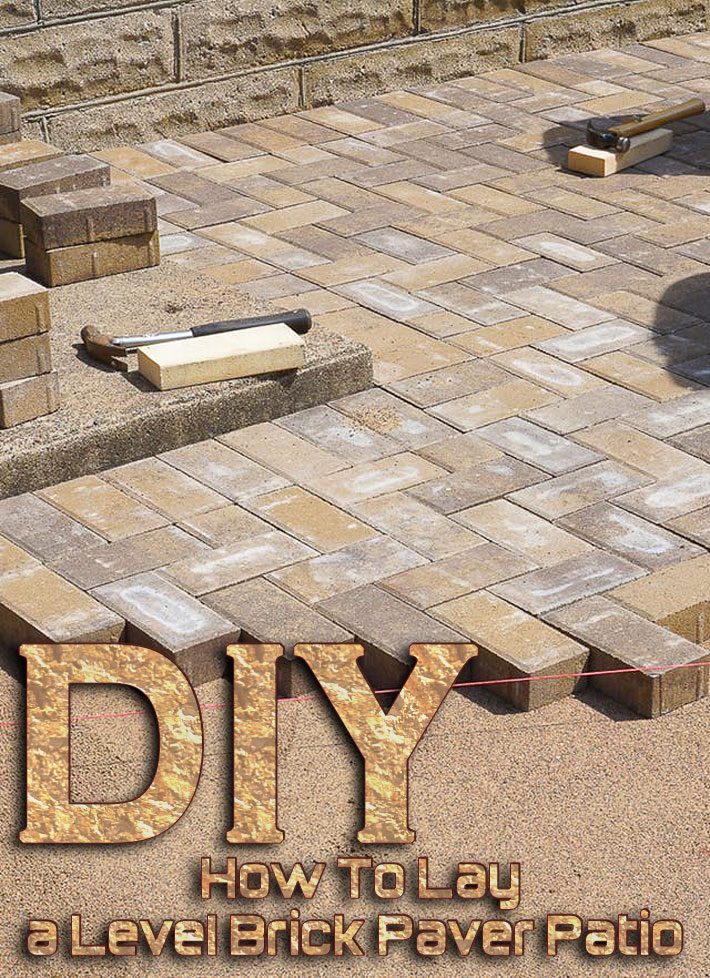
DIY How To Lay a Level Brick Paver Patio
Laying a brick paver patio in your backyard is a low maintenance and beautiful way to create an al fresco entertaining space you’ll be able to enjoy for decades to come. In fact, when installed properly, paver patios have even been known to last nearly a century, and the weathered patina the bricks develop over time will only help them improve with age. The initial cost might be higher than other patio materials, but the low-maintenance staying power of a brick paver patio is well worth the investment.
What You Need
- Brick patio pavers
- Snap edging and metal stakes
- Polymer sand & broom
- Mitre saw with 12” diamond saw blade
- Tile saw (helpful for angled cuts)
- Sand
- Class 5 rock
- Powered flat-plate tamper
- Mason line
- Line level (attaches to mason line)
- Wood stakes
- 1” PVC piping
- 2” x 4” Lumber (look for the straightest boards available)
- 48” level
- Spade shovels
- Wheelbarrow
- Regular hammer or dead blow hammer
- Garden hose
Instructions
1. Begin by removing the existing patio (if applicable).
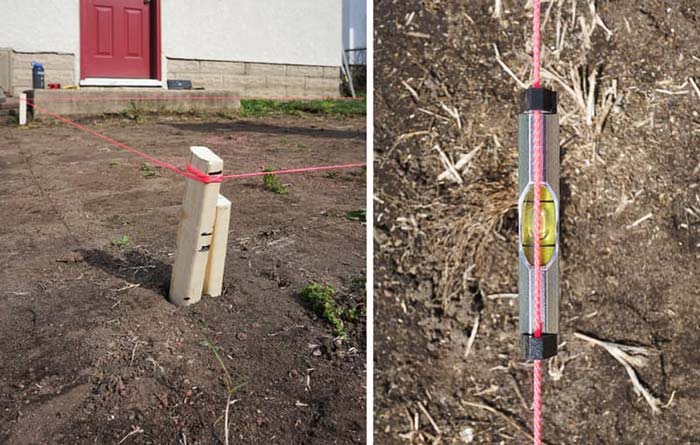
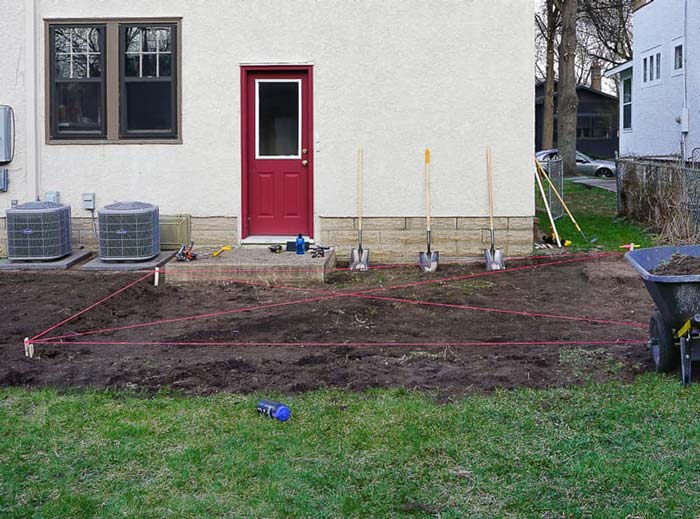
2. Stake out the perimeter of the patio with wood stakes and mason line. Hook the line level onto the mason line, and adjust the height of the line until it’s level or very slightly sloping away from your house. This step is important because you will measure down from your line as you dig, making sure the depth and slope stay consistent.
Once you establish your perimeter, connect the opposite staked corners with the mason line creating an “X”. You’ll use the “X” as another reference point as you dig out the middle areas of the patio.
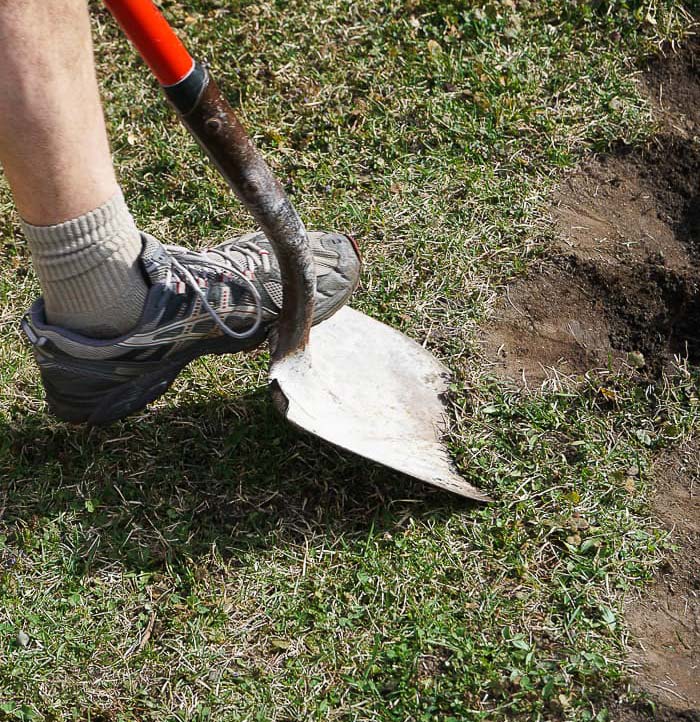
3. Now we’re ready to dig. Dig down 6.5-7” across the entire staked out area to create enough depth to accommodate the rock, sand and paver layers.
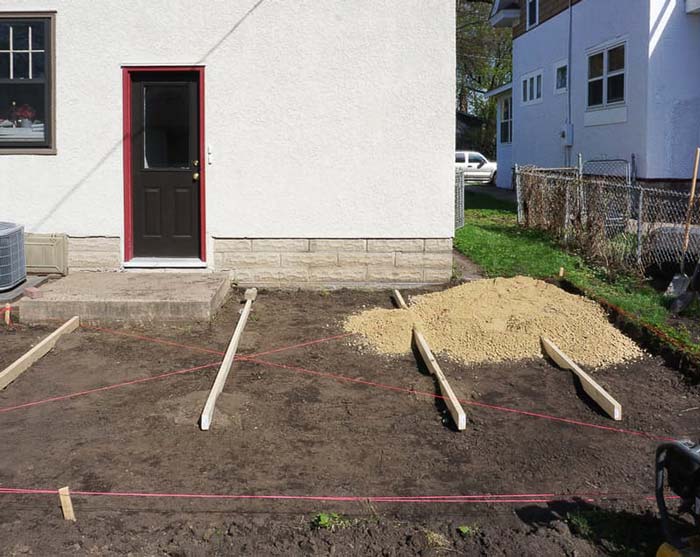
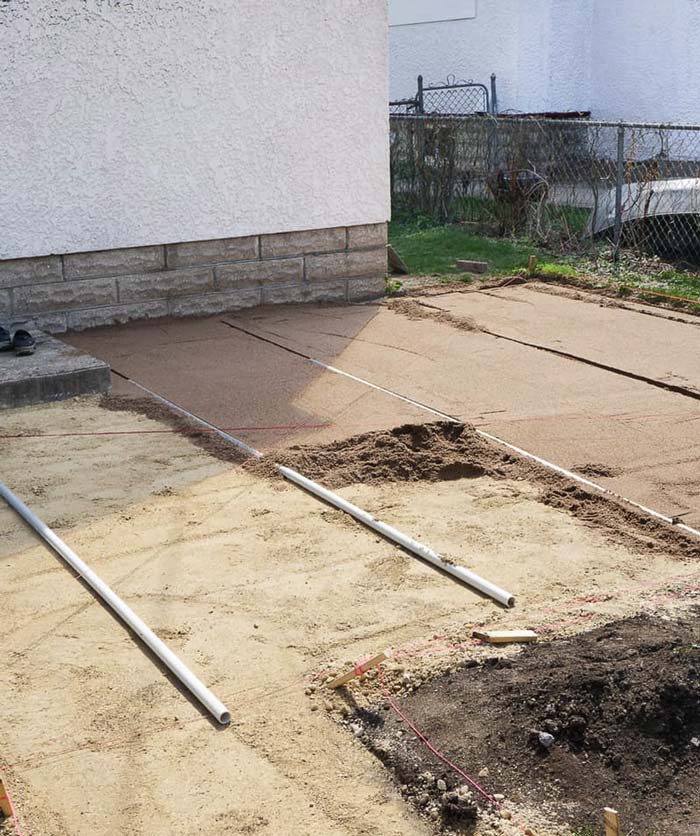
4. Stand the 2” x 4” boards on their sides (3.5” high) running parallel across the patio area. The boards will function as a depth marker and leveling guide. Be sure the boards are both level and slightly sloping away from your home as well as level with one another. Fill the staked area with 3.5” of class 5 rock.
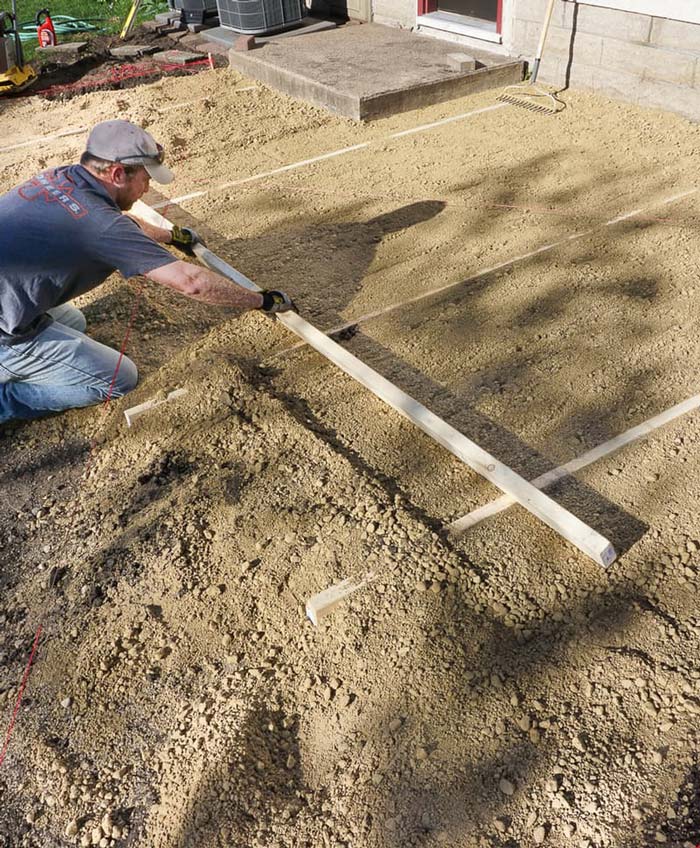
5. Once the area is filled with rock, slide another 2” x 4” across the 2” x 4” boards, scraping off the excess rock, and leveling out the area.
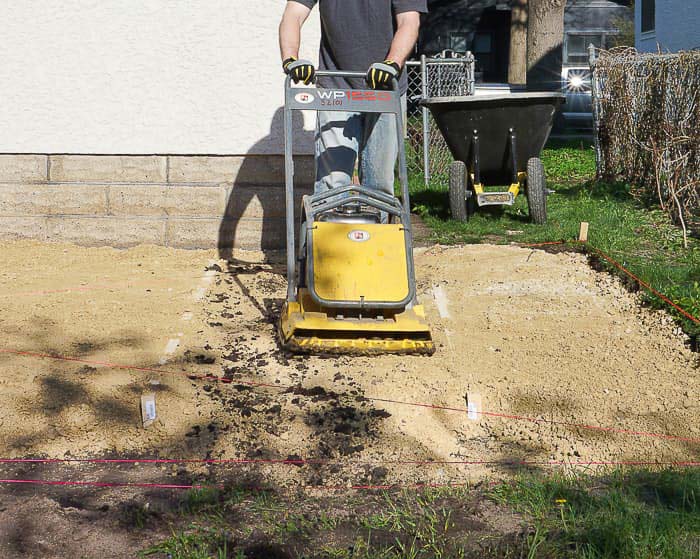
6. Then use a powered tamper to pack the rock into the ground. Once the area is leveled, carefully slide the 2” x 4” boards out of the rock, and backfill the voids with additional rock.
7. Repeat this same process with a layer of sand. Position the 1” PVC pipes across the patio area in a similar manner and layout as the 2” x 4” boards from Step 4. Begin filling the area with 1” of sand. Use a 2” x 4” board to scrape off the excess sand and, in effect, level the area. Pack in the sand layer with the powered tamper, before sliding out the PVC pipes and back filling with an extra bit of sand in the voids.
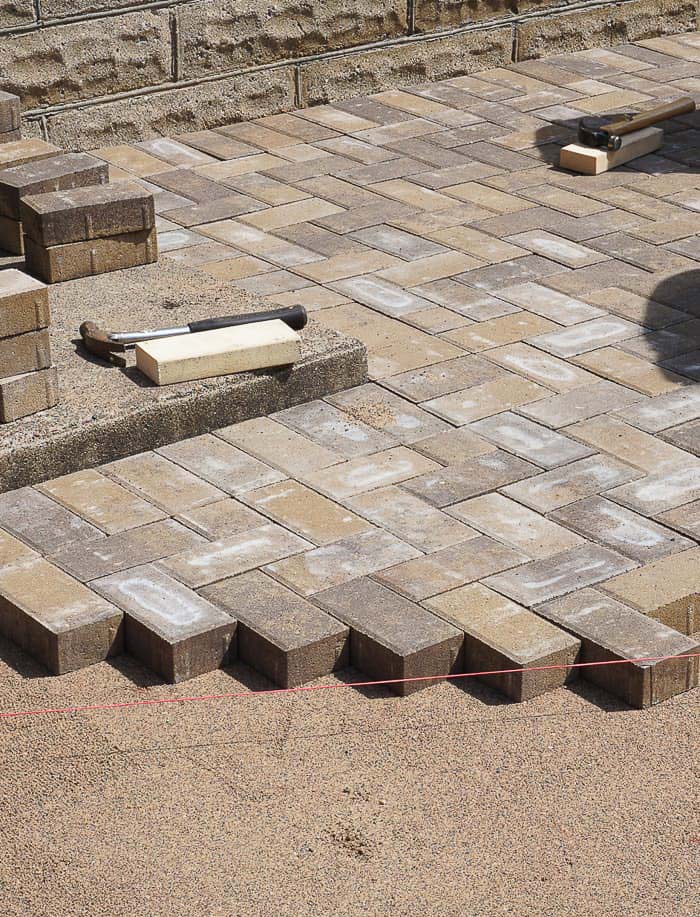
8. Now we’re ready to lay the pavers! Lay the snap edging around the perimeter of the patio and secure into place with metal stakes. Begin laying the pavers in a corner of the patio that you know is square, such as a corner where it meets the house. In our case we began in the corner where the patio met the house and the back stoop. The pattern and border layout options can be seemingly endless, so make sure you have your layout, pattern and whether you plan to include a border nailed down before you begin.
We chose to include one full row of pavers around the entire perimeter of the patio in tandem with a 90-degree herringbone pattern. We laid the entire patio border first, to define our layout and then filled in with the 90-degree herringbone pattern. When you need to make straight cuts, a mitre saw fitted with a diamond blade will work just fine, but if you find your layout calls for several angled cuts for a curve, you’ll probably want to rent a tile saw as it’s much more accurate for these kinds of cuts.
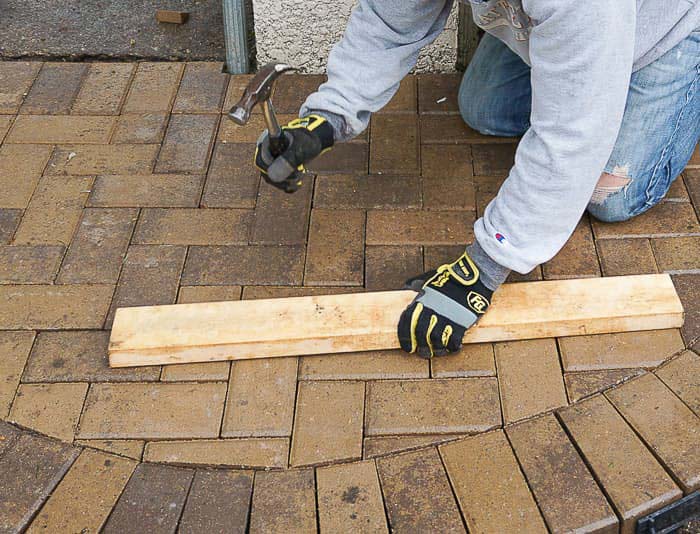
9. As you work your way across the area laying pavers, you’ll want to go back every so often with a 2” x 4” and a hammer (or a dead blow hammer) to pack the pavers into the sand.
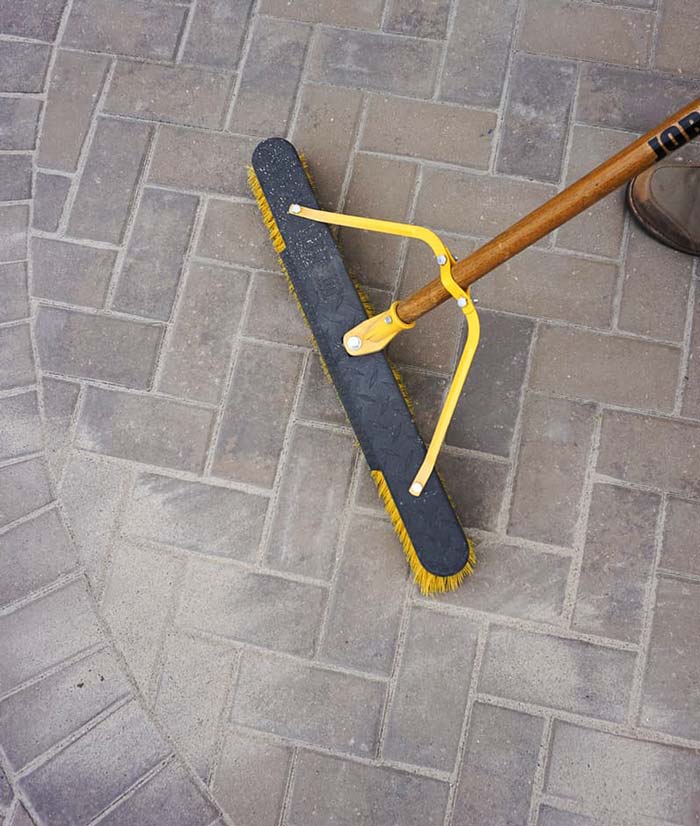
(5.) Once the entire patio is laid, sweep the entire surface with polymer sand and a janitor broom. The polymer sand will soften when wet, and harden as it dries providing a weed barrier between the pavers.
(6.)Next, go back over the pavers and sand with a spray of water from the garden hose to help set the polymer sand. Allow to dry and repeat 2 more times. This can be done over a day or two if need be.
(7.) Last but not least, you may need to fill in around your newly paved area with sod or grass seed.
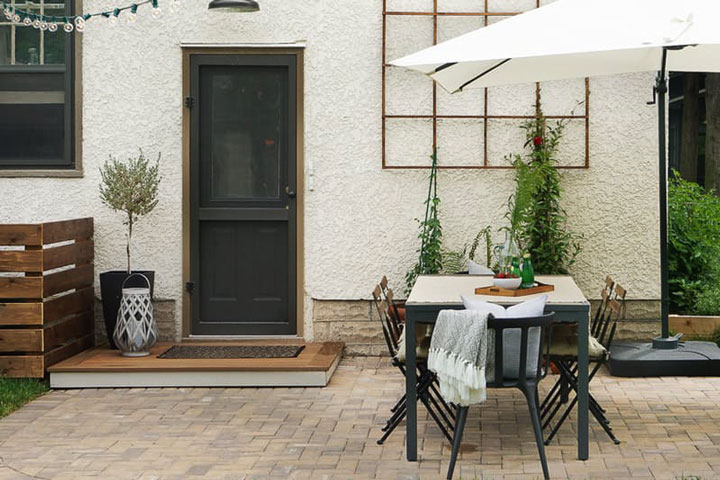
(Image credit: Kory Reckinger)



Where to purchase these pavers from?