Easy DIY – Dipped & Embellished Wooden Utensils
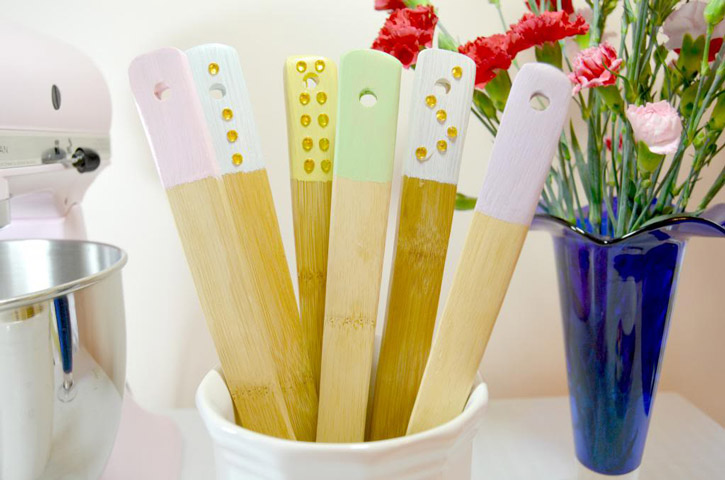
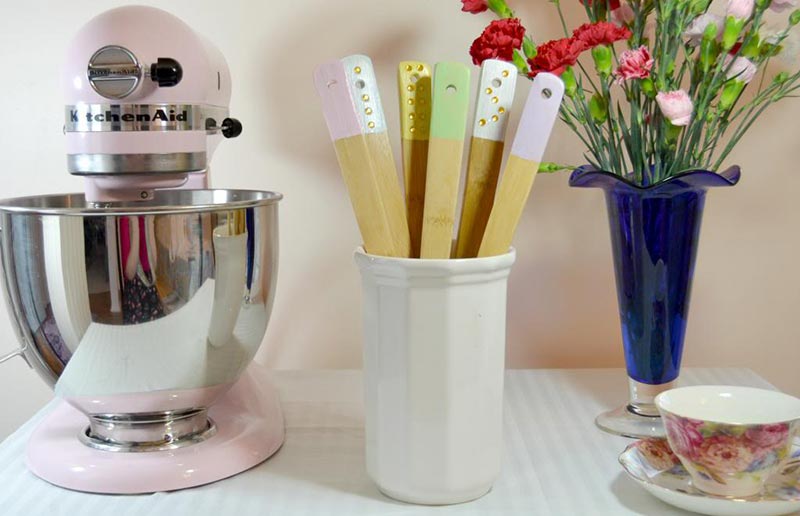
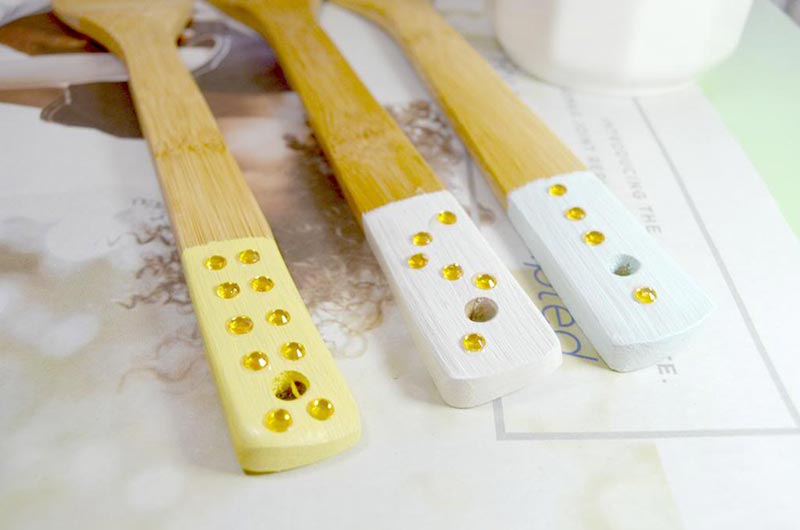
An Easy DIY … Whether it’s a wooden spoon or a plain, white tea towel, there are so many easy, quick ways to jazz up the most bland parts of your home. That’s why I took my wooden utensils and turned them up just a notch. With a quick swipe of a paint brush and a couple of embellishments, I turned my spoons and spatulas into a piece of art for my kitchen nook!
Materials:
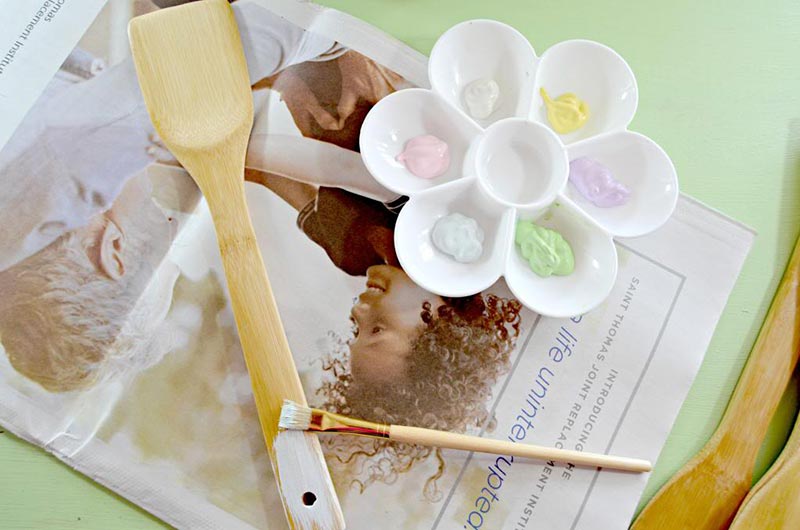
- craft paint
- craft glue
- paint brushes
- satin overlay
- embellishments
- wooden utensils
Step 1.
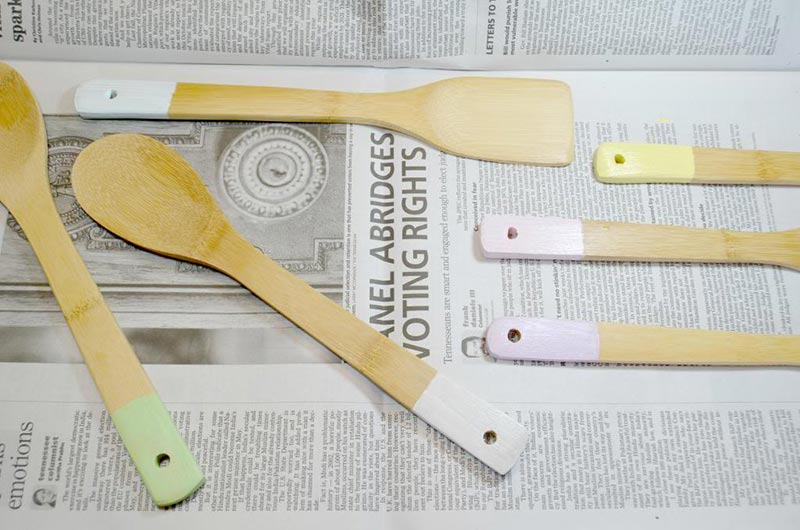
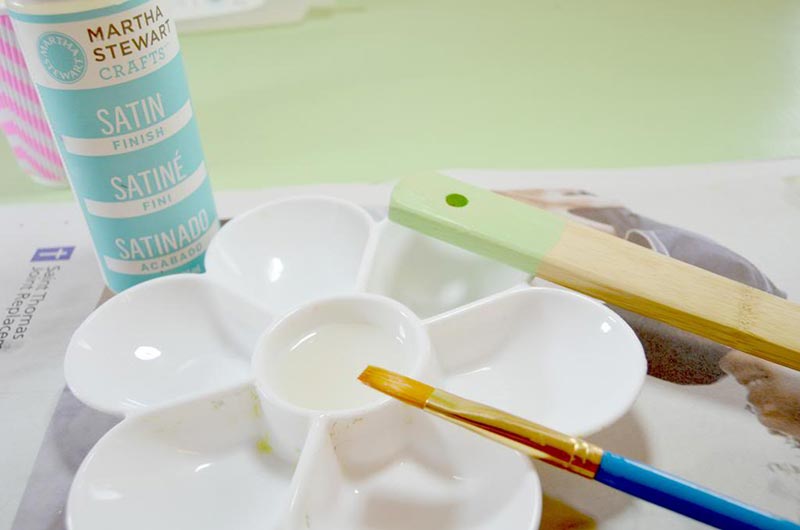
First things first, paint your handles. If you’d like a more precise look, tape off a stopping point. I liked a bit of an imperfect, casual style so I just allowed the brush to make the ‘shabby chic’ edges.
Step 2.
Allow the handles to completely dry. I painted one side plus the two edges before I flipped them over and painted the other.
Step 3.
Apply your satin finish. This isn’t a necessity but it will give it a seal and shining finish. Also, the paint is less likely to chip during usage. You will need to allow this to dry completely before you begin to embellish.
Step 4.
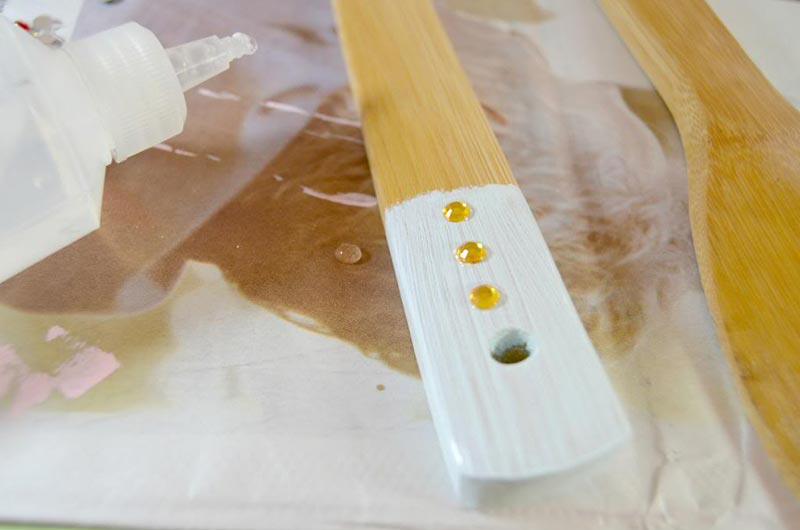
It’s time to embellish! Grab your craft glue and get creative. You can use everything from sparkles to washi tape to sequins to buttons. I chose small crystals to do the job and decided to just stick with gold pieces, bringing out the golden tones in the wood.
Step 5.
Let the embellishments dry completely. You don’t want to place your utensils in a canister or display and have your new decor bits sliding off the handle!
Once everything is dry and sealed, show them off for everyone to see. Besides, it’ll also give you easy access to them during cooking hours.





Leave a Reply