How to Make Homemade Candy Canes
A candy cane or peppermint stick is a cane-shaped stick candy often associated with Christmas! It is traditionally white with red stripes and flavored with peppermint, but you can make it with whatever flavoring and color you want to!
To make these candy canes, you’re going to have to work fast and truth be told, it’s a little tricky to get into the rhythm of rolling and twisting this hot candy. It’s definitely not a kid friendly recipe since the candy is incredibly hot. To work with it you can get specialized sugar gloves, OR you can get yourself a 99 cent pair of finger gloves and cover those with latex ones. Unless you have skin made of leather, you’re going to want protection on your hands to deal with the heat. Once the candy is cool enough to be handled without gloves, it won’t roll or attach to the other color properly. Keep your oven heated to around 200F to keep the candy you’re not using warm. You don’t want to leave it too long in there though as it will get too soft! If that happens, bring it out piece by piece to cool slightly and roll into a candy cane. I told you it’s a bit tricky!
The cream of tartar is an optional addition to the recipe, but it helps in preventing crystallization. Crystallization will ruin the candy and you won’t be able to form it into candy canes. Corn syrup also acts as an interfering agent for preventing the crystallization, but extra help never hurts. To also help prevent the crystals from forming, use water and a silicone brush to wash down the sides of the pan once the sugar has dissolved. Rumor has it that one tiny crystal can ruin your whole batch of candy!
Ingredients and Materials:
-makes between 12-18 candy canes
- 1 1/2 cups (300g) granulated sugar
- 1/2 cup (12mL) clear corn syrup
- 2 tablespoons (30mL) water
- 1/2 teaspoon (2.5mL) cream of tartar
- White Americolor Coloring
- Peppermint candy oil
Procedure:
- Preheat oven to 200F. Line two baking trays with silicone mats. Lightly oil a bench scraper and scissors.
- In a small saucepan, combine sugar, water and corn syrup. Stir until water is dissolved, then insert a candy thermometer. Heat mixture until 265F.
- At 265F, add cream of tartar and stir to combine. Continue to heat to “hard crack” stage, or 300F.
- Remove candy syrup from heat and stir in peppermint oil. Pour half of the candy onto one of the silicone lined baking trays. Add a few drops of red coloring to the poured liquid. Leave for a minute while working on the candy remaining in the pot.
- Add a few drops of white coloring to the candy in the pot, and stir to combine. Pour this onto the second tray, and place into the warm oven to stay warm while working with the red batch.
- Using the scraper, mix and blend color into the candy mixture. Pull the candy briefly. Roll into a log the length of the pan, and cut it into 4 equal pieces. Place into the oven to stay warm while working on the white.
- Remove the white candy from the oven, and start to pull it. The longer it is pulled, the whiter the candy will become. Roll the candy out into a long log the length of the pan and cut into 4 pieces.
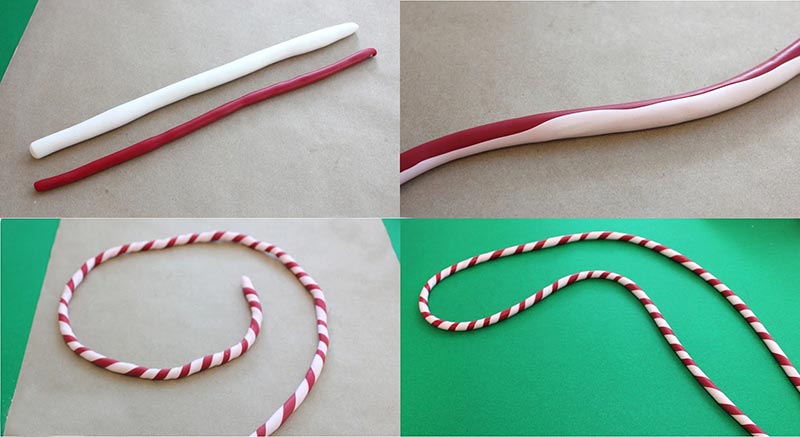
- Wearing a pair of knitted gloves covered with a pair of latex gloves, take one piece of red and one piece of white, and twist them together, pressing the colors together while twisting. Roll out onto a large silicone mat twisting while rolling. Once desired circumference is reached, cut into 6″ pieces, adding a hook to one end.
- Allow the candy canes to cool and solidify before storing.
- The canes can be wrapped in plastic wrap, and stored for 1-2 months.


Leave a Reply