Climbing Rose Trellises
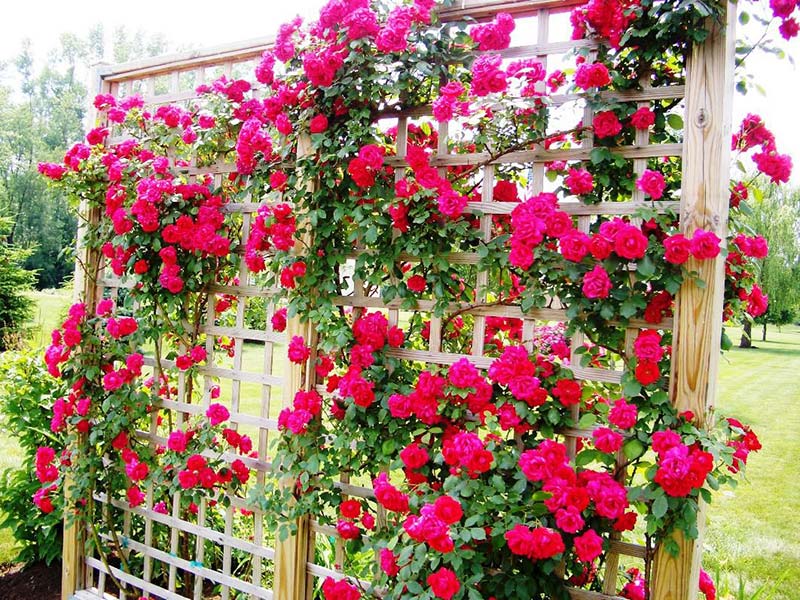
Anyone who has ever grown a climbing rose will tell you one thing is certain, at some point early on in the first season you are going to have to support your roses or else they will grow everywhere and become very unruly and difficult to manage. The most common way of securing these little beauties and getting them to grow in the shape that you want is to use Climbing Rose Trellises or other similar supports!
Now there are a lot of trellises out there on the market for just about any application. Some are quite expensive while others can be picked up on the cheap, but the first thing you need to do is figure out what size you need. The easiest way to do this is to determine the mature height of the roses you are growing, or decide what height you are going to prune them to and go from there.
What to Use for Climbing Rose Trellises:
There are many, many options out there for rose trellises, so choosing the right one might prove to be a challenge for you if you aren’t sure what to get. I personally prefer the metal trellises because they last longer than the wooden ones. If you have ever tried replacing a rotting wooden trellis from a climbing rose that has been growing for many years, well let’s just say it isn’t a fun task.
There is nothing wrong with the wooden ones if that suits your tastes, but be forewarned, I’ve tried these types numerous times and I have always found myself being disappointed in their durability. That’s not to say that you won’t have a better experience, but if you can afford a few extra bucks, I suggest saving yourself a potential headache and buying a metal rose trellis. You can always spray paint the trellis any color you like if the current one doesn’t suit you.
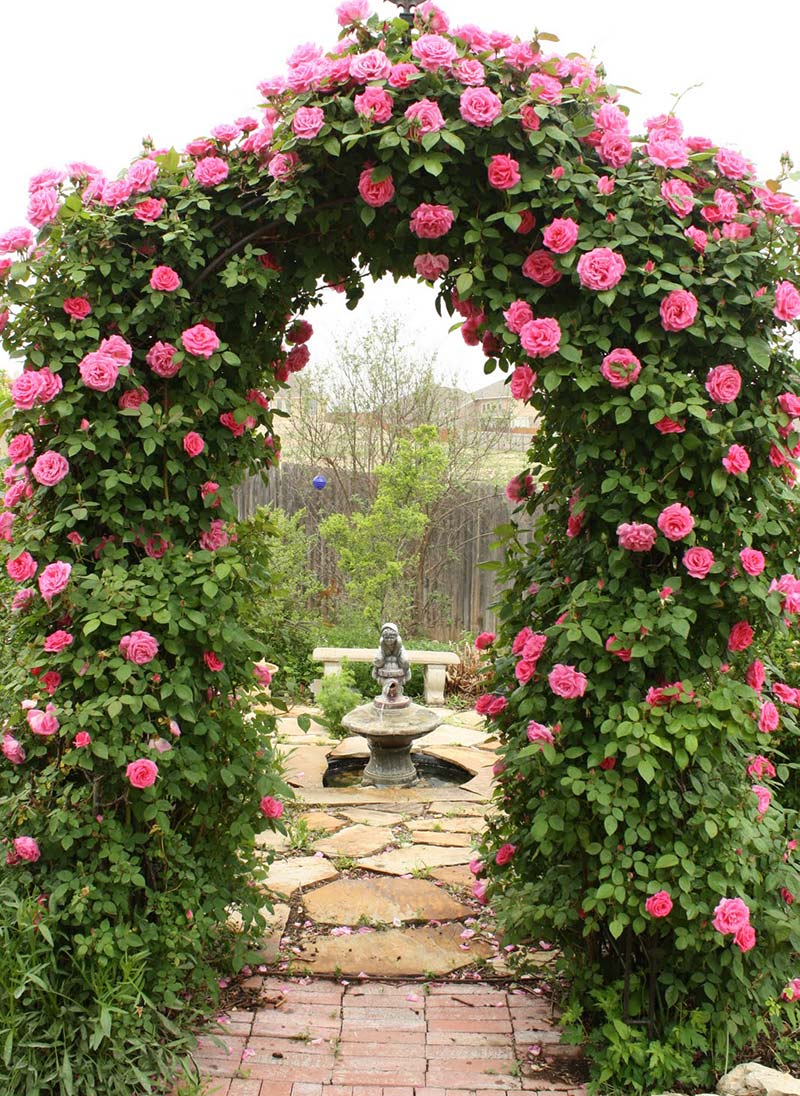
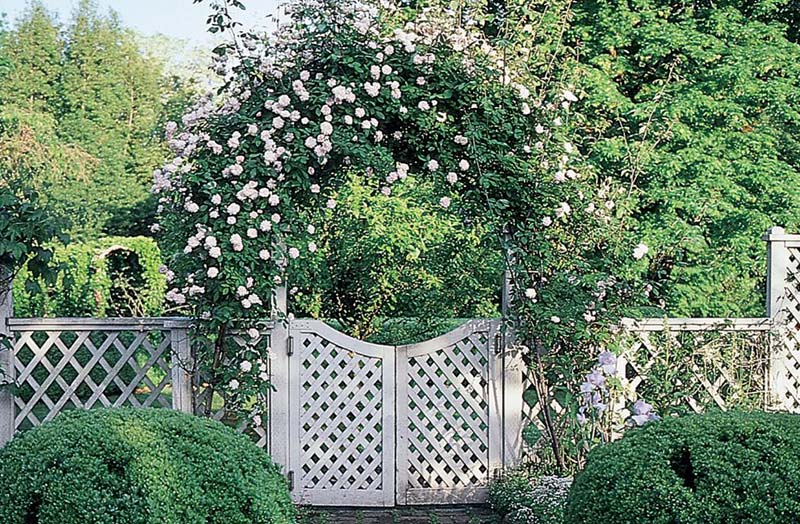
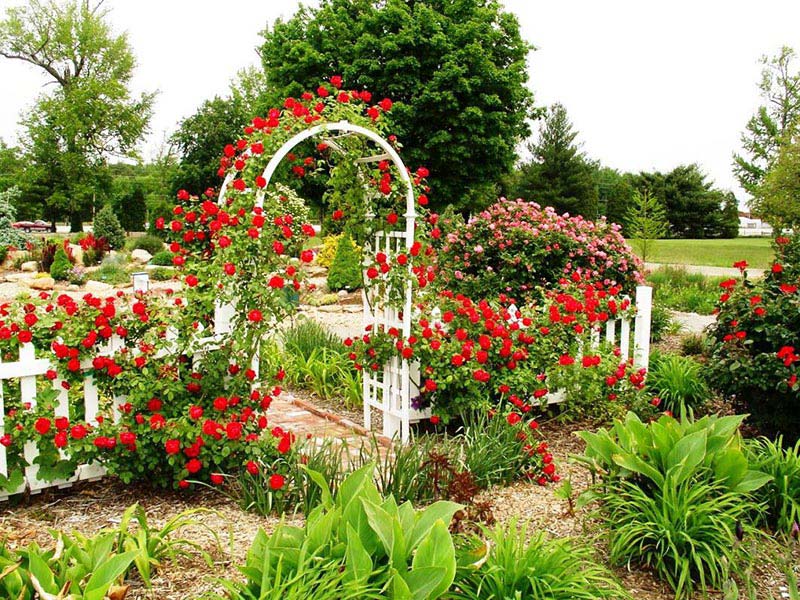
You can also grow your climbing roses up and around an arbor if you have one in your landscaping. These actually make great sturdy supports for climbing roses and they are extremely attractive to your guests who might enter a garden through it. Imagine how inviting a garden entrance could be with an arbor covered with a fragrant climbing rose that is just covered in blooms!
How to Grow Climbing Rose Trellises:
Starting climbing rose trellises is really not that difficult but we can give you a few pointers to help you get started. First you will obviously need a climbing rose and an arbor or trellis of your choice. If you are using a trellis that will be mounted to a wall or fence, make sure you allow plenty of room between the trellis and the fixed structure. I suggest a minimum of 3 inches as this will give you ample room to gently train your climbing rose in and around the trellis. If you don’t leave enough room, you might find it difficult to work with.
Next, plant your rose at the base of the trellis, but 6-10 inches outward from it. This is important for the branches that will grow towards the rear of the plant, you don’t want them growing behind the trellis if possible.
As your climbing rose grows, the canes early on will be more flexible, so gently shape them to grow all along the face of the trellis, using as much of the support structure as possible. You can use a number of items to secure the plant to the trellis, however I prefer the cloth type ties that are sold in most garden centers. These won’t dig into and damage the plant like wire twist ties could.
As a general rule of thumb you don’t want the branches of your climbing rose to overlap other branches if you can, however this is only a guideline and if you need to do so in order to achieve the shape you want, have at it. The reason rose growers avoid doing this is to expose as many leaves as possible to direct sunlight. So you can always trim the lateral shoots off to keep one set of leaves from shading another.
Planting:
If you purchased your rose as a bareroot plant, planting around climbing rose trellises is a little different than if you got a rose in a container. You should also have a bag of organic mulch handy before you begin as you are going to mix your soil 2 to 1 with the organic mulch. This gives your roses a really great start.
If your rose is in a container, dig a hole that is just about twice the size of the container it’s in. It’s good to have a wheel barrow handy because you can put the soil right in there for mixing. You also want to make sure you dig the hole deep enough so that the top of the container is level with the top of the existing soil. The nursery should have already buried the bud union at the appropriate depth for you so don’t change it. Then backfill with your mix and set up your climbing rose trellises.

If you have a bareroot plant then you will need to dig a hole in front of your climbing rose trellises that is the width of the plant’s roots when fully extended. The idea here is to let the roots lay in freely without being folded around the hole.
You are going to want to set the bud union about an inch or two below the soil surface. Back fill the hole halfway and give it a thorough watering. Then backfill it the rest of the way and water again. This will ensure proper coverage of the roots.
Growing climbing rose trellises is a fun and exciting hobby and I would recommend it to any gardener looking to incorporate roses into their landscaping ideas!
Related
Which Types of Roses Are Right for Your Garden?
Essential Tips for Growing Roses Like a Pro
If you like this post, please give it a five star review and help me share it on facebook!



Leave a Reply