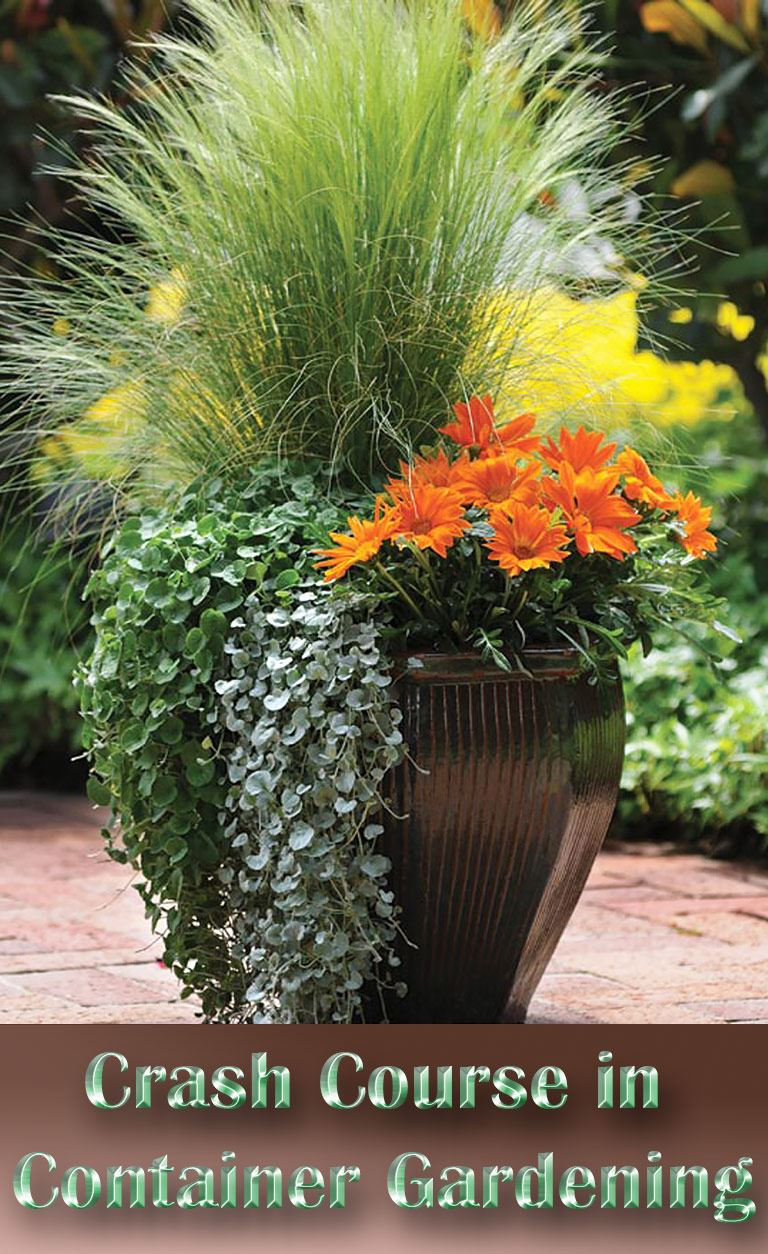
Container gardening is so similar and yet so different from growing in ground that it deserves its own spot in the sun. We’re about to take you through a crash course on growing plants in pots and show you everything you could possibly need to know to get started.
Pots
The first step to successful container gardening is to uncover the mystery surrounding the pots and containers you’ll have to choose from.
There are as many types of containers to grow in as there are plants to put in them. Practically anything that can hold soil and drain out water can be planted in. You can get creative by planting in food containers, boxes, bags, tires — some people even put plants in old boots!
There are some things to keep in mind when choosing a container. If you’re growing food, your container needs to be food-safe. Keep in mind that many plastics release toxins when they heat up, and many old metal, glass or ceramic containers could be laced with nasty elements, such as lead. Better safe than sorry when growing fruits and vegetables, go with a food-safe container that was made for holding plants.
Choosing the right pot for your plants
There are many choices to be made in this department. Pots can be made from wood, resin, fiberglass, metal, concrete, plastic and ceramic, both glazed and unglazed.
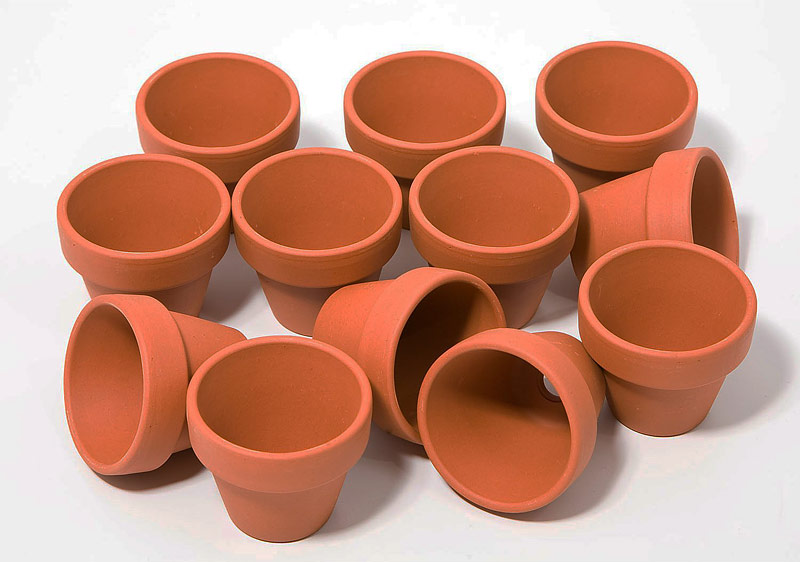
Any of these options are fine for growing in, but there are subtle differences between them that may help you make up your mind.
- Plastic and fiberglass pots are great for growing large plants that require pounds of soil. They’re lightweight and easier to move if needed, and they will stand up to any type of weather without trouble.
- Untreated wood pots work fine in the short-term, but will rot after a few years of use, and treated wood pots shouldn’t be used for growing edibles due to chemical leaching.
- Unglazed ceramic pots tend to suck water away from the soil, which can be a good or a bad thing, depending on the type of plant inside. Unglazed pots also shouldn’t be left outside in cold weather, as the absorbed water will freeze and crack the pot. This is something to take into consideration if you need to leave your potted plant outside all year round.
Pot must have decent drainage holes

Proper drainage is the most important aspect of container gardening. Make sure your pot has a large drainage hole, or several holes in the bottom. If you’re using metal, wood or plastic pots, it’s easy enough to add extra drainage holes, but it’s very difficult with ceramic, so make sure you’re good to go from the start.
Many gardeners put a filter in the bottom of the pot to keep soil in and let water out. This can be as simple as a coffee filter laid in the bottom, or a piece of wire screening. It’s totally optional and only a matter of preference.
The Gravel Myth: It’s important for anyone getting into container gardening to know that the gravel/broken pottery/rocks in the bottom of a pot to help drainage is an absolute myth, and will in fact have the opposite effect of holding more water in the soil. If you’re desperate for better drainage, try adding more drainage holes, or more perlite to your potting mix.
Soil
When it comes to growing plants in containers, it’s truly all about the soil. You can be the best caretaker in the land, but your plants won’t thrive unless the soil is the best it can be.
If you’re growing plants in containers, you really must use potting mix/soil. Many people mistakenly think you can take soil straight out of the garden, put it in a pot and be done with it. Garden soil is heavy with clay, which makes it hard for water to drain out in a timely manner. When water sits in the soil too long, it can cause the roots to rot or fungus to grow, which means sure death to your plants.

If your potting mix is light and fluffy when you get it, make sure to thoroughly soak it with water before planting in it.
Another thing to keep in mind is: specialty plants need specialty soil. For growing cacti or succulents, make sure to buy potting soil formulated for your needs. These plants need a soil that will hold less water and drain more quickly.
Watering
Plants in containers need to be watered more frequently than plants in the ground. Since their roots can’t dig deep into the ground to find water, they are at the mercy of their caretaker to provide it whenever they need it. Check to see if your potted plants need water at least every other day, and several times a day in hot weather. An easy check for moisture is to stick a finger into the soil up to the second knuckle. If you feel no moisture, it’s time to water.
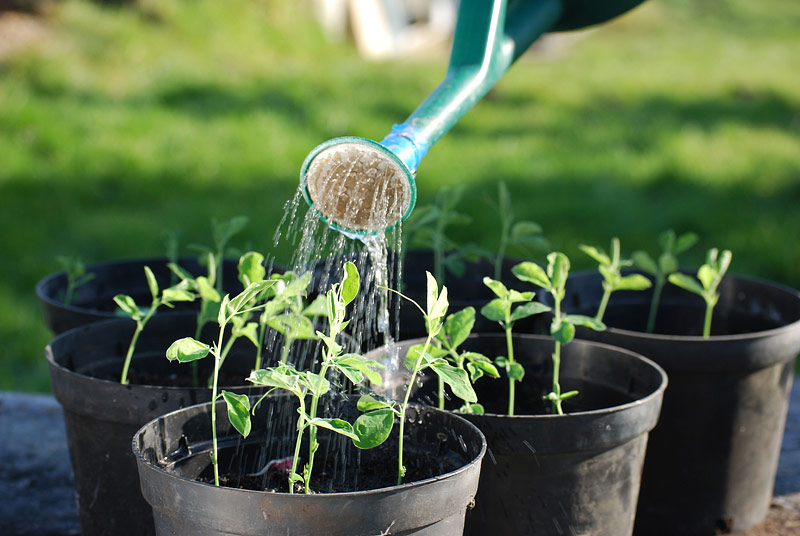
Potted plants can be so thirsty in the summer that it can become a nuisance. In this case, it may be a good idea to invest in some self-watering pots, or make some yourself.
Fertilization
Just as potted plants are thirstier than their ground-dwelling friends, they’re also hungrier. If your potting mix was made with time-release fertilizer, your plants will be better equipped to survive, but should still be supplemented with liquid or foliar fertilizer.

If your potting mix is the bare minimum, plan to fertilize around every other week to keep your plants in optimal health. Remember, they can’t go rooting through the depths of the garden for the nutrients they need, they depend on you for everything.
Planting
There are a few things to think about before getting out the trowel and getting to work on planting. Plants that are suddenly thrust into a new environment can get sunburned, wilt or topple over from wind. They can also go into transplant shock and die from the sudden changes. Delicate plants and seedlings need to be hardened off before set into their final outdoor space.

Start by leaving it outside, in partial sun (if possible on a wind-free day with no rain) for 10 minutes. Increase the time by 10 minutes every day for a week, then leave it out for half the day, and finally all night. This will strengthen the plant and allow it to slowly adapt to its new life.
A note on root-bound plants
A root-bound plant is one that has been in too small a container for too long, and the roots have spun round and round the container, making a giant root knot. This situation must be remedied before transplanting it to the ground or a larger pot.
First, gently loosen the roots as best you can, and if they’re so tight they won’t budge, make a few vertical scores with a sharp knife. Next, set the roots of the plant in a bucket of water and let it sit until it stops bubbling. This may take a few seconds or many minutes. These steps will help the roots better absorb water in its new home and will make for better contact with the soil.
How to plant in a container
When you remove the plant from its current home, be as gentle as possible and try not to disturb the roots. It’s usually easiest to remove a plant from its pot when the soil is very dry. Squeeze or tap the pot if the plant is stuck, or run a knife around the edges. Never pull hard on the plant stem to get it out.
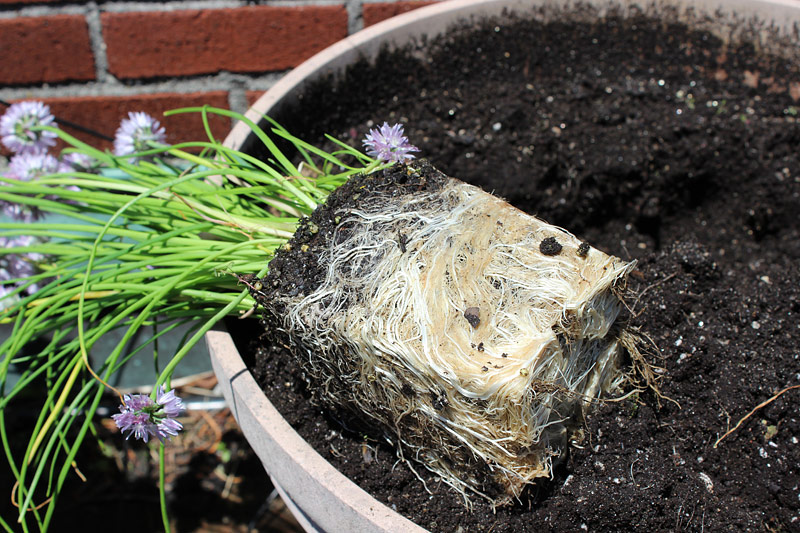
The soil line in the pot should be at least an inch lower than the rim of the pot. Dig a hole in the middle to the estimated depth of the plant and its root ball. Some plants, such as tomatoes, can be buried up to their top leaves and will sprout new roots out of the stem where it comes in contact with soil. Research before planting, and take this into account for the depth. Fill in around the plant and press it gently downward. Always water thoroughly after planting in pots, and continue to water for a few days to make transplanting easier. After a week, give the plant some fertilizer to give it a jumpstart into its new life.
There you have it. Container gardening in a nutshell. It’s a lot to take in for someone just getting started, but every aspect laid out here is important to remember to find success with growing plants in containers.


Leave a Reply