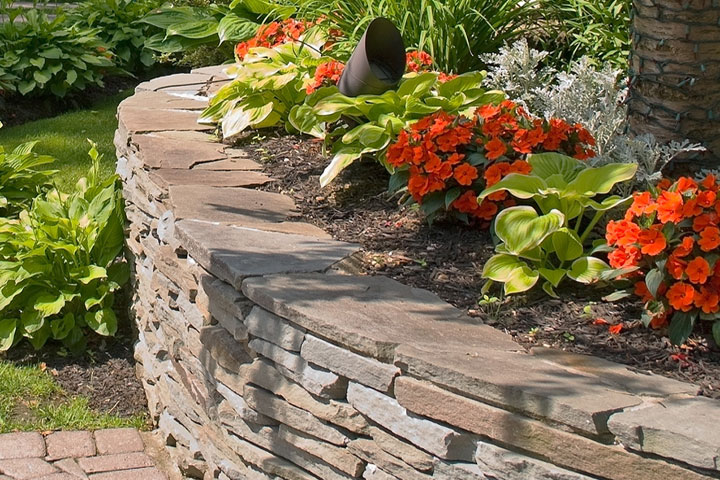
Stone walls are beautiful, long-lasting structures that are surprisingly easy to build provided you plan carefully. A low stone wall can be constructed without mortar using a centuries-old method known as dry laying. With this technique, the wall is actually formed by two separate stacks that lean together slightly. The position and weight of the two stacks support each other, forming a single, sturdy wall. A dry stone wall can be built to any length, but its width must be at least half of its height.
You can purchase stone for this project from a quarry or stone supplier, where different sizes, shapes, and colors of stone are sold, priced by the ton. The quarry or stone center can also sell you Type M mortar—necessary for bonding the capstones to the top of the wall.
Building dry stone walls requires patience and a fair amount of physical effort. The stones must be sorted by size and shape. You’ll probably also need to shape some of the stones to achieve consistent spacing and a general appearance that appeals to you.
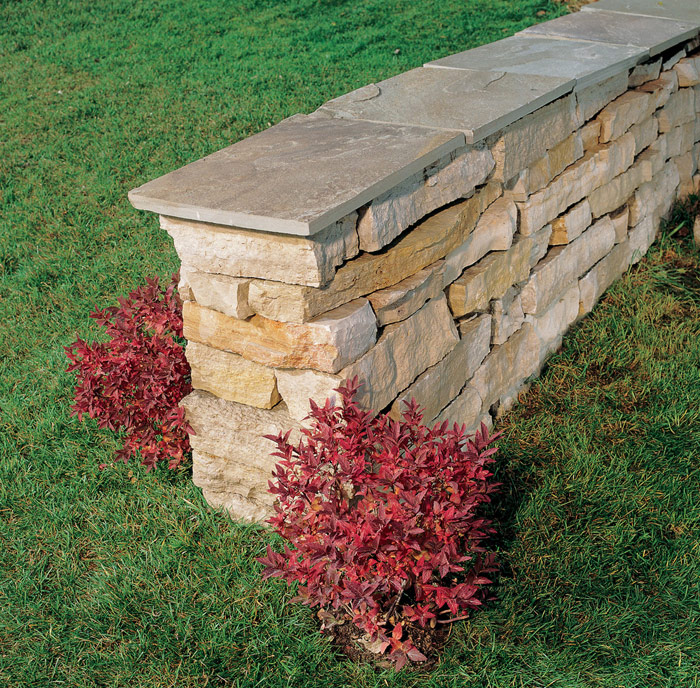
To shape a stone, score it using a circular saw outfitted with a masonry blade. Place a mason’s chisel on the score line and strike with a maul until the stone breaks. Wear safety glasses when using stonecutting tools.
It is easiest to build a dry stone wall with ashlar—stone that has been split into roughly rectangular blocks. Ashlar stone is stacked in the same running-bond pattern used in brick wall construction; each stone overlaps a joint in the previous course. This technique avoids long vertical joints, resulting in a wall that is attractive and also strong.
Step 1

Lay out the wall site using stakes and mason’s string. Dig a 6″-deep trench that extends 6″ beyond the wall on all sides. Add a 4″ crushed stone sub-base to the trench, creating a “V” shape by sloping the sub-base so the center is about 2″ deeper than the edges.
Step 2
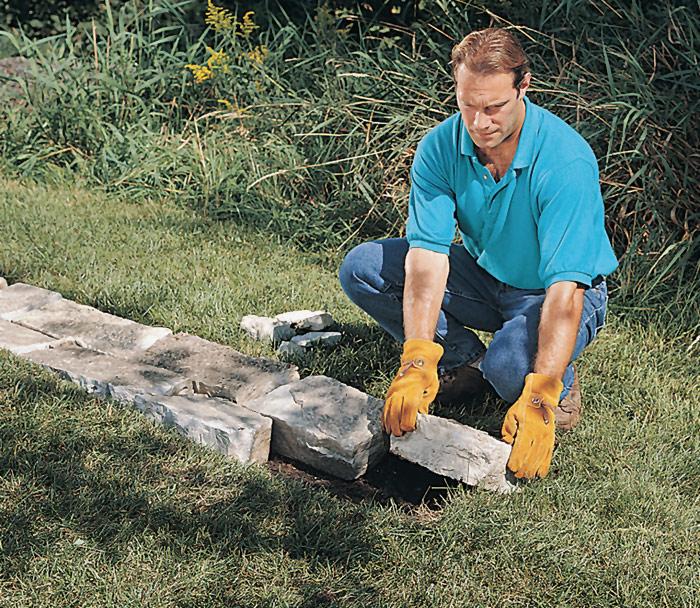
Select appropriate stones and lay the first course. Place pairs of stones side by side, flush with the edges of the trench and sloping toward the center. Use stones of similar height; position uneven sides face down. Fill any gaps between the shaping stones with small filler stones.
Step 3

Lay the next course, staggering the joints. Use pairs of stones of varying lengths to offset the center joint. Alternate stone length, and keep the height even, stacking pairs of thin stones if necessary to maintain consistent height. Place filler stones in the gaps.
Step 4
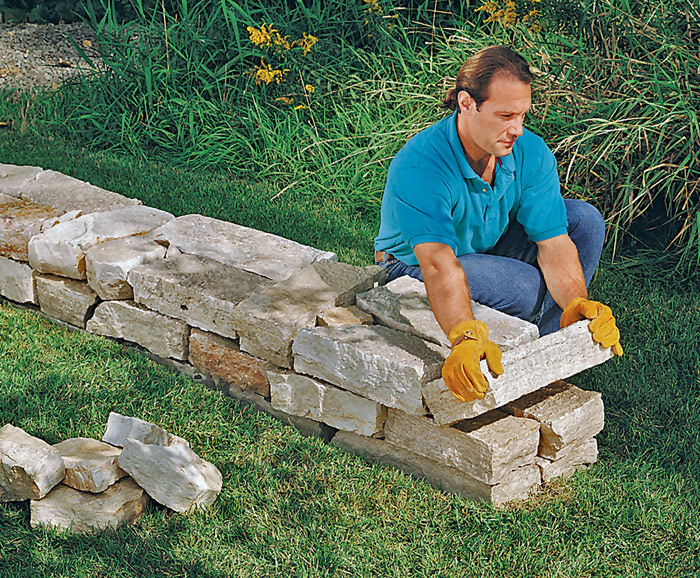
Every other course, place a tie stone every 3 ft. You may need to split the tie stones to length. Check the wall periodically for level.
Step 5
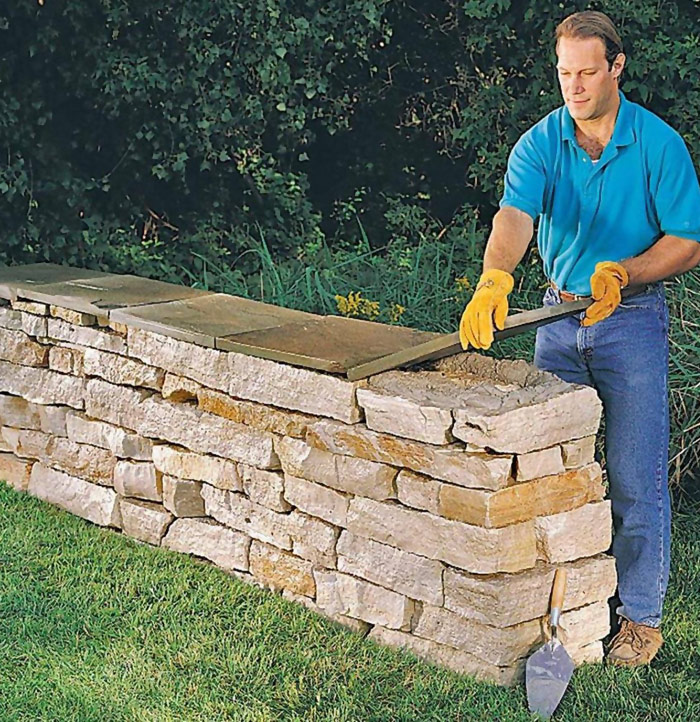
Mortar the capstones to the top of the wall, keeping the mortar at least 6″ from the edges so it’s not visible. Push the capstones together and mortar the cracks in between. Brush off dried excess mortar with a stiff-bristle brush.


Leave a Reply