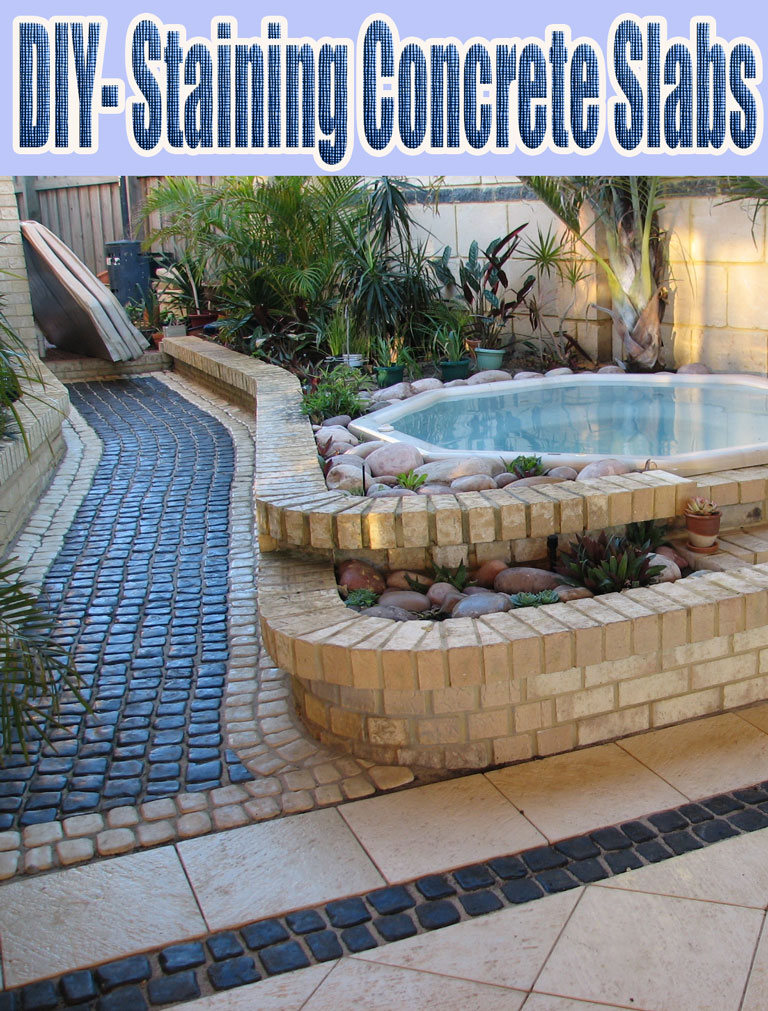
Staining concrete can be an inexpensive way to update the exterior look of your home. Acid stain can be one of the cheapest things you can do and it provides a great bang for your buck. This look is achieved by creating a chemical reaction that alters the color of concrete. Concrete acid stain contains a mixture of water, mineral salts, and muriatic acid. The finished stain will create natural tones that are an impressive improvement from unstained concrete slabs and walkways.
One thing to remember is that concrete staining is PERMANENT. Once you stain your slab, you will not be able to remove the stain. This is something to think about before you get started. We’ll show you what you can do to test colors and determine if this is DIY project is right for you. Staining concrete furniture can be a great way to complement concrete furniture with an inspiring presentation.
The How to Guide for Acid Stained Concrete Floors
Concrete acid stain is not paint. The stain soaks into the pores of the concrete and reacts chemically with the cement, limes, and mineral salts. Each piece of concrete will color uniquely because of this. For this reason, you can’t tell what the final result will look like simply by surveying the concrete. Color and hue is completely dependent upon the slab.
One thing you can do is test the stain on small areas before deciding to stain large areas. Remember to let it dry for 24 hours to make sure you like the resulting color. Applying sealers can also alter the tone. More on that in #7. Areas where miniscule lime deposits are present will render lighter hues of a color while darker tones will be seen areas with rich lime deposits. You can learn how to alter shades of colors by reading #3 below.
Although you may have heard that concrete stain won’t fade, this can be misleading. Acid stains may begin to fade very slightly after 5-8 years. Any material will begin to fade and oxidize as a result of direct exposure to sunlight. No matter what you’re dealing with, you can expect the sun to cause slight fading over time.
7 Step Guide to Staining Concrete Patio Floors
1. Preparation
Scrub the floor to remove all dirt, debris, and loose objects. You can use a combination of water and mild detergent. Scrubbing can be done with a push broom, a pressure washer, or a floor buffer if you want to speed up the process. Mop clean with water and suck up excess H20 with a Shop Vac when complete.
When finished with the initial scrub down, use a stiff bristled brush and a scraper to remove gum, paint drippings, or other foreign elements that may have been lodged in the slab. If your patio has grease or oil stains, be sure to use a heavy degreaser to remove these stains.
Be Green! – In order to protect the Earth’s environment, we recommend covering the surrounding area with painters plastic. Allowing harmful chemicals to flow into the soil is hazardous for the environment. Wet shrubs and grass to prevent stains from affecting your garden. Always be careful when applying acid concrete stain to your patio.
2. Applying Acid Concrete Stain
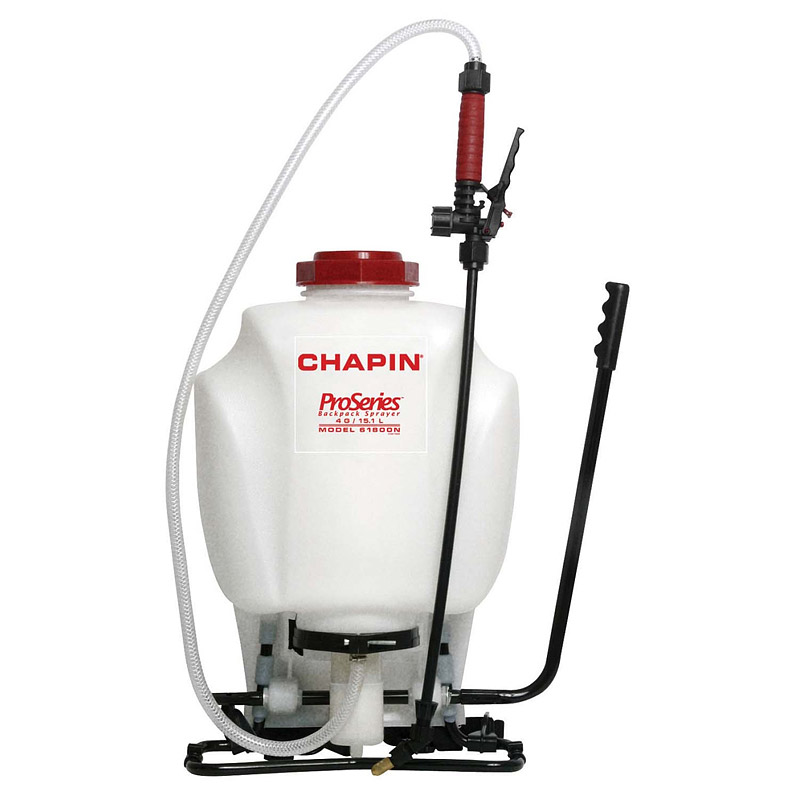
You can use a pump sprayer or a paint gun to apply the stain. While the pump spray will require a bit more work, it will cost you much less than purchasing an air compressor that you will only use one time. Pump sprayers only cost $20-40 and can be stored away easily.
Spray slowly in a circular motion and make sure that you get an even layer covering all areas of the slab. You can use a push broom to work the acid stain into areas that are bumpy or not receiving the stain very well. Be generous with the amount of acid stain that you spray but don’t create puddles.
3. Adding Additional Layers
It’s best to coat your patio at least two times to make sure that you get an even pattern. Lighter colors can be achieved by diluting the acid. You can create darker hues by adding multiple layers. Follow the same steps as aforementioned and make sure that you allow each coat to dry in between coats.
Tip: You don’t need to wash off acid residue in-between coats. You can remove all residue at the same time at the end of your project. This will save you time and remove any unnecessary steps.
4. Neutralize Acid
When you’re done applying the stain, you need to neutralize the acid with a 50/50 solution of baking soda and water. This will stop the chemical reactions between the acid stain solution and the concrete. Total reaction time can range anywhere between 8-24 hours and this neutralizing agent will help the process.
5. Faux Concrete Stains (Optional)
Faux stains create beautiful effects that hide scars, blemishes, and imperfections in the concrete. You can create unique displays by using a 50/50 mixture of acrylic solution after the concrete has dried. Although this step isn’t necessary, you can try it out if you would like to add some pizzazz to your backyard.
6. Clean Up & Drying Time
As aforementioned, it can typically take anywhere from 8-24 hours for the reaction between the acid and concrete to take place. Tape off the area to make sure that nobody accidently steps on the slab until everything has cured. Once completely dry, you can spot check the final coating to see if it appeases your taste.
7. Applying Concrete Stain Sealers
Concrete sealers come in 2 forms; solvent and water based. When you’re washing residue stain off and the slab is wet, this is what the finished product will look like if you sealed it with a solvent based sealer. When the slab dries and is still damp, this is what it will look like if you were to seal it with a water based sealer.
It’s important to note that the color on the bottle does not tell you what the true color of your slab will turn out to be. This is because each slab contains different amounts of mineral salts and limestone deposits. The true color of the stain won’t be revealed until the stain is completely dry and all remaining residue has been removed.


Leave a Reply