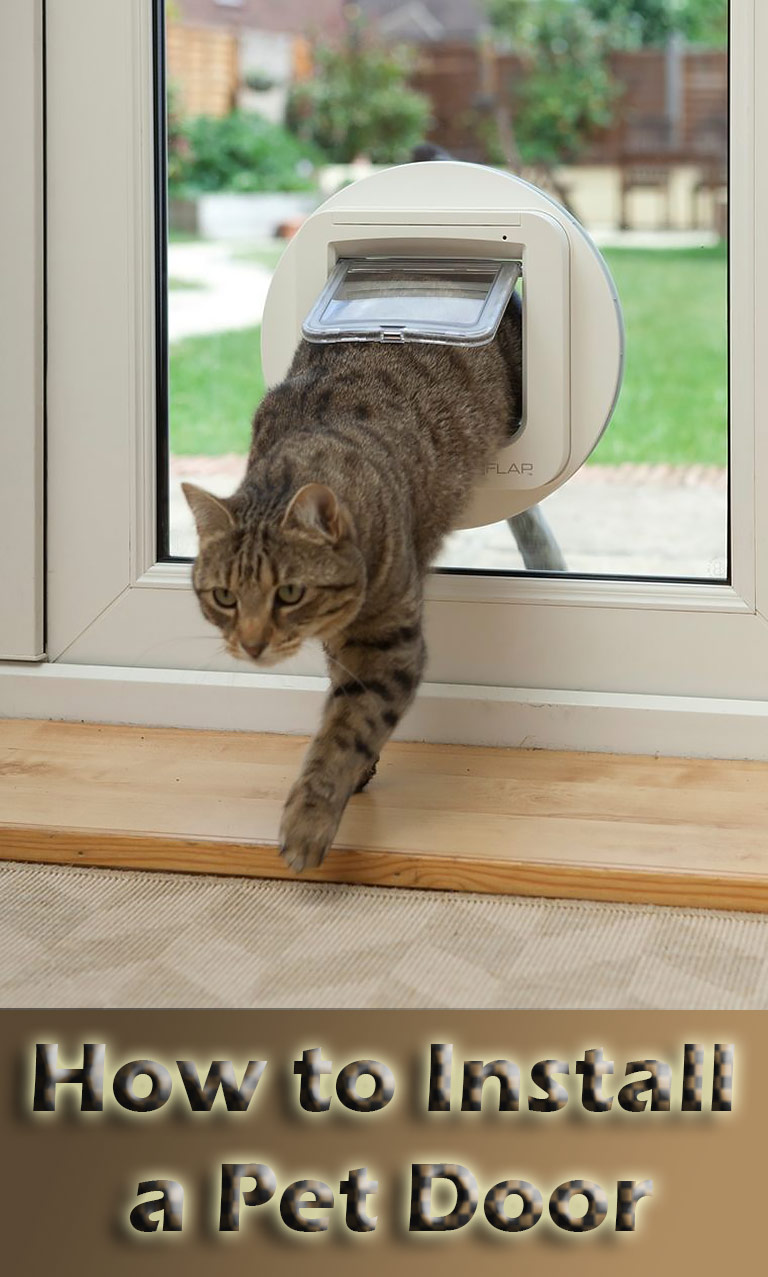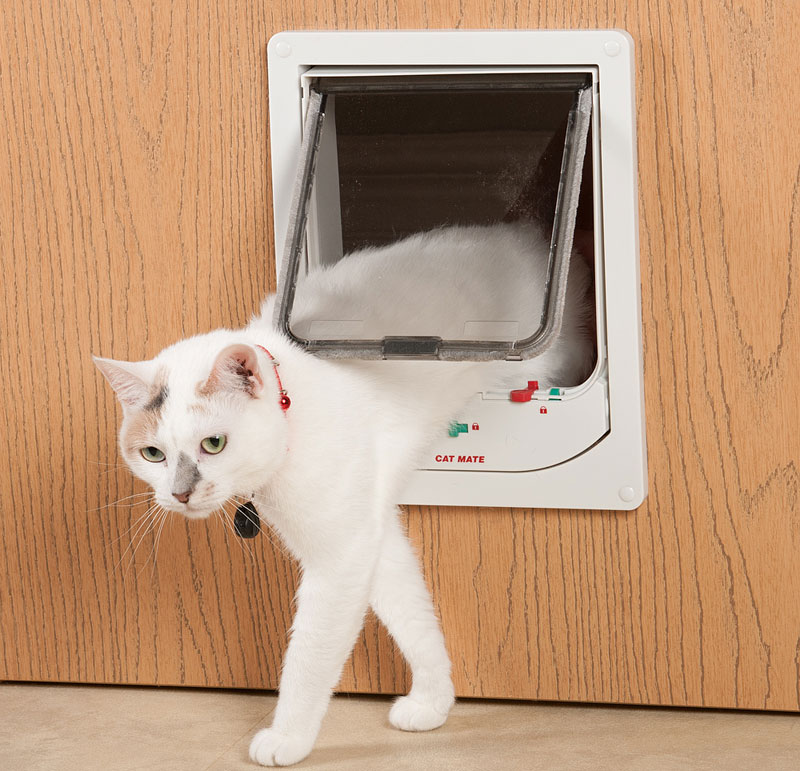
Pet doors are easy to install and can create a lot of convenience for pets and owners alike. Giving your pets easy access to a fenced yard can save you from the need to participate in every bathroom break and help keep dogs and cats active and healthy. For safety and security, most pet doors can be locked during times when you don’t want your animals outside unsupervised.
If you’re convinced that a pet door is right for you and your dog or cat, you can use the information below to complete the installation.
Gathering Materials
In addition to the actual pet door, which can be purchased at most major hardware and pet supply stores, you’ll need to round up the following supplies in order to complete the project:
- A tape measure
- A partner
- Two sawhorses
- A drill
- A hand-held circular saw
- Several of your pet’s favorite treats
Installing Your Pet Door
Following these simple steps, you can select and install a pet door in no more than a couple of hours:
- Measure your pet and select the appropriate door: You’ll need a door that’s at least two inches wider than your pet’s head or torso, whichever is wider, from side-to-side and top-to-bottom.
- With a partner, remove the door where the pet door will be installed: Once you’ve removed the door from its hinges, lay it across the sawhorses.
- Determine where to place the pet door: You want the top of the pet door to be positioned at least an inch above your dog or cat’s head. For doors with recessed panels, place the door in the middle of one of the recessed areas, or between two recessed panels.
- Using the template that came with your pet door, drill holes marking the four corners of the opening: You can mark the outline of the entire template with a pencil if you’re worried about cutting straight lines.
- Use the saw to cut the four sides of the opening: While your partner holds the door steady, simply work from one drill-hole to the next.
- Place it: Simply insert the front and back sides of the pet door frame into the opening and bolt them together. Follow the manufacturer’s instructions to finish the assembly.
- Caulk around the pet door frame: Seal any gaps between the frame and the door to prevent heat loss and moisture damage.
- Reattach the door: Working with your partner, reattach the door to its hinges.
Helping Your Pet Use the Pet Door

The final step in the process is getting your dog or cat to use his or her new door. For some animals, installing the pet door frame and leaving the opening completely uncovered for a few hours or days can be helpful. If that’s not practical, you can show your pet how the door works. Using her favorite treats, coax your pet to push from one side of the door to the other. Once your animal has gotten comfortable with the new entrance, he’ll love having the freedom to come and go as he pleases.


I really like the tip to make sure you’re putting the pet door on an appropriate door. I had a friend who installed a pet door, only to remember that he’d put it on the wrong door, so he had to completely redo it and replace the door. All of these were relatively simple tips that seem like they’d make a big difference during installation though, so thanks for sharing!