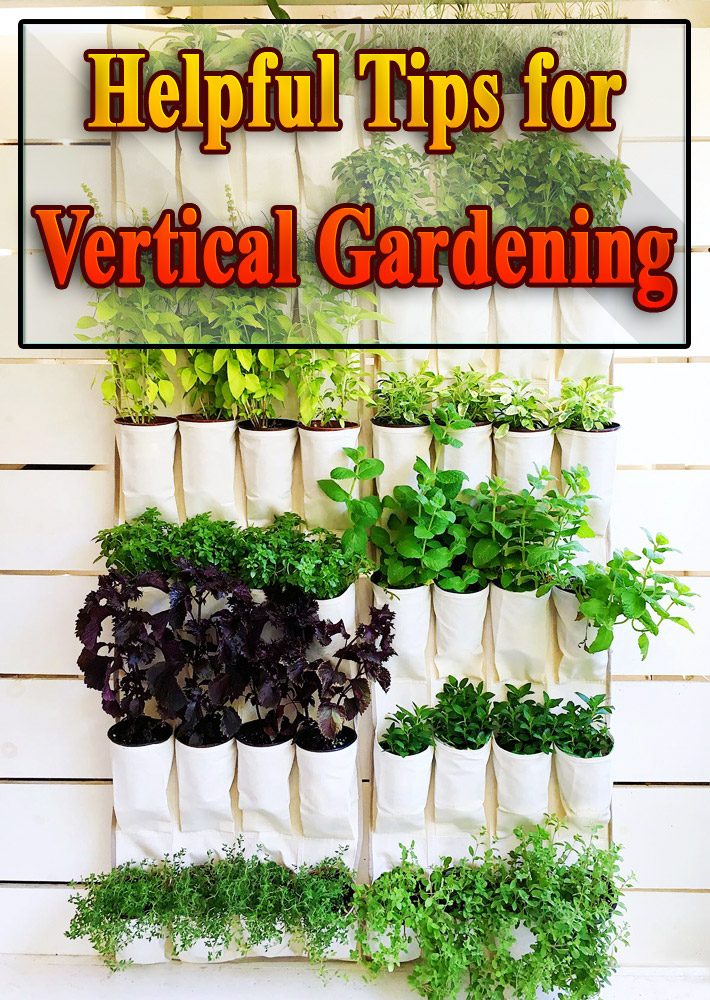
Vertical gardening can greatly improve your crop production. Keeping vegetable plants off the soil will help prevent soil-borne diseases, and may limit the chances of rotten fruit. If vegetables are allowed to lay on the soil, they can begin rotting on the bottom side due to excessive moisture. As most people live in urban areas, clever design ideas are a key to make the most of the space you have.
Vertical gardening is nothing more than using vertical space to grow vegetables (or herbs, or flowers, even root crops), often using containers that hang on a sunny wall. Find out more about vertical gardening, a way to grow your own food without using up a lot of space.
Vertical Gardening
Vertical Gardening provide vital extra planting space in small gardens. The protective and heat-retentive properties of a south-facing wall are ideal for those plants from hotter climes.
My motivation for creating a vegetable wall was simple – a desire for fresh produce on a daily basis and a lack of planting space in the narrow garden of my terraced home.
As a backdrop to the patio, which serves as an outdoor space for entertaining, my rather ugly, but fortunately south-facing, brick wall lent itself to growing plants on and up. I attached timber supports and a wire mesh to the wall for climbing plants such as squashes and runner beans. Onto this framework I securely wired shiny, silver containers that started life as olive and plum-tomato tins. These were ideal for growing herbs and compact bush tomatoes.
Practical design
As this wall of vegetables was also the backdrop to the patio, it was important for it to look attractive as well as crop heavily. I bore in mind the habits and eventual heights of the plants when planning the layout of the pots across the mesh. I found that the troughs, with their strong horizontal lines, helped to break up the space, while individual pots provided accents and filled gaps.
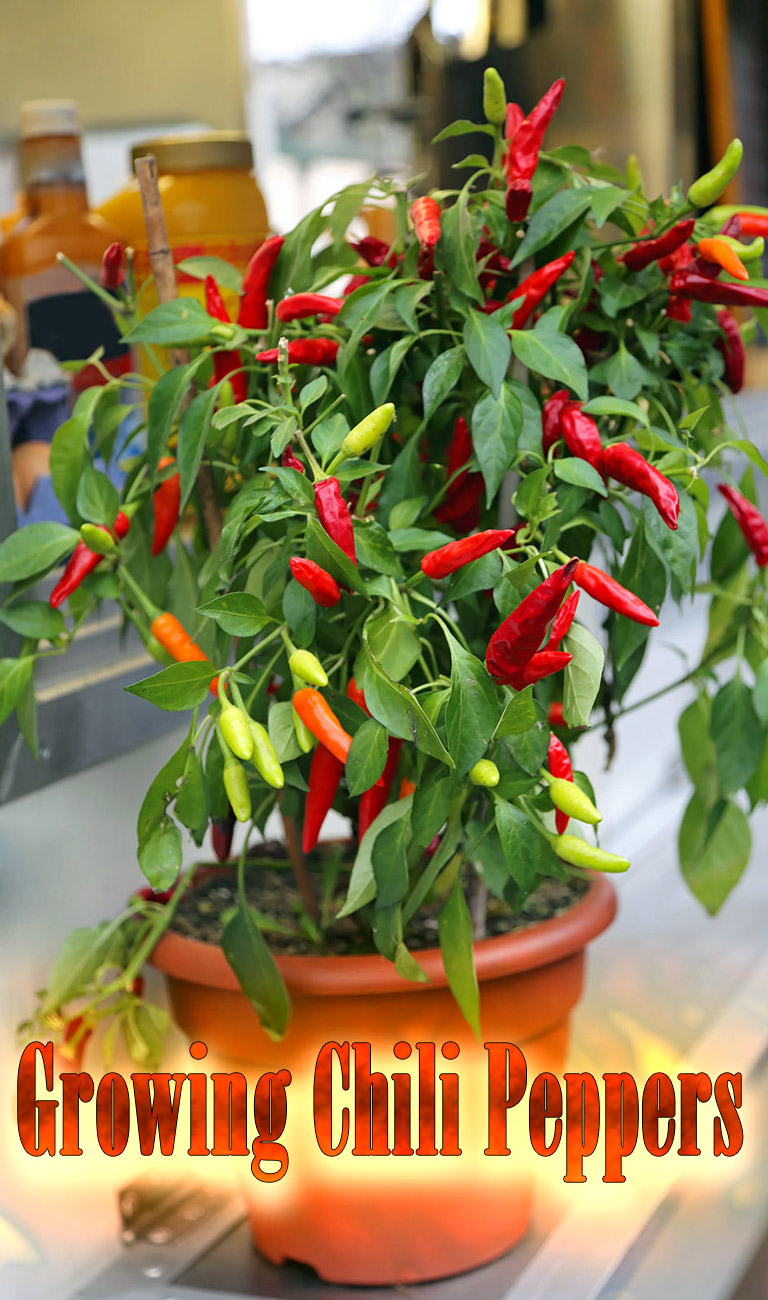
Practicalities as well as aesthetics also had to be considered. At 2.4m (8ft) in height and 2m (6 12 ft) wide, the wall was tricky to crop and water near the top without using a stepladder. For convenience I placed longer-to-mature chilli peppers and tomatoes higher up the wall – but later discovered that in this position the compost is more subject to drying winds. More successfully, I put most of my cut-and-come-again crops where they could easily be reached, to encourage regular cropping with scissors.
The base of the wall provided the most shelter and was a natural heat pocket for cucumbers and aubergines, which prefer higher temperatures. Meanwhile, the shade cast by some of the bigger plants helped to cool less heat-tolerant plants, such as parsley.
Choosing the site
A south-facing wall will receive the full heat of summer sun for most of the day, which has both benefits and limitations. Walls that are southwest- and west-facing will also be suitable for container vegetable growing.
Materials needed
Ensure the wall is sound, and clean of debris before starting. Take the wall measurements and select mesh or trellis work that will be strong enough to support the chosen quantity of containers and wet compost. It should also allow plants either to climb or cling as they grow. Expanded metal was used in this instance, its galvanized finish producing a contemporary feel.
Fix 5 x 5cm (2 x 2 in) timber battens at suitable intervals for securing the mesh. Battens hold the mesh away from the wall, allowing air to circulate and making space to tie in plants and attach containers.
Fix mesh to the timber frame with staples at regular intervals. This will produce an expanse of mesh covering the face of the wall. The structure is now ready for planting up.
Preparing containers
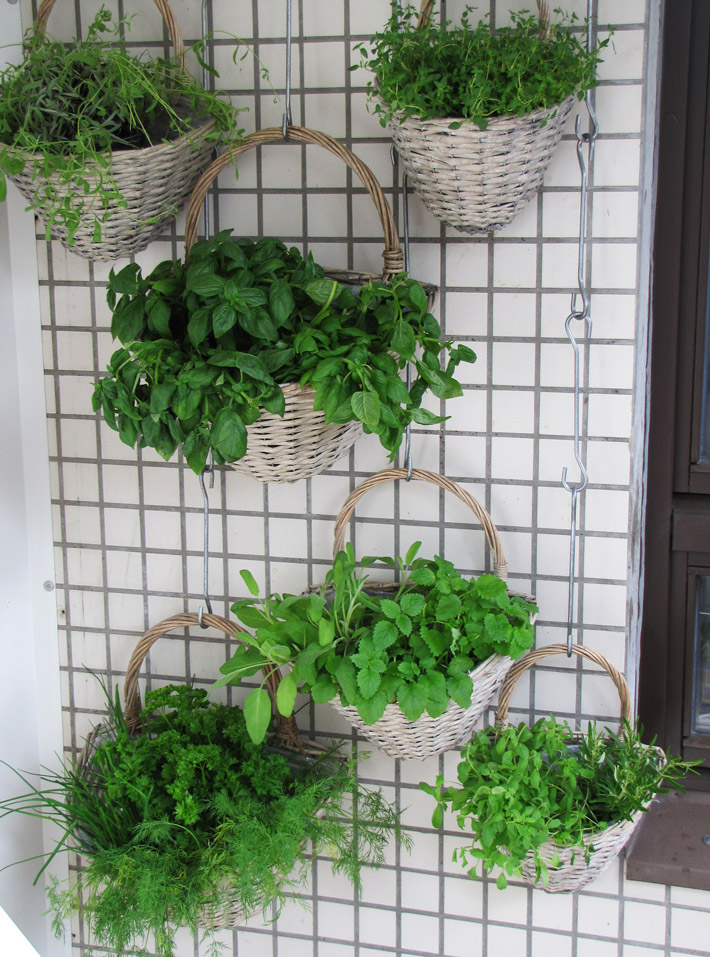
In vertical gardening almost anything can be used as a container. Old catering tins of tomatoes, oil and olives make decorative pots when their labelling is removed. Drainage holes in the bottom of containers are essential and can easily be made with a drill.
Many types of tin have seams running down from top to bottom. Ideally, aim to place these against the mesh; drill two holes either side for the garden wire that will thread through and support the container. For extra security two more holes at the base of the tin can be made; these are useful when pots are positioned at the top of the wall, where they are more likely to catch the wind. If adding extra holes remember to thread the attaching wire through before filling with compost.
Planting up
Containers to be fixed to the mesh should be filled with lightweight multi-purpose compost. Water-retentive gel can also be added at this stage. Allow a gap of at least 5cm (2in) above the surface of the compost and the rim of a straight-sided pot; with tapered pots leave 7.5cm (3in), as compost is more likely to wash out at an angle. Position the container, and wire it to the mesh, creating hooks to hold the weight. Once attached, water regularly and apply a liquid tomato feed from mid-June onwards.
Winners and losers
A surprising number of the ‘tender and tricky’ plants did well with limited attention. Aubergines and cucumbers produced such bountiful crops that they will definitely be used in future years.
The runner beans gave a small, rather tough crop. The extreme summer heat made growing them in containers more difficult. Squash ‘Tromboncino’ produced too few of its conspicuous, marrow-like, long fruits to justify the space it required.
I cropped vegetables into October, although the productivity of some had declined or stopped altogether by then. The wall’s productive season probably could have been extended – as shown by the survival of several unwatered lettuce plants right into February. Suitable crops, for example winter salads, winter radish and Oriental mustards, could produce a supply of leaves out of season.
As a colourful backdrop for barbecues, my vegetable wall provided interest, excitement and delicious fresh produce.


Leave a Reply