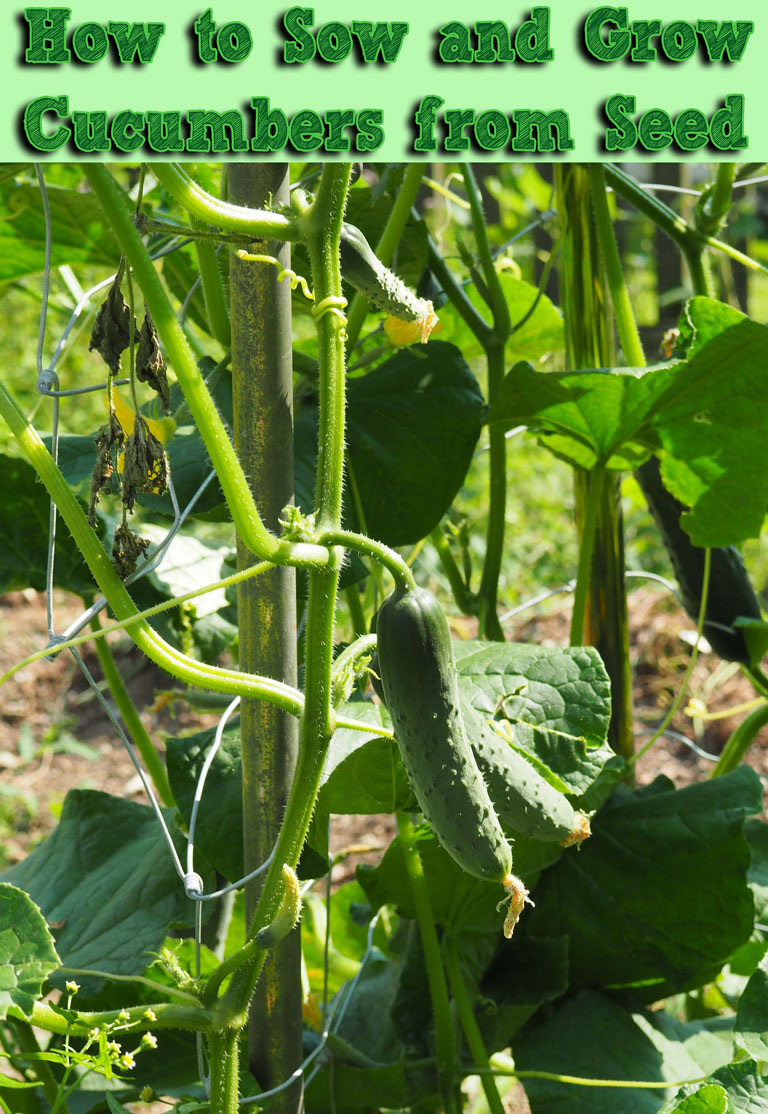
Believe it or not, cucumbers have been in cultivation for at least 3000 years.
Originating in India, this refreshing crop is believed to have been introduced to Europe by the Romans, reaching England by the 14th century and North America by the 16th century.
Nowadays, the cucumber has become a mainstay of the British salad. In fact what could be more English or refined than a freshly cut cucumber sandwich?
Once used cucumbers to treat scorpion bites, bad eyesight and to scare away mice, the modern cucumber is now much less valued and far more available than ever before. Unfortunately due to the production techniques of commercial nurseries, the cucumbers bought in you local supermarkets are little more than a flavorless sponge.
Of course, many of the old varieties are still available, but to get the flavor of this fruit and its history you will have to grow your own from seed and thankfully this can be easily achieved with little or no experience.
How to grow cucumbers
To begin an early crop, particularly in a northern European climate, it is best to start off your cucumber seeds either indoors or in a heated greenhouse. Of course, cucumber seeds can be sown directly in the garden once the danger of late frosts has passed, but this will result in a later crop.
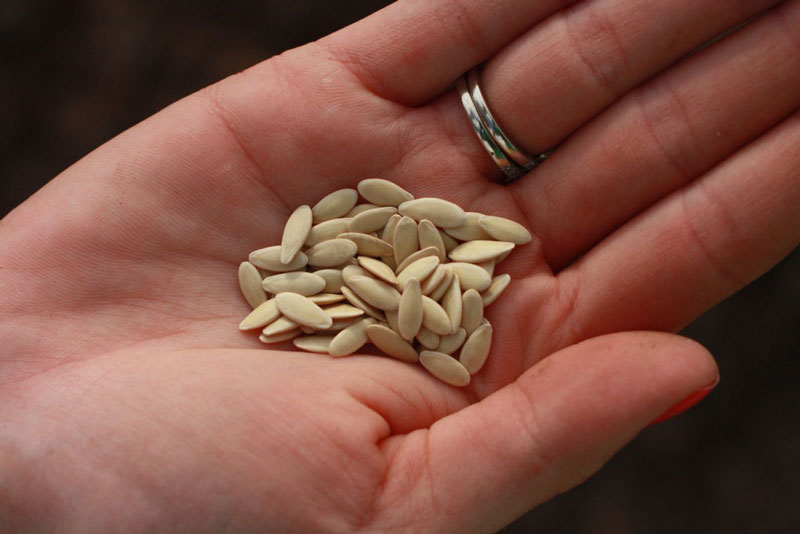
You can begin sowing cucumber seeds any time from the end of March. Using either 2/3 inch pots or a modular plug tray, fill with a good quality seed compost such as John Innes ‘Seed and Potting’. Using a dibber, or – as in my case – the rounded end of a pencil, make two holes near the center of the pot/module.
Place one cucumber seed into each hole, then back fill with compost and water in thoroughly. The tray/pots are now ready to be moved to a warm windowsill, heated propagator or heated greenhouse. Should you wish, you can cover the pots/trays with a sheet of glass, perspex or cling-film in order to maintain humidity.
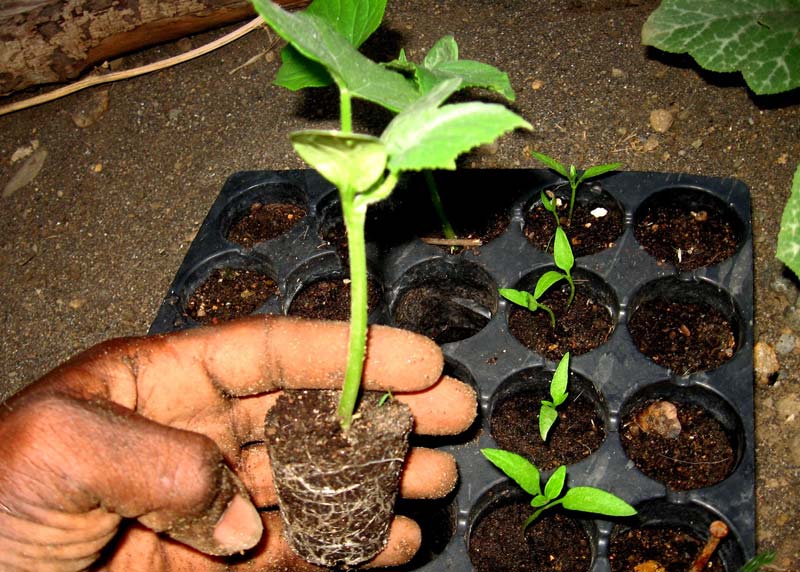
Cucumber seed will germinate quite quickly – usually not much more that a week – and as soon as the new seedling begin to emerge any coverings should be removed. Once the seedlings have reached an inch or two, the weaker of the two seedlings can be removed.
Keep well watered – but not waterlogged – and feed with a half strength liquid fertilizer once a week. Once they have between 2 and four true leaves the seedlings can be planted outside into their final positions once the threat of late frosts are over, but they will need to be hardened off for a couple of weeks before hand. If a cool period of weather is due it is sometime worth waiting a few days. This can be done by bringing them back undercover overnight or protecting them with a cloche or small poly-tunnel.
Plant them approximately 18 inches apart in rows that are spaced every 5 feet.
Tip: Do not allow the seedlings to get too large in their containers as they become slower to root with age.

Leave a Reply