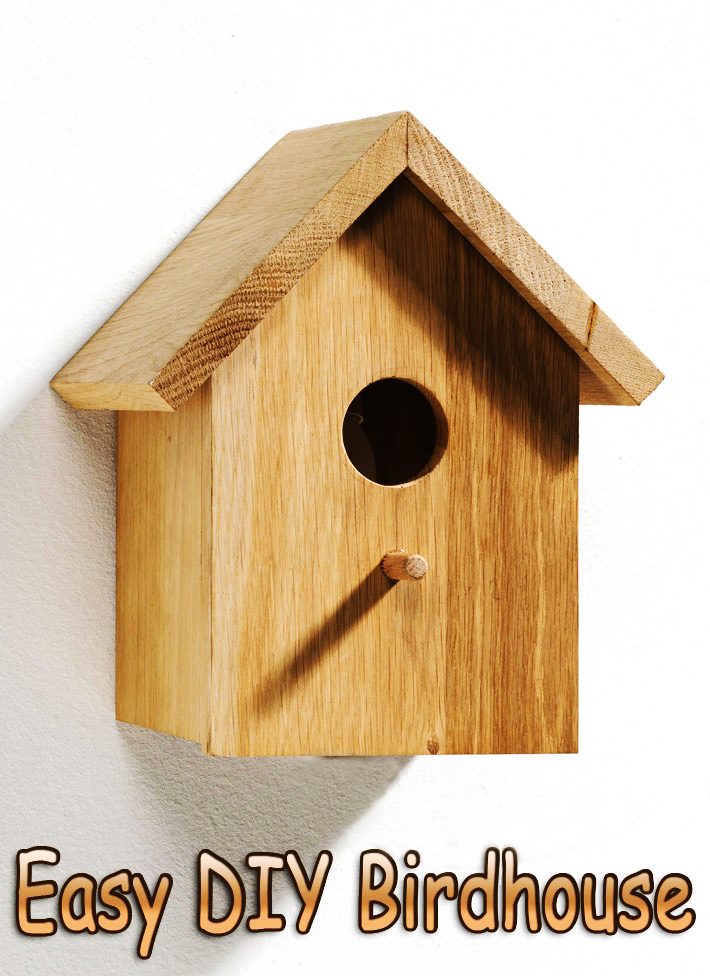
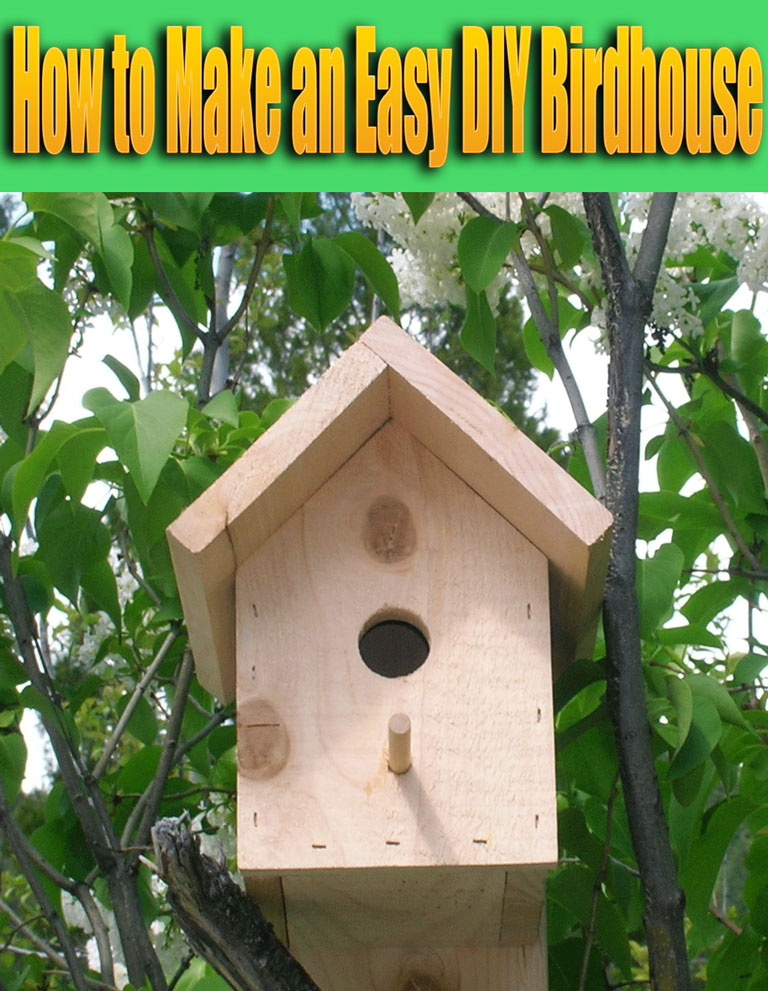
Want to see how a small shopping list can yield big results? Make this DIY birdhouse from a single pine board!
Tools
- Miter saw (or handsaw with miter box)
- Painter’s tape
- Wood glue
- Power sander and various grits of sandpaper
- Drill with bits
- Clamp
Materials
- 1-in x 6-in x 6-ft pine board, #1157
- 1/2-in poplar round dowel, #19382
- Valspar ultra premium exterior paint, Front Door Red, #ar125


NOTE: Items may be Special Order in some stores. Product costs, availability, and item numbers may vary online or by market. Paint colors may vary slightly from those shown. Availability varies by market for lumber species and sizes.
Step 1
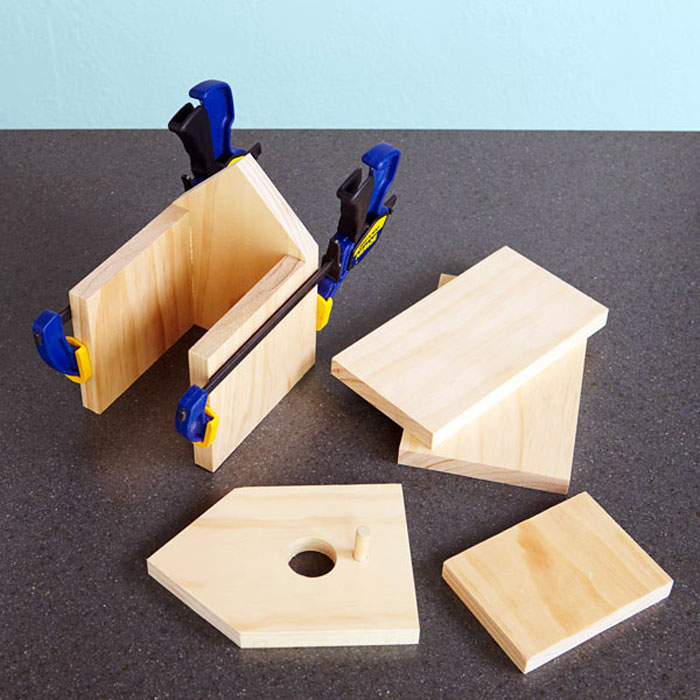
Cut the board according to the Project & Cutting Diagram. From a 1/2-inch dowel, cut a perch 2 inches long. Sand all the parts smooth with 150-grit sandpaper. On the front face, drill the 1-1/2-inch opening and a 1/2-inch hole for the perch. Sand the surfaces smooth and glue the perch in place. Glue and clamp the two sides to the back panel.

When the back and side joints are dry, glue and clamp the bottom and front.
Step 3
Cut 3/4 inch off the length of one of the top panels — this will make the overhang even on both sides. Glue the roof panels together. Use painter’s tape instead of a clamp.
Step 4
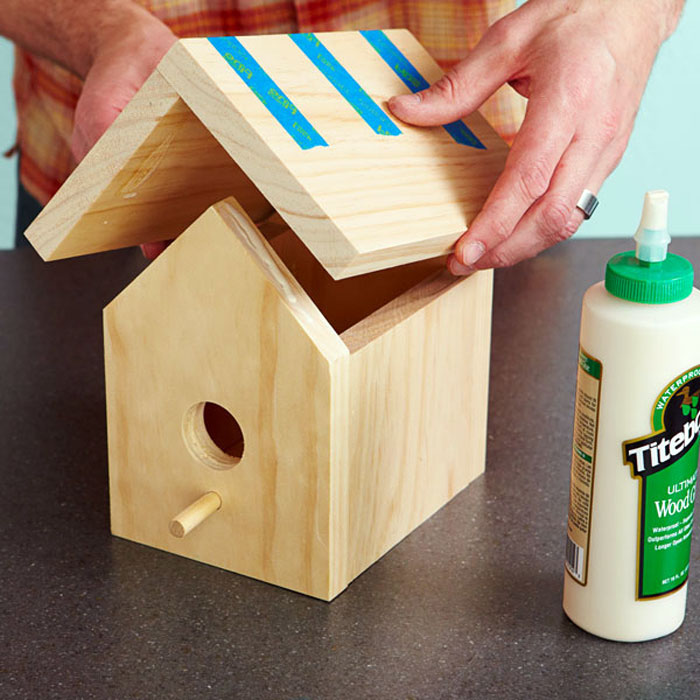
Apply glue to the top edges of the front and back and set the roof assembly in place.
Step 5
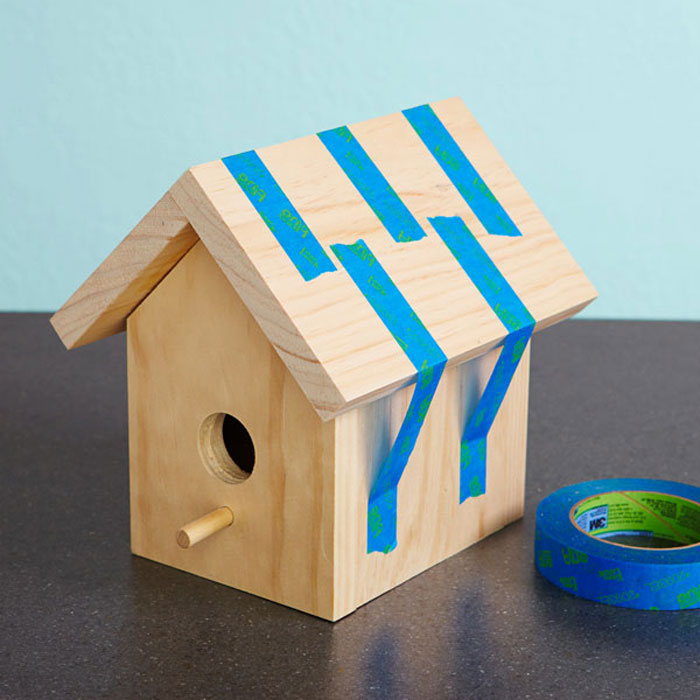
Use painter’s tape to secure the top in place while the glue dries
Step 6

When the glue is dry, remove the tape and paint or stain your DIY birdhouse.
TIPS: For easy cleaning, don’t glue the door on. Simply attach it with screws so you can remove it at the end of the season. Or you can make bottom as a trap door with one hinge and couple of screws. At the end of the season open the trap door and everything falls right out!



Nice project, but advice from RSPB is that you should not have a dowel/perch on the outside as this can allow predators to perch. Best left out of the design.