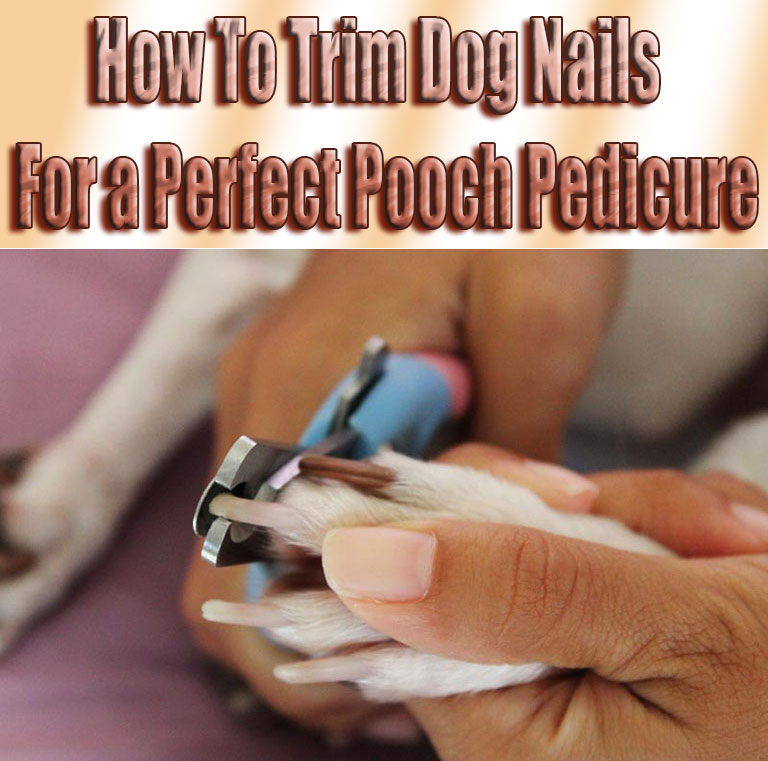
How To Trim Dog Nails For a Perfect Pooch Pedicure
Click, click, click, click – the sound of your dog’s nails clicking on the floor can drive you nuts. It’s also a sign that she’s in dire need of a pooch pedicure. But if you don’t want to take your dog to a groomers to have it professionally done, you can learn to trim dog nails yourself.
But when you trim dog nails, it can be a scary process – for you and your dog. Your dog may not like her paws man-handled and the sound of the nail clippers. And you don’t want to cut too much of her nail off, as that can lead to bleeding. Follow the steps below for a painless and perfect pooch pedicure every time.
Trim dog nails like a pro with these easy-to-follow instructions
1. Have all the equipment ready. Before you trim dog nails, have everything you’ll need on hand. This includes the nail clippers, a paper towel and some kind of clotting powder, such as ordinary flour or styptic powder. Don’t use nail clippers made for people – our nails aren’t designed the same way as a dog’s. There are a few types of nail trimming tools out there (guillotine style, scissors style, pliers style and power rotary tool), so experiment to see which one you feel most comfortable with.
2. Place your dog on a slippery, hard surface, like a bathroom counter or the top of a washing machine. This will make it harder for your dog to squirm away. It will also help if you have a helper who can hold the dog while you clip. This way, your dog is controlled from making any sudden movements that can cause you to clip off too much of the nail.
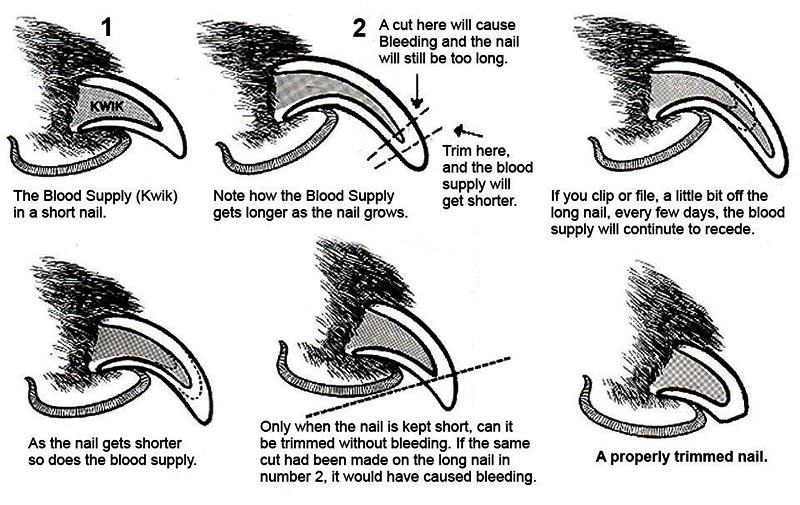
3. There are five nails to trim on a dog’s paws to trim. This includes the dewclaw, which can be found high on the inside of each foot. The nail consists of a hard outer shell and a cuticle or “quick.” If the quick is cut, the nail will bleed. It’s easy to see the quick if your dog has light-colored nails, but many have darker nails so it’s quite hard to see the quick. You want to trim the nail about two to three millimeters from the nail quick. But if you can’t see the quick, be safe; just trim a bit off the end. You can always come back in a week and trim a bit more off if needed.
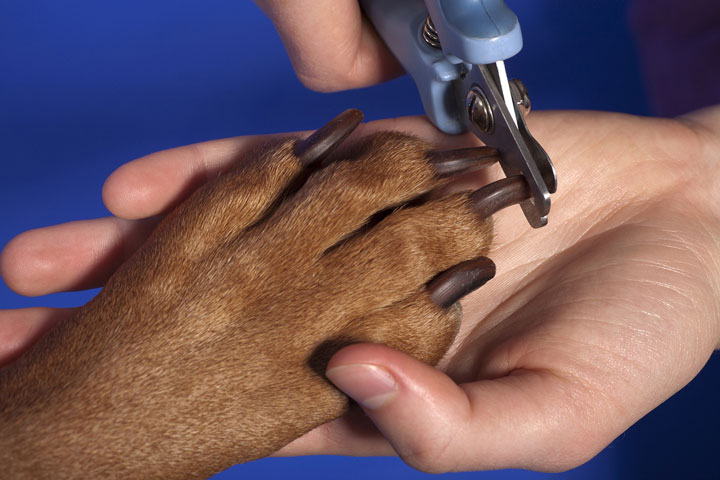
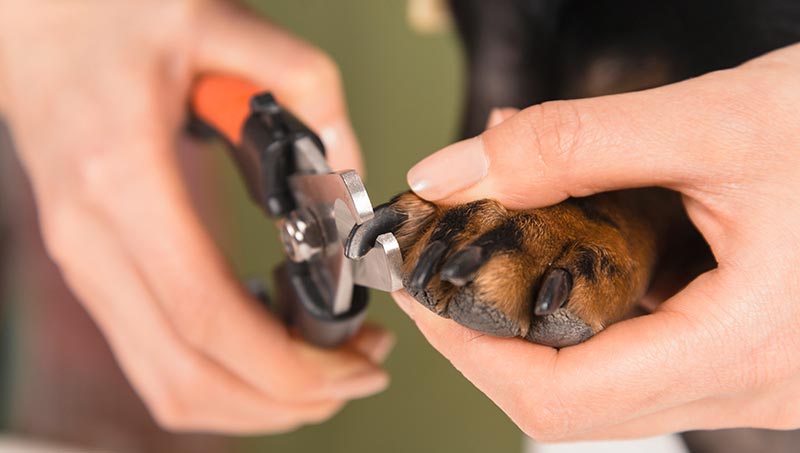
4. Grip your dog’s paw firmly, with clippers in your dominant hand and your dog’s paw in the other. Your thumb should be placed on the bottom of the pad for better control. Place the clippers where you want to make the cut and squeeze the trimmers in one swift motion. Repeat for each nail.
5. If you do happen to cut into the quick, not to worry – you’re prepared for this. Blot the bleeding nail on the paper towel a few times, and then pat the nail into the flour or powder. This will make a seal that will stop the bleeding. Make sure to hold onto your dog for a few minutes after applying the flour or powder. If you let your dog walk around, the flour or power will come off, leaving bloody paw prints around your house.
6. Don’t feel like you have to trim all of your dog’s nails at once. You can do a paw a week. That way, you’re keeping the process short and sweet. It’ll just take a few minutes and your dog won’t be as stressed out. It’s a good idea to trim dog nails every month, so you can spread it out over the four-week period.
Do you prefer to trim dog nails at home or take your dog to a professional? Do you have any pooch pedicure tips that you’d like to share with us? Please leave your tips and thoughts in the comments section below.



Leave a Reply