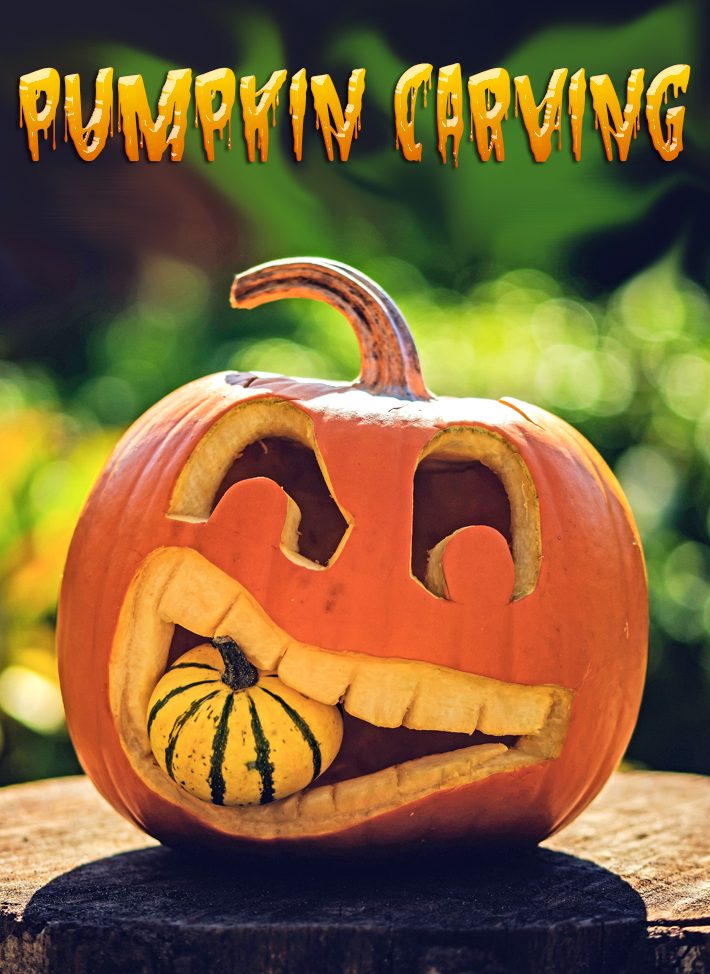
When it comes to pumpkin carving designs, the sky is the limit! You can go with a simple design or a complex one. Here’s what to do.
Don’t let all of these new designs scare you. Fortunately, there are free templates galore on the internet for everything from apples to zebras and anything in between. All you have to do is print, trace and carve. Here’s how to turn your plain old pumpkin into this year’s Halloween masterpiece.
Pumpkin Carving 101
Gather supplies: To get started, you’ll need a pumpkin (obvious, I know) and your carving supplies. A large spoon or ice-cream scoop, a thin-bladed knife and some newspaper will work fine. We bought one of those $2 kits about five years ago and are constantly amazed that it still works. Next, pick out your design.
If you just want a simple pumpkin carving idea, the grab a marker and just draw it on the pumpkin. You can use spell out ideas — “Eeek!” or “Boo!” are great, short options — and you can also get several pumpkins and put one letter on each to spell a word.
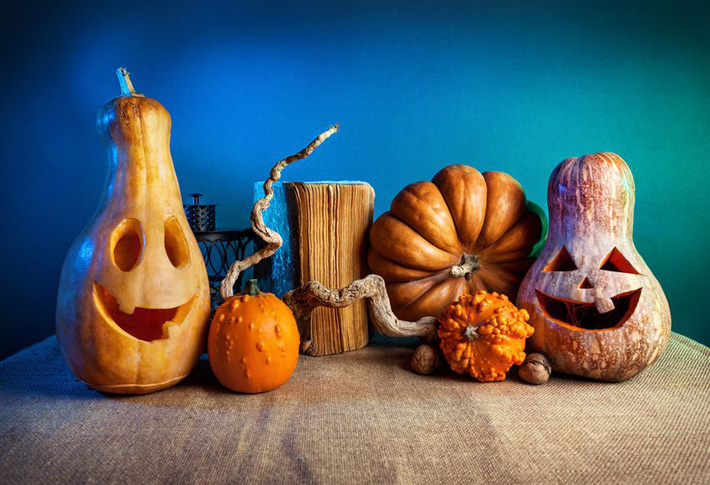
You can also use a pumpkin’s weird shape or texture to your advantage:
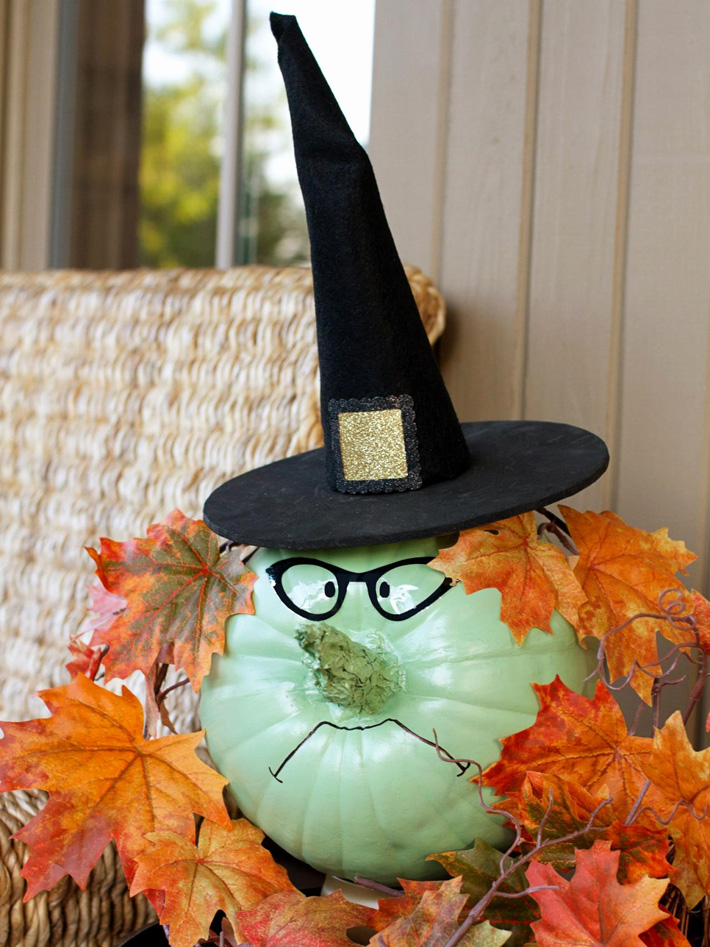
And never underestimate the power of a good hat. (What’s true in fashion is also true for Halloween!)
If you want a more complex design and will be using a template from a kit or the internet, print it out now so it’s ready to go.
Here are a few sites with complex carving ideas to consider:
- zombiepumpkins.com
- Spookmaster.com
Cut and scoop: With your thin-bladed knife, cut out a circle at the top of the pumpkin around the stem. Make the hole large enough to allow you to scoop out the guts, seeds and stringy membrane of the pumpkin with your large spoon or scoop.
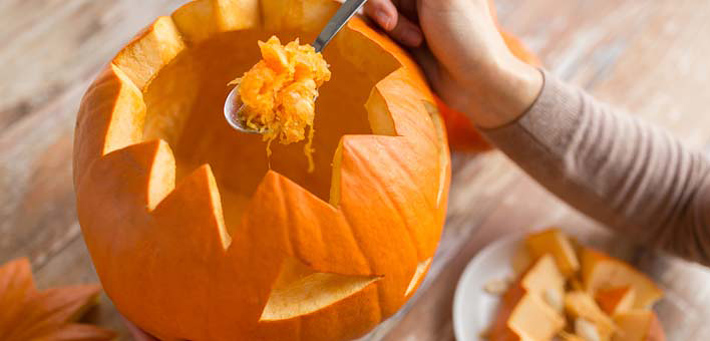
Carve: If you’ve got a freehand design in mind, your pumpkin is all set to carve away. If you’re using a template, place it where you want it on the pumpkin and fasten it with tape. Use a small knife or transfer tool to trace the design, poking small holes along the design. For complicated designs, make sure these holes are close together. These will be your guidelines for carving. Next, use your thin-bladed knife to carve along the lines and create your design.
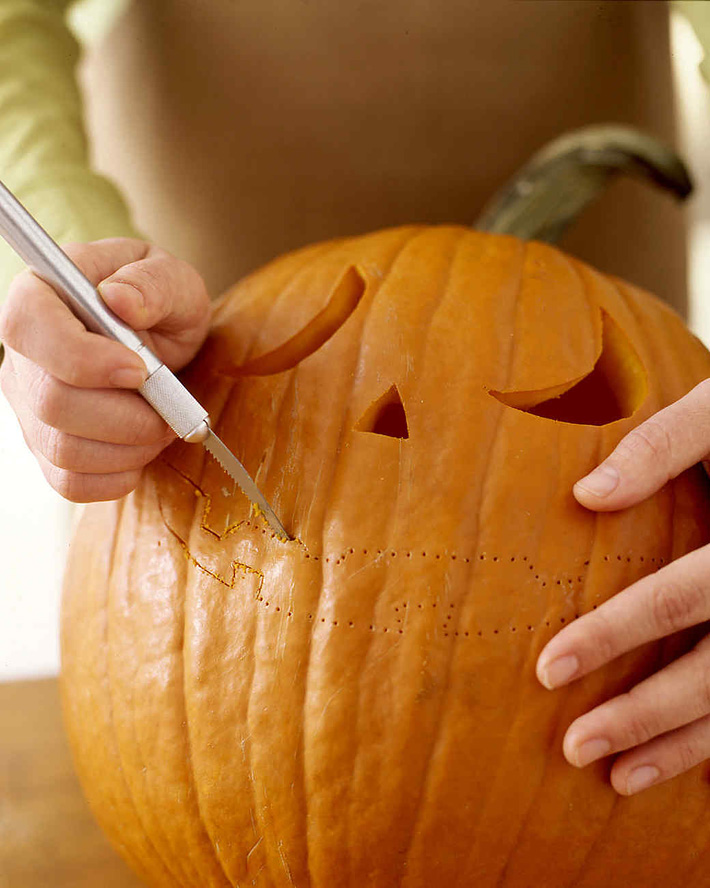
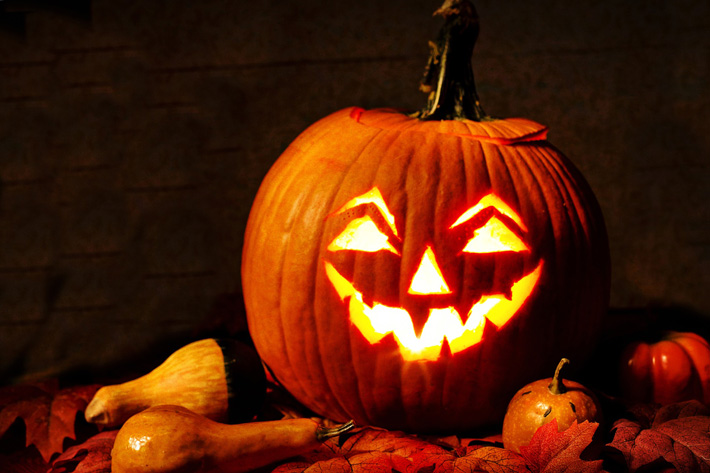
Light it up: Once your pumpkin is carved, you can trim up the edges and clean out any pieces that may have fallen in your pumpkin. Your jack-o’-lantern should be ready for display. For added effect, place a small candle inside to bring your design to life.
Viola! A Halloween masterpiece!


Leave a Reply