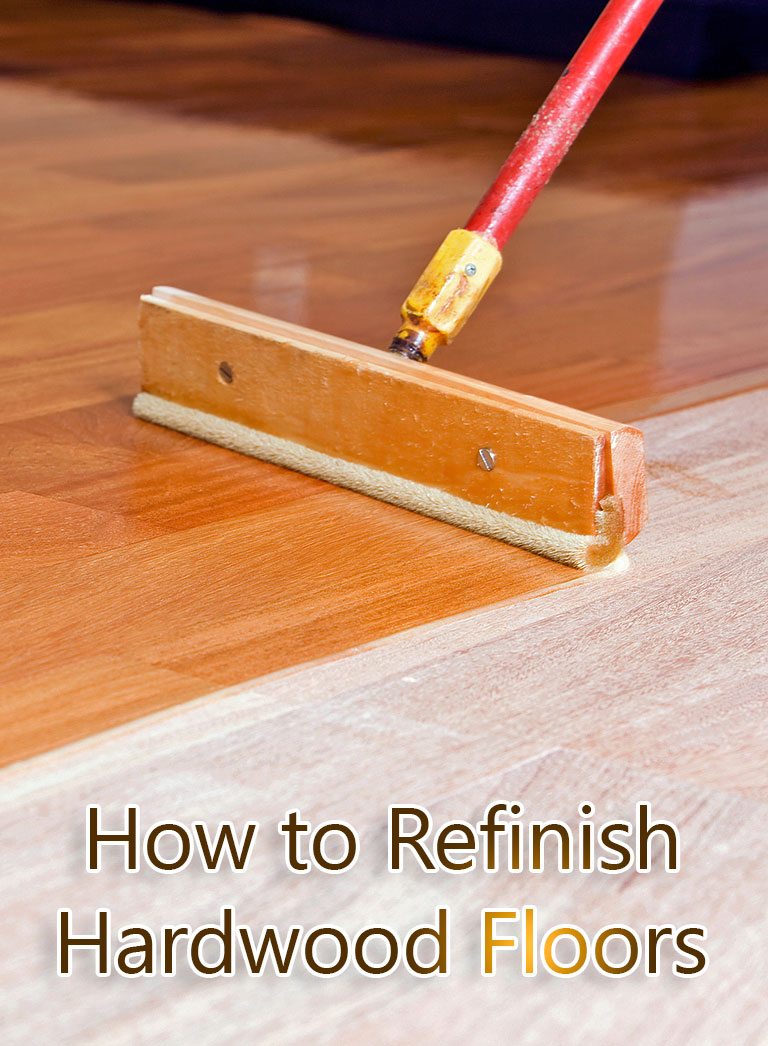
Are your hardwood floors getting dull and loosing their luster? Why not give ’em a quick refresh to make your room and your home look and feel great again!? Hardwood floors demand a fairly frequent refinishing whenever you feel that they are losing their luster. All you need to do is repair and re-sand the wood, along with some coats of refinish over the wood. Here is the step by step procedure:
Step 1. Identify what kind of wood your floors have. Mostly oak, maple and heart pine are used in wooden floors. Some wood floor types are easier to refinish than others, while engineered wood floors cannot be refinished because it is impossible to sand them. You also have to consider whether or not your old wood floors are too thin to refinish. All floors will get thinner whenever they are being refinished. Thus, after numerous refinishes, there is hardly going to be any layer left on your old wood floors to remove before applying protective coats.
Step 2. Arrange the Equipment. Get a belt sander if you can because it is easier to handle. Drum sander is not only heavier to carry, but also it is apt to create grooves on the wood, which are hard to remove.

An edge sander must also be readily available so as to reach in nooks and corners of the room where a belt sander does not reach easily. Other equipment that you need is a putty knife, scraper, buffer, safety masks, eye protection, brush, and foam applicators. You can rent professional sander and buy all the supplies at your local home improvement store such as Lowe’s or Home Depot.
Step 3. Prepare the floor for sanding by removing all furniture, heat grates, carpets, and old nails. Mop the floor because it must be dust cleaned before sanding. Do not go for wood putty on soft floors because deep gouges and cracks in soft woods would need replacing whole planks.
Step 4. Make arrangements so that dust does not enter your eyes and nose, and other rooms of the house. Insert dowels in holes and cut them at level with the floor.
Step 5. Start sanding from the least noticeable area to get easy with the sander. Concentrate. Place the sander forward and sand along with the floor’s grain. Start sanding close to the walls, sanding both forwards and backwards. Initial sanding will only remove the layer of old finish. Use the edge sander to reach the areas the belt sander had not reached. A drum sander will have a 20-36 grit paper in it at this point.
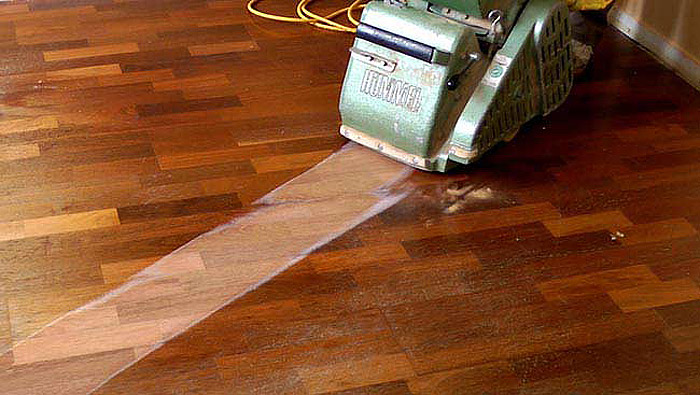
Step 6. Sand again, moving in backward, forward, left and right motion. It will remove the scratches that the first sanding left on the floor. This time, a drum sander should have an 80 grit paper. Select an appropriate direction depending upon the look and feel. The edge sander must also have an 80 grit paper in it.
Step 7. Do a final sanding with a 100 grit paper. Adjusting sanding discs below the grit paper helps diminish swirl marks and blemishes.

Step 8. Choose a finish. Polyurethane stain, which is either water-based or oil-based. Osmo Hard Wax Oil can also be be used. The finish can be glossy or matte. Satin finish is preferred because it is known to hide the blemishes well.
Step 9. A brush or foam applicator is used to apply the finish in even coats. Sometimes you need to sand between coats if you see that the finish raises the grain. Let it dry, then apply the last coat.
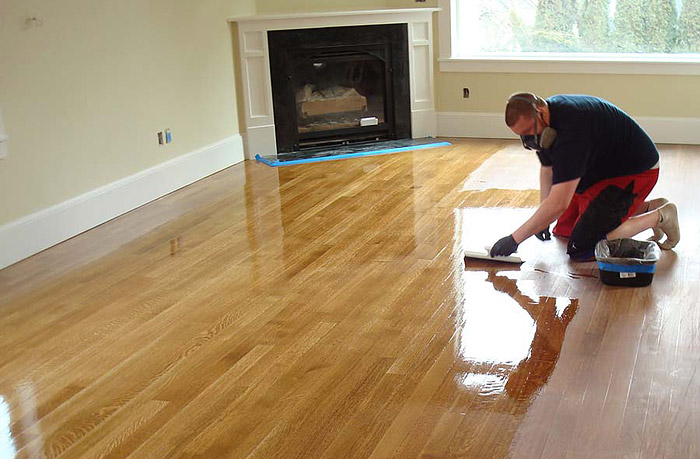
 Now, your old hardwood floors should feel like new again. Do not forget to air out the rooms where new flooring is installed. If you also plan on installing new floors in your kitchen, or a bathroom, then you will need to source flooring materials suppliers who can help you find appropriate floor tiles, linoleum, and/or laminates.



Leave a Reply