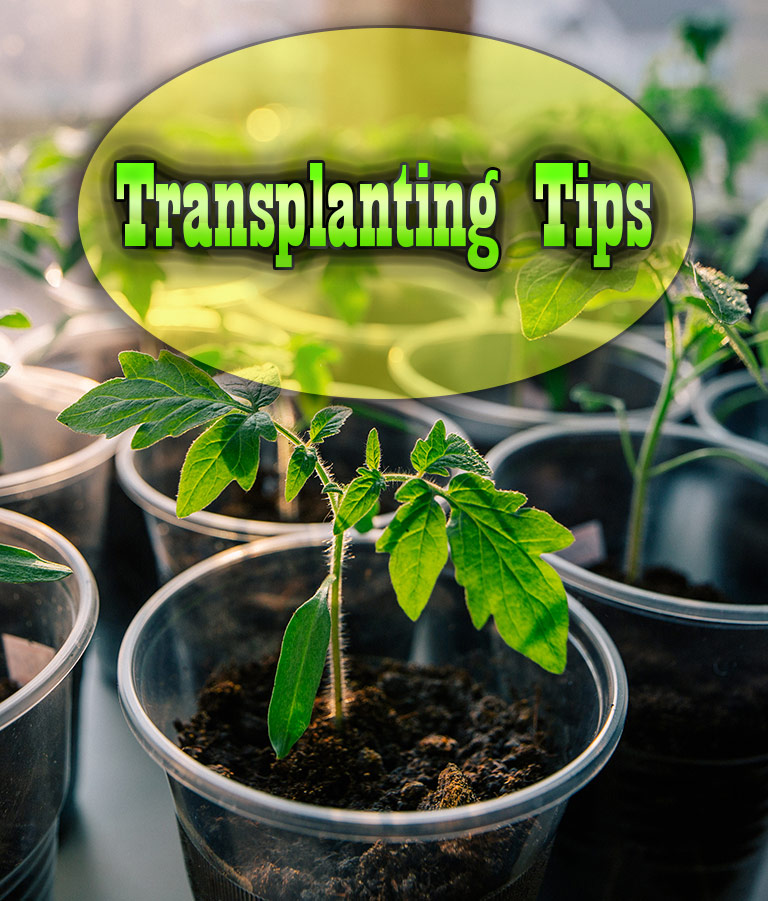
Once days lengthen and temperatures warm, it’s time to move seedlings out into the garden. Ideal transplant times vary from plant to plant, depending on the growing temperatures each prefers. In many cases, transplant times (often provided on seed packets) are given in terms of days before or after the last spring frost date for your area.
Catalogs and local Extension offices provide calendars that indicate when flowers and vegetables can be safely transplanted outdoors. It is important to get local information on transplant times. If you search the Internet for transplanting recommendations, be sure that your source is located in the same area where you garden, and not in a much warmer or colder zone.
Also take into consideration the weather from the current growing season. In a wet, cold spring, the soil may be too wet and too cold for crops to go into the garden as scheduled, whether you’re planting cold-tolerant cabbages or heat-loving peppers. Check the soil moisture before you transplant. Ask experienced gardening friends and neighbors when they are planning to transplant, or ask your local Cooperative Extension Service if you’re unsure of whether it’s time to transplant.
Prepare Soil before Transplanting
Getting the garden ready for transplants is just as important as preparing seedlings for the move and handling plants carefully during the transplanting process. Moving transplants into moist, prepared soil reduces the stress new transplants face, which helps them recover more quickly from transplanting.
When preparing soil and moving plants, try to avoid walking on the soil. If possible, work from a pathway. Another option is to put down a board and stand on that while you work to distribute your weight more evenly.
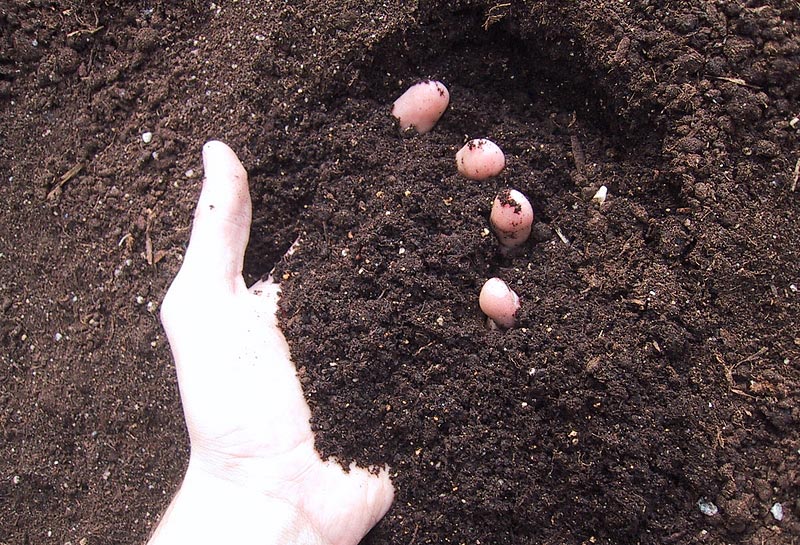
Loosen and amend soil. Whether you’re planting garden rows filled with vegetable transplants or adding annuals here and there throughout the garden, loosen the soil to at least a shovel’s depth. Work in plenty of organic matter before transplanting, and use a rake to create a smooth and level surface.
Check soil moisture. Test to see if your soil is too wet or too dry to dig. If the soil is dry, water thoroughly a day before working the soil. Soil that’s dry pulls moisture out of plant roots and damages them.
Pre-warm soil for heat-loving plants. Transplants that relish warm weather, including peppers and eggplants, are best planted into warm soil. In areas with long growing seasons, waiting to transplant until the soil warms up works just fine. If you want to get an early start, or if your growing season is short, you can give the soil a heat boost to help ease the transition to the garden. Two weeks or more before transplant time, prepare the soil and rake the site smooth. Water if soil is very dry. Spread black plastic over the site, stretching it tight and burying all the edges. Let the sun’s rays warm the soil for 2 weeks before transplanting. Plant directly into the plastic by cutting holes through it with a trowel or gardening knife. The plastic holds heat during the nighttime hours, which also benefits heat-loving crops.
Weed! Tough, resilient weeds are your seedlings’ worst enemies, so take steps to defeat them before you transplant. Dig up annuals and the roots of perennial weeds as you prepare soil. Mulch immediately after planting to keep weeds from coming back. A layer of newspaper, 6 to 8 sheets thick, under bark mulch will keep most weeds at bay. Keep mulch about 1 inch away from transplant stems to provide maximum air circulation and prevent disease problems.
Getting Used to the Great Outdoors
Seedlings grown indoors are accustomed to pampered conditions. In order to succeed out in the garden, though, they need to be able to withstand sun, wind, and fluctuating temperatures. Sudden changes cause transplant shock and can check a plant’s growth or even kill it. Hardening off is the process used to gradually prepare seedlings for life in the outside world.
“Easy does it” is the key to success. To begin the process, water plants thoroughly. Then look for a site that is shaded and protected from wind such as on the north side of a building or under a shrub or hedge. A screen porch may provide ideal conditions for hardening off. Move pots or flats outside to the protected spot and leave them out about an hour the first day. Over the course of a week, gradually increase the amount of time daily until plants remain outside all day and then all night long. During this process, also gradually expose plants to more sun and less protection from wind. If the weather turns cold, move plants back indoors each night. If slugs are a problem in your area, set pots up off the ground.

If you work away from home, start this process on a Friday afternoon, and increase the time and sun exposure over the weekend. On Monday, water plants and then set flats in a protected site before leaving them out during the day.
Harden off cold-tolerant plants first, including lettuce, cabbage, and broccoli along with hardy and half-hardy annuals. Even these cold-tolerant plants can be damaged by frost or cold, wet weather, so watch the weather forecast and be prepared to protect plants if there’s a chance temperatures will dip too low. Heat-lovers like peppers, eggplants, impatiens, and coleus are best moved to the garden only after nighttime temperatures remain above 60°F.
Another option is to move seedlings out into a cold frame or similar structure. Leave the cold frame sash open for longer periods each day. An unheated greenhouse or even plastic stretched over a simple frame can also be effective for hardening off seedlings. Open the end of the tunnel or the door of the greenhouse for a longer time each day. Water regularly and watch leaves carefully for signs of scorching. Keep an eye on the weather, and close up such structures when cold weather threatens.
Note: Check soil moisture daily to make sure plants don’t dry out during the hardening off process. Soil dries out much more quickly outdoors than in, and dry soil will cause stress, damage, or even kill plants.
Transplanting, Step by Step
Earlier isn’t necessarily better when it comes to moving seedlings outdoors, even if you’re racing to produce the first tomatoes on your block. Exposure to weather that’s too cold slows seedling growth rates. It can even affect performance all season long. Double-check planting dates before transplanting, either by checking seed packets or your sowing schedule, looking at seed catalogs, asking at local garden centers, or consulting your local Cooperative Extension Service.
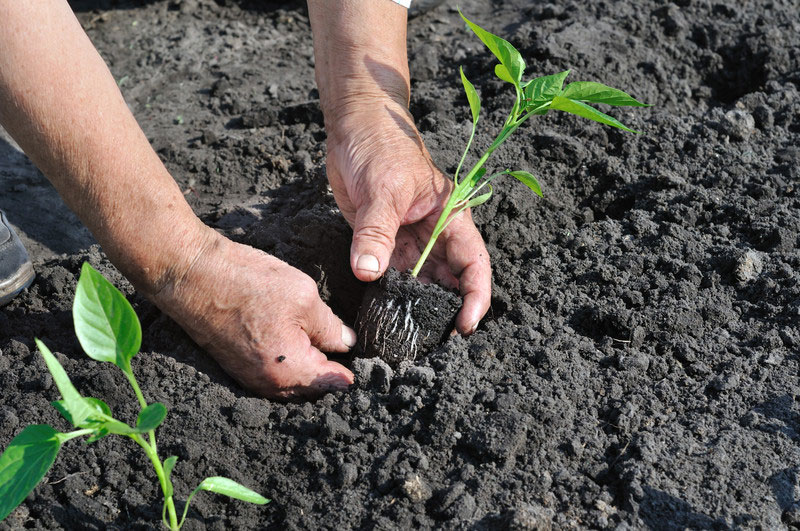
In general, transplant most annuals and vegetables after the last spring frost date for your area. This is especially important for heat-loving seedlings such as tomatoes, eggplants, peppers, coleus, impatiens, and begonias, all of which are best moved after the soil has completely warmed up. Some plants such as cabbage, broccoli, violas, and pansies will tolerate a light frost and can go out several weeks before the last frost date.
Then move the plants as follows:
- Do a moisture check. Soil in both pots and in the garden where you plan to transplant should be moist but not wet. Water deeply, if necessary.
- Dig a planting hole. The hole should be a little bit bigger than the plant’s rootball and about as deep.
- Turn the plant out. With fingers on each side of the seedling, turn the pot upside down. Tap the bottom of the pot to ease the seedling out of its pot.
- Set the transplant. Set transplants in their holes so they sit at about the same depth they were growing in the pot. The top of the rootball should be deep enough that it can be covered by about ¼ inch of soil. Fill in with soil around the rootball, then feather out the remaining loose soil so that it’s smoothly distributed around the planting area.
- Ensure good soil-to-root contact. Press the soil gently but firmly to ensure good contact between soil and roots.
- Water well. Soak the soil immediately after planting to reduce transplant shock and to eliminate air pockets.
Ideal Transplanting Weather
An overcast, even drizzly day is ideal for transplanting because it minimizes stress to seedlings. If you have to transplant on a sunny day, protect plants once they’re in the ground. Cover them with upside-down baskets propped on sticks to allow air circulation. Or create tents using burlap or row-cover fabric to provide shade while plants settle in.


Leave a Reply