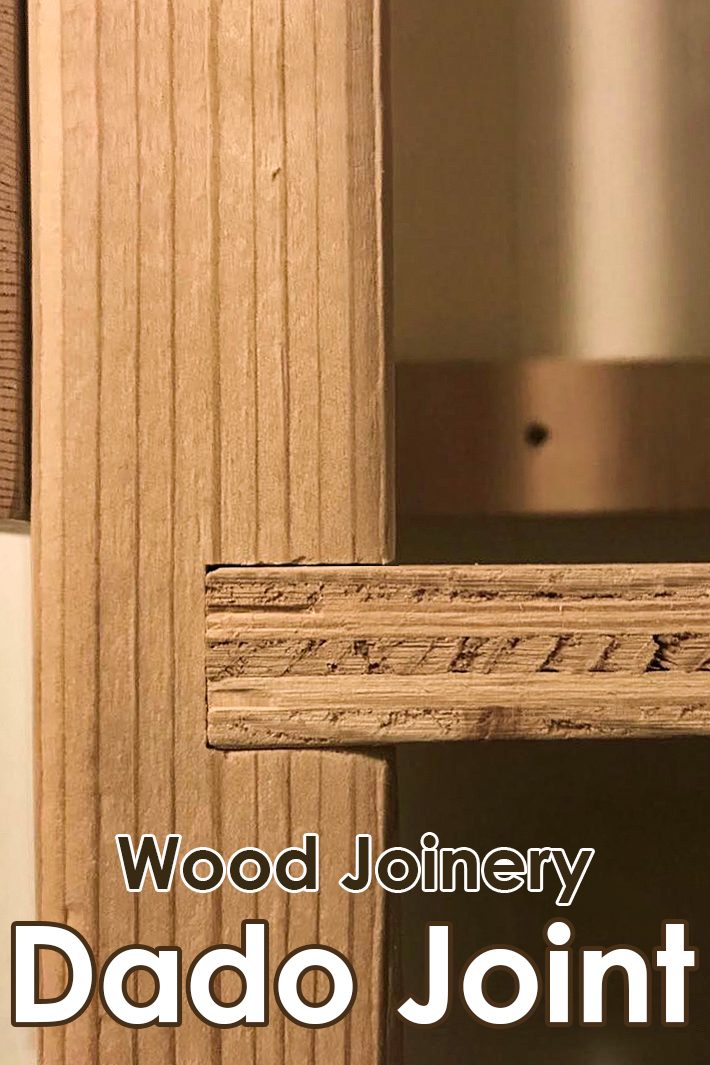
Using a dado joint is a very functional and strong method for connecting two pieces of stock. Once you learn how to cut it, you’ll find these woodworking joints especially useful when building cabinets or bookshelves.
Sooner or later most woodworkers will run into a situation where they’ll need to use dado joint, so getting the mastery over it early on is a good idea. Dado joint is not hard to make, but like any other woodworking joint, it needs to be cut accurately for a good fit.
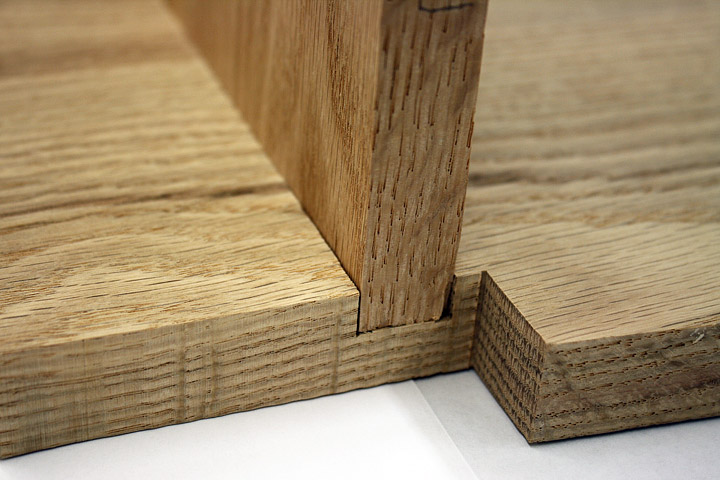
A dado is nothing more than a square-grooved slot in one board where another board will fit. Similar to tongue and groove joinery, this is a commonly-used wood joint for connecting plywood, such as building cabinetry. A dado is a groove cut into one piece of wood into which another piece of wood will fit snugly. For instance, when building a bookshelf using 3/4″ thick stock, one would cut a 3/4″ wide groove into the shelf standard and then glue the shelf into the groove.
Methods for Cutting Dadoes
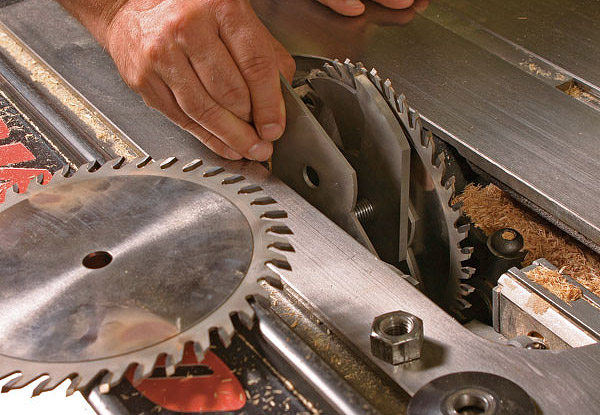
There are a few different methods for cutting a dado. Probably the most common method is to use a stacked dado head cutter on a table saw. This consists of two 8″ diameter, 1/8″-kerf saw blades with a number of 1/8″ & 1/16″ chippers in between. By adding or removing chippers, you can get pretty much any width groove between 1/4″ and 3/4″.

Wider dadoes can be cut by making more than one pass through the saw. A stacked dado head cutter set should only be used on a table saw or on some radial arm saws (check the tool’s documentation to see if your table saw or radial arm saw will accommodate a stacked dado head cutting set).

Do not attempt to use a stacked dado head cutting set on a circular saw, as this would be extremely dangerous.
Another option is a “wobble” blade set. This is a single saw blade set on an adjustable spindle. Adjusting the blade angle on the spindle will change the width of the dado. While these are much cheaper than a stacked dado head cutter set, the results are far less predictable, and in my experience, rarely acceptable.
I’d resist the urge to buy a wobble dado and save my pennies for a quality stacked dado set. I’m also not entirely comfortable with the safety of using a wobble blade.
Cutting Dado Joint With a Router
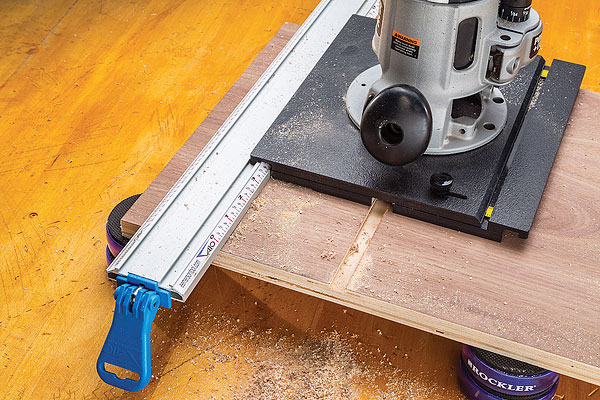
Another popular method for cutting dadoes is to use a straight cutting bit on a router. When using a router to cut a dado, keep in mind that you’ll want to dial down the bit speed quite a bit and adjust the depth for more than one pass to keep from burning the bit or the wood.

Use a straight edge to guide the router, to ensure a straight path. Be advised that using a 3/4″ router bit will cut a dado slightly larger than a 3/4″ sheet of plywood (which is really 23/32″ thick). While 23/32″ bits are commercially available, using a 1/2″ bit and two passes would provide the desired results.
Points to Remember
When cutting a dado, try to avoid cutting any deeper than 1/3 of the way through the stock receiving the dado, to keep from weakening the stock. For instance, when cutting in a 3/4″ shelf standard, make your dado cut 1/4″ into the standard.

Also, there may be times when a dado shouldn’t be cut the entire length of the stock. In this event, it may be best to cut it on a router table. Set the fence to the proper width and mark the start and stop points for cutting the dado on the fence with a pencil. Then, after starting the router, slide the stock over top of the head (keeping it against the fence) and ease it down onto the cutter.
Slide the stock forward to the stop point, then back the stock up an inch or so before turning off the motor. Wait for the cutting head to stop spinning before lifting the stock off of the table.


Leave a Reply