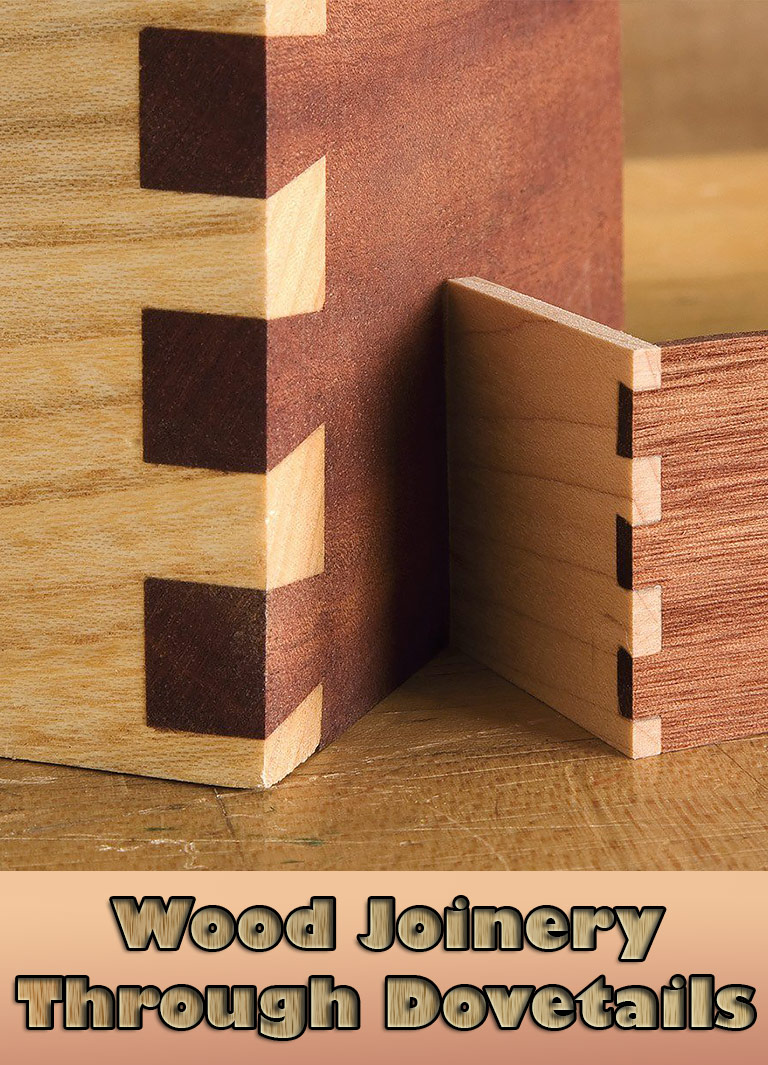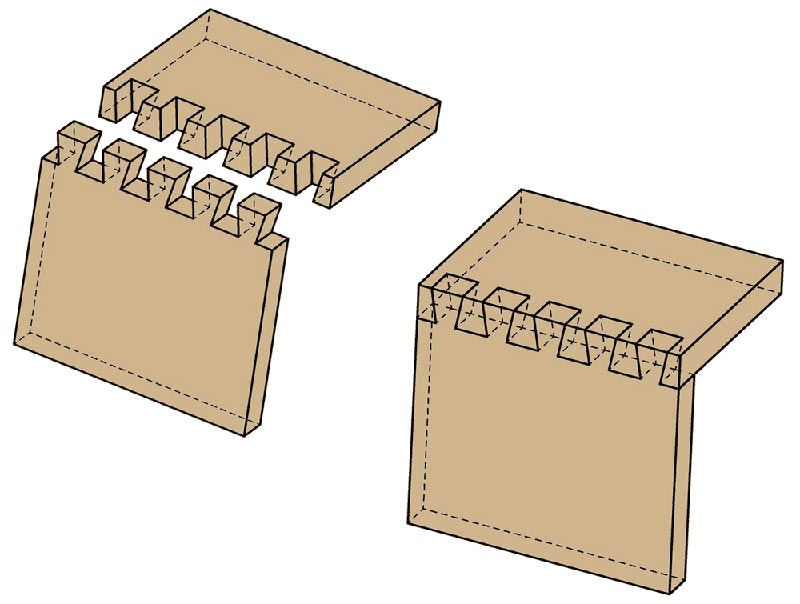
Of all woodworking joints, the through dovetail is revered for not only its strength, but also for its beauty. Dovetail joints can be challenging to fashion, but dovetailing jigs and routers have made this joint much easier to perfect. The through dovetail is probably the most common dovetail joint used in drawer construction.
However, there are many other types of joints that may be more appropriate in certain circumstances. For instance, half-blind dovetails (where the sides of the tails are visible, but the ends are not) are used when the sides of the drawer must connect directly with the face of the drawer. Dovetails on drawers should only be visible when the drawer is opened, but be hidden when the drawer is closed.
Blind dovetails are common in cabinet or box construction where the pins and tails should be completely concealed. However, a portion of the end grain of the tail piece will be visible. In the event that the woodworker wishes to hide the pins, tails and end grains, a mitered dovetail is the best choice.

However, this is a very complicated joint, which takes a great deal of time and patience to master. There are numerous other variations on the classic dovetail, including rabbeted through dovetails, mitered through dovetails, beveled dovetails and box joints (which are essentially dovetails with rectangular pins and tails).
Traditional Creation of Through Dovetails:
Before the advent of dovetailing jigs, through dovetails were cut by hand, and some woodworkers today still prefer the classic method.
- The steps are relatively simple:
- Plane the ends of the two pieces of stock square.
- Mark the shoulder line of each piece, equal to the width of the adjoining piece of stock.
- Mark the ends of the tails at the desired angle.
- Cut the Tails with a Dovetailing saw.
- Remove the waste between the tails.
- Using the completed tails, mark the pins on the opposite board.
- Cut the pins and clean the waste.
Test the joint’s fit and trim more off of the pins if needed.
Using a Dovetailing Jig:
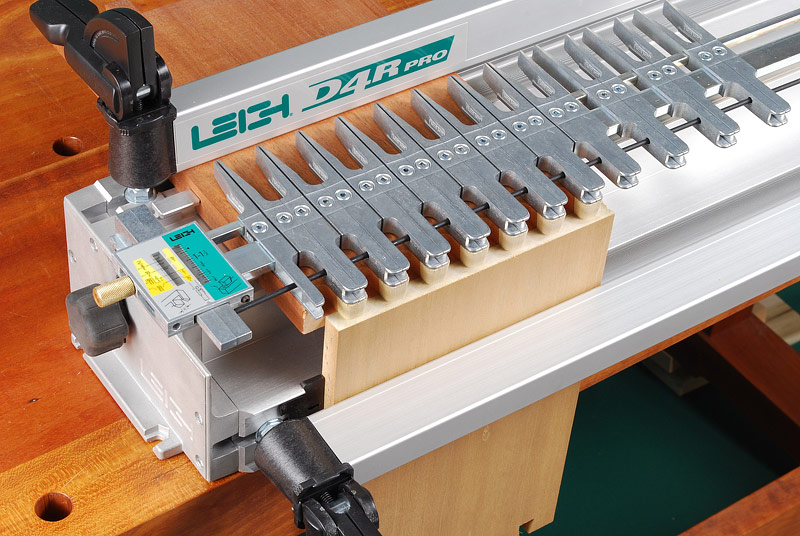
To cut through dovetails using a dovetailing jig, the order is virtually the same. Mark the depth of the cut on the tail board and insert it into the jig. Install an appropriate dovetailing bit into your router and cut the tails.

Next, following the jig’s instructions, insert the pin board into the jig in the appropriate location, switch to a straight-cutting bit and cut the pins. Obviously, the details for this process depend on the chosen jig. However, each dovetailing system includes a complete, step-by-step set of instructions for cutting through dovetails.
Assembly:
Dovetails should fit snugly, but not too snugly. Always dry-fit your dovetails before you get to the point of final assembly, to ensure your joint is perfect. When dry-fitting through dovetails, they should be a bit difficult to take apart, but not so difficult that you need a mallet to separate the parts.
When assembling your through dovetails, spread a thin, even layer of woodworking glue on all surfaces of either the tails or the pins before sliding the joint together. Use a rubber mallet or a sacrificial block of wood with a claw hammer to avoid marring the joint. Immediately wipe off any excess glue.
The Secret to Perfect Dovetails:
If there is one rule to follow, no matter which method you employ to cut your through dovetails, it is this: always cut the tails first, then cut the pins to fit the tails. It is much easier to take a bit more off of the pins to ensure that they fit the tails. However, if you cut the pins first, the tails are much more difficult to mark, increasing the likelihood of an imperfect dovetail joint.


Leave a Reply