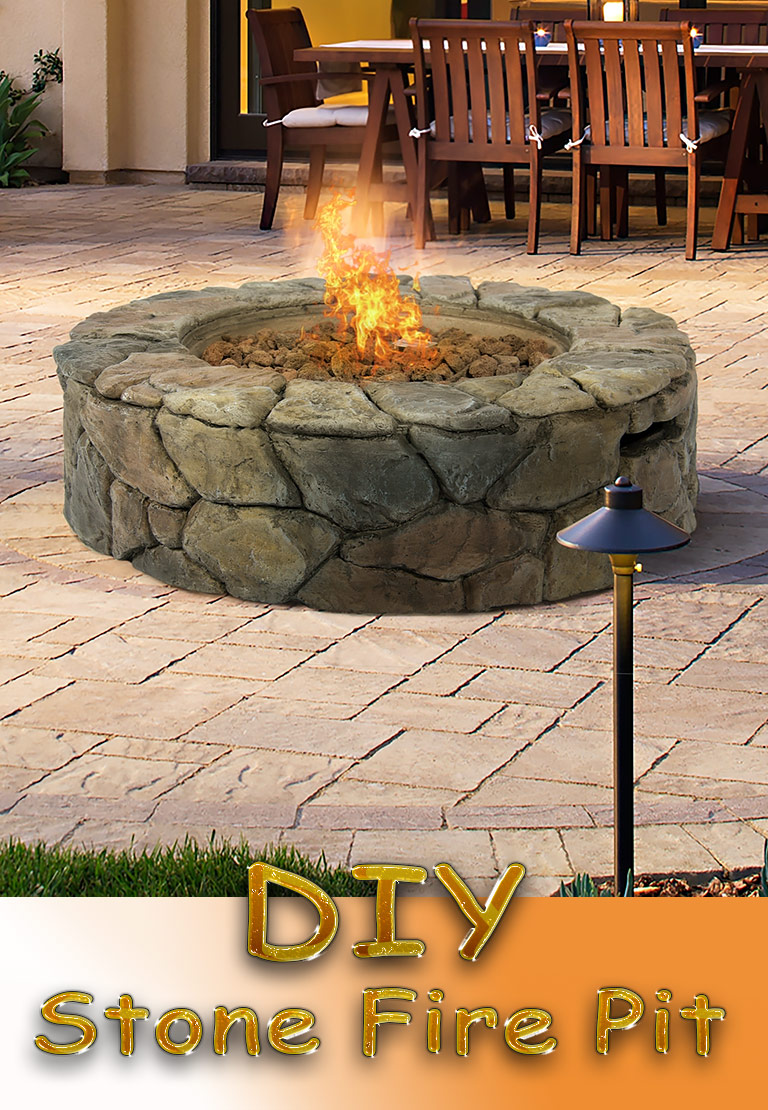
Heat up your backyard with the addition of a stone fire pit.
Materials
- string
- spray paint
- landscape fabric
- mortar
- stone
- concrete
- rebar
- fire brick
- black stove paint
Tools
- rake
- jointer
- level
- utility knife
- tape measure
- trowel
- hammer
- spade
- wheelbarrow
- stiff brush
- shovel
Purchase Stone
Determine the size, shape and location of the fire pit. Take measurements (height, width and depth) to a stone yard and select the material for the project.
Palletized stone is a pallet of pre-sorted premium stone. It is more expensive but will save time because the stones are a more uniform size, shape and quality. Have the stone yard deliver the material to the project site.
Prepare the Base
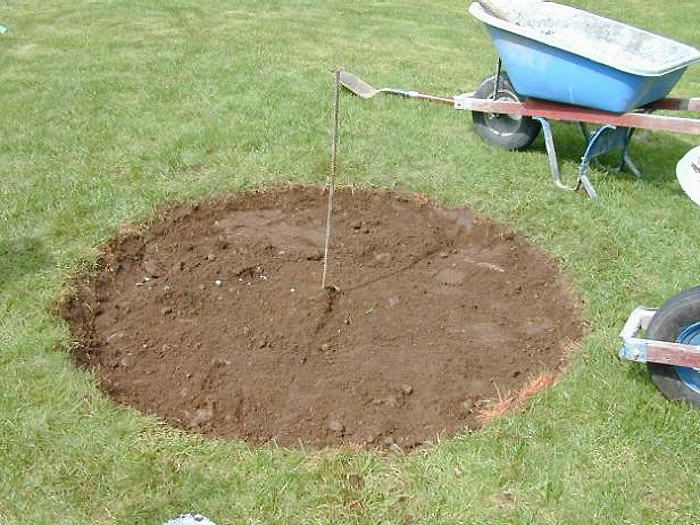
Hammer a piece of rebar directly in the center of the fire pit location. Cut a piece of string to half the length of the fire pit’s diameter. For example, if the completed stone fire pit is to be 5 feet wide, cut the string to 2-1/2 feet long.
Make a loop on one end of the string and slip it around the rebar. Loop the other end around a can of landscape spray paint. Mark the circumference of the circle. Excavate the area inside the paint to a depth of 6 inches.
Mark for Footing
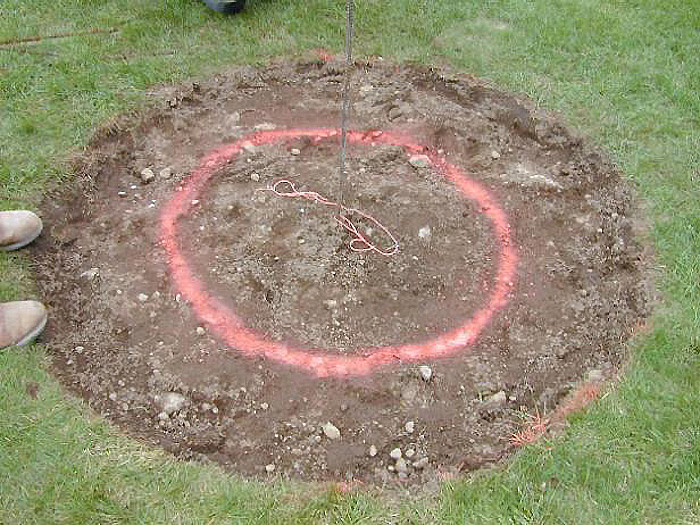
Cut a second piece of string the length of the first piece minus the thickness of the fire pit wall. For example, if the wall is going to be 12 inches wide, cut the string to a length of 1-1/2 feet. Attach the string to the rebar and spray paint and mark a second circle inside the first.
Pour Footing
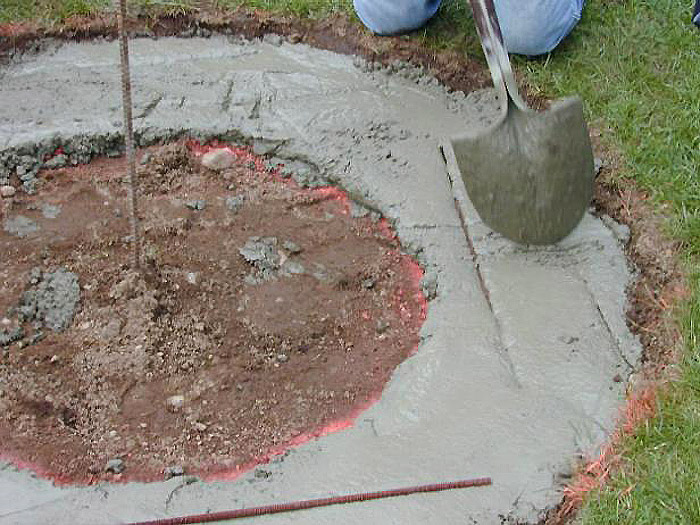
Prepare premixed cement according to manufacturer’s directions. Spread the cement in the area between the outside and inside circles. Leave the center area free of concrete to allow for drainage.
Continue to add cement and level it until it reaches 1-1/2 inches below grade. Tap 2-foot pieces of rebar into the wet cement until completely submerged at various points around the footer. Allow to dry.
Lay the First Course of Fire Brick
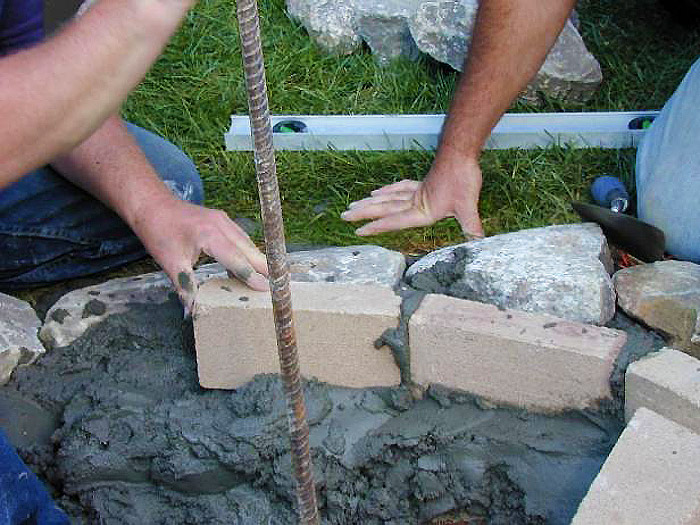
When the first course of face stones is in place, move on to the first row of fire brick. Trowel a layer of mortar along the inside edge of the face stones and press the first fire brick into place.
Apply mortar to one end of the next brick before butting it against the first and pressing it into the mortar. Check for level. Remove excess mortar as you work. Continue working in this fashion until the first ring of fire brick has been laid.
Complete the Fire Pit Wall
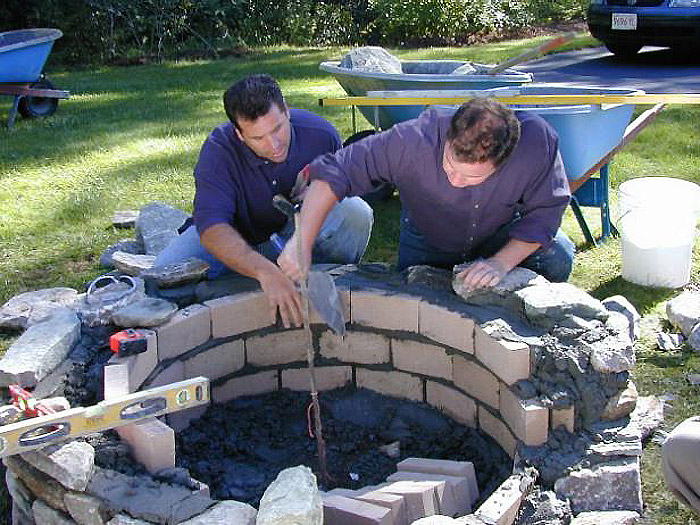
Continue building the wall of the fire pit by alternating layers of face stone and fire brick until desired height is reached. Apply a bed of mortar on top of the previous layer of stone or fire brick and then set stones and bricks.
Avoid wall weakness by staggering the joints between previous and subsequent layers of stone and brick. Fill in any gaps between the fire brick and the stone with mortar and stone scraps.
Lay Capstones
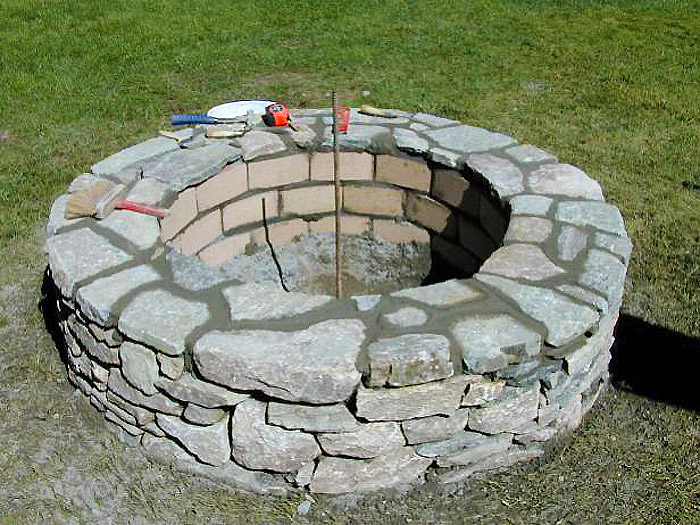
Apply a generous layer of mortar to the top of the fire pit wall, covering both the face stone and fire brick. Begin setting capstones into the mortar, selecting flat stones that fit neatly together.
Work all the way around the top of the fire pit wall making sure that all stones are as level as possible. Fill joints between capstones with mortar, smoothing when done with a jointer. Once the mortar is almost cured, use a stiff brush to scrape off remaining bits of mortar.
Create a Seating Area
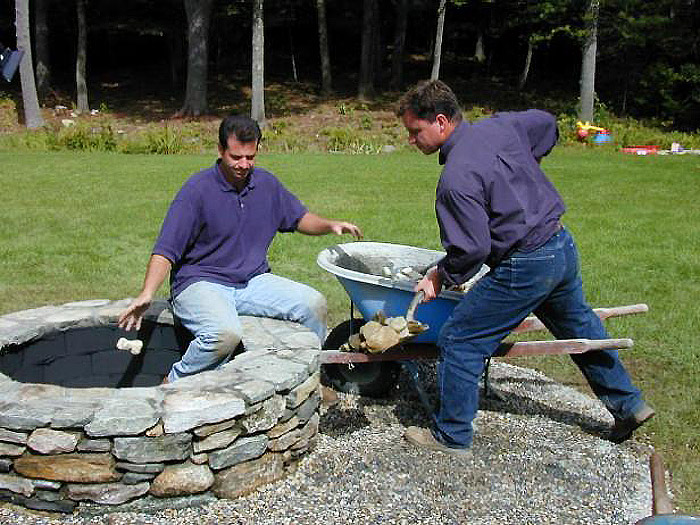
Cut a piece of string that extends from the center of the fire pit to the outside edge of the desired seating area. Attach the string to the rebar and spray paint and mark the location on the ground. Excavate the seating area to a depth of 3 inches. Cut landscape fabric to fit and top with crushed stone.
Complete the Project
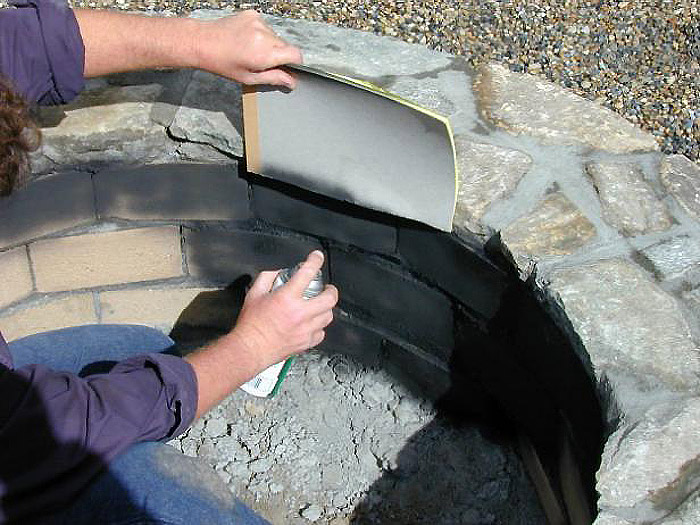
Spray down the stone fire pit with water to remove any dust or dirt that might have collected on the stone. When dry, spray the interior of fire brick with black stove paint.



Leave a Reply