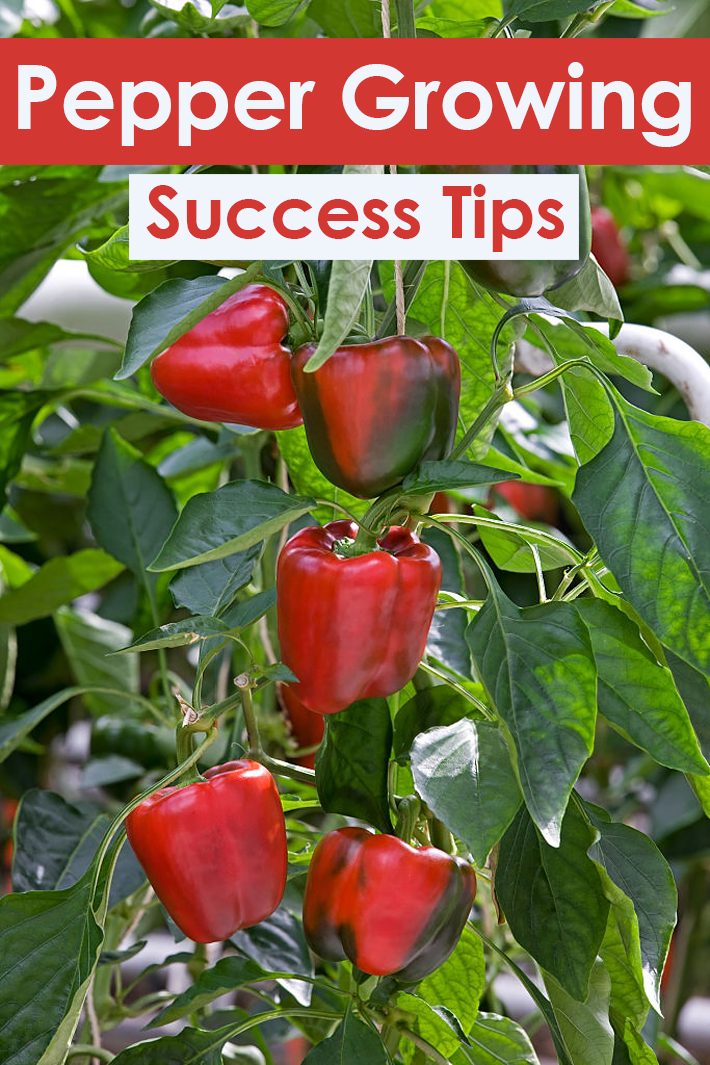
Planning to grow peppers this season? Great! Peppers are chock-full of good flavor and nutrition. Here’s a 22 Pepper Growing Success Tips to help you reap your best pepper crop ever, whether you’re starting with your own transplants or planting ones you bought at your local garden center.
1. Peppers prefer deep, aged-compost–rich soil. If your soil is heavy with clay, grow peppers in a raised bed, adding loam and sand.
2. Growing peppers in your native soil: add at least 2 inches of aged compost across the planting bed and sprinkle with 5-10-10 organic fertilizer, then turn the soil to at least 18-inches deep. (Soil that is too rich with nitrogen will produce plants with luscious foliage but few flowers and fruit.)
3. Don’t rush peppers into the garden; don’t plant peppers at the same time you plant tomatoes. Wait! Nighttime temperatures should be above 60°F and never fall below 55°F. The soil temperature should be 65°F or greater in the morning before you transplant peppers into the garden.
4. Harden off pepper starts before transplanting them into the garden. Put seedlings in a warm, sheltered place outdoors for a few hours each day to harden them off; do this for 10 days before transplanting. Don’t transplant peppers out until overnight temperatures are greater than 60°F; if your peppers in the garden sooner be sure to cover them with a floating row cover.
5. Peppers should be closely spaced. The leaves of mature pepper plants should touch each other. Set bell peppers 18 inches apart and hot peppers 12 inches apart.
6. Feed peppers at transplant time. Dig a hole about 6 inches deep, add a 2-inch layer of aged compost and a handful of 5-10-10 organic fertilizer—mix this well at the bottom of the hole. Then set the plant in the hole.
7. Adding rock phosphate to the bottom of the planting hole at transplant time will help prevent blossom end rot.
8. Set peppers seedlings in the transplant hole slightly deeper than the soil level. If your seedling is in a peat pot be sure to bury the entire pot; peat pot material left above the soil level will act as a wick drawing water from the plants and may kill it. Heal in your transplants.
9. Early in the season protect young plants from cold and pest insects by covering the growing bed with a floating row cover. When the peppers begin to blossom, remove the cover so that bees and other insects can pollinate the plants. (You can also cover young plants with cloches or plastic milk jugs.)
10. Keep the soil evenly moist, not too wet, not too dry. A deep watering once a week will equal about 1 inch of rainfall. The critical time for watering is from flowering through harvest. Water stress can cause buds and blossoms to drop (so can cold temperatures).
11. Once soil and nighttime temperatures have warmed and summer heat comes, mulch around pepper plants with a finely-shredded organic mulch such as a mixture of grass clippings and straw. Mulch will retain soil moisture and keep the humidity high around plants (remember, peppers are tropical plants and love humidity). Place the mulch at least an inch or two from the stem and as much as 6 inches deep out to the dripline.
12. Peppers use nitrogen for sturdy stems and foliage, phosphorus for fruit production, and potassium or strong roots. About 12 weeks after transplanting or when blossoming starts, peppers will need additional nutrients (remember you fed them in the planting hole at transplant time—see above). At blossom time, pull back the mulch and side-dress plants with a sprinkling of 5-10-10 organic fertilizer and a half-handful of bonemeal around the dripline. Carefully turn the fertilizer into the soil. Repeat this feeding when fruits are about 1-inch long.
13. Peppers that produce a lot of flowers but few fruits need a shot of magnesium. Spray your plants with a solution of Epsom salts when blossoming begins. Mix 2 teaspoons of Epsom salts in a quart of warm water and spray it on the leaves and blossoms; repeat every 2 weeks.
14. Stake or cage peppers heavy with fruit (it’s easier to set the cage or stake at planting time). Peppers have brittle stems and branches. Use elastic plastic tape to tie plants to stakes.
15. Temperatures greater than 90°F can cause buds and blossoms to drop, particularly when the air is dry. Where summers are very hot put shadecloth frames in place to protect peppers or plant on the north side of taller plants such as tomatoes or corn that can offer shade.
16. Peppers seem to grow well when planted near cabbage, onions, carrots, basil, parsley, and tomatoes.
17. Peppers can be attacked by aphids, pepper maggots, pepper weevils, tomato hornworms, Colorado potato beetles, leaf miners, flea beetles, and corn borers. Control these pest insects with insecticides like Bt for the caterpillars and pyrethrum for the others. Hot pepper spray will also repel these pests: combine a handful of hot peppers, several cloves of garlic, a tablespoon of non-detergent soap, and three cups of luke-warm water to make the spray.
18. Keep the garden weed-free to slow down pest insect populations. Weeds can also spread fungi and viruses that harbor insect diseases.
19. Choose disease-resistant varieties when you can.
20. Harvest: peppers, like cucumbers, can be harvested immature, but allowing the pepper to ripen on the vine improves quality. Flavor does not truly develop until maturity. However, if you pick peppers throughout the season, the plants will continue to produce. Tip: leave some peppers on each plant to ripen and harvest; pick others throughout the season when they reach table-size. Use a sharp knife or garden scissors to harvest and leave about ½-inch of stem on each peppers.
21. Peppers will continue to ripen for a few days if left on the kitchen counter.
22. Don’t store peppers in plastic bags or wrap or in the vegetable crisper of the refrigerator. Try your best to use them the day you harvest them.
Please follow us on Pinterest and enjoy our collection of recipes, crafts, fitness, health tips, gardening, DIY and more…


Thanks for the helpful tips.
Will help a lot
This is a very nice article