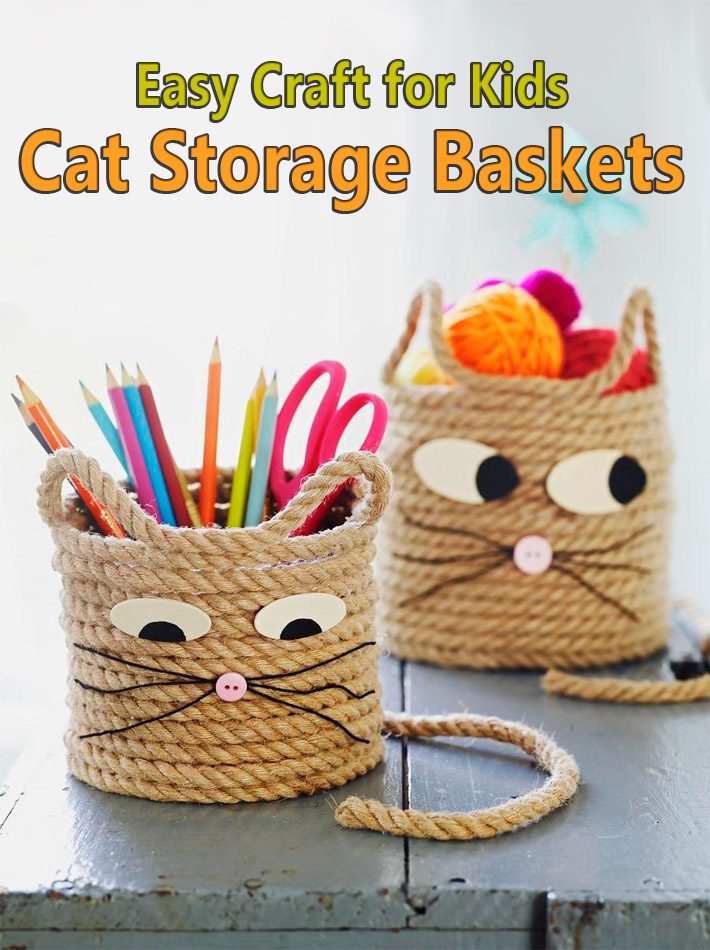
Cat Storage Baskets
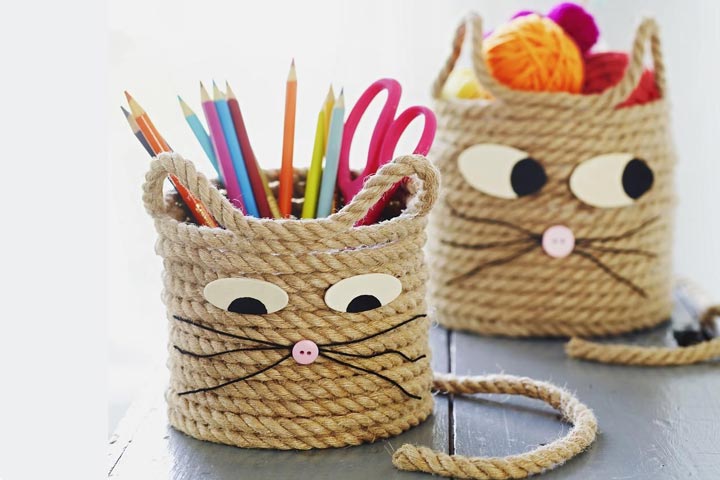
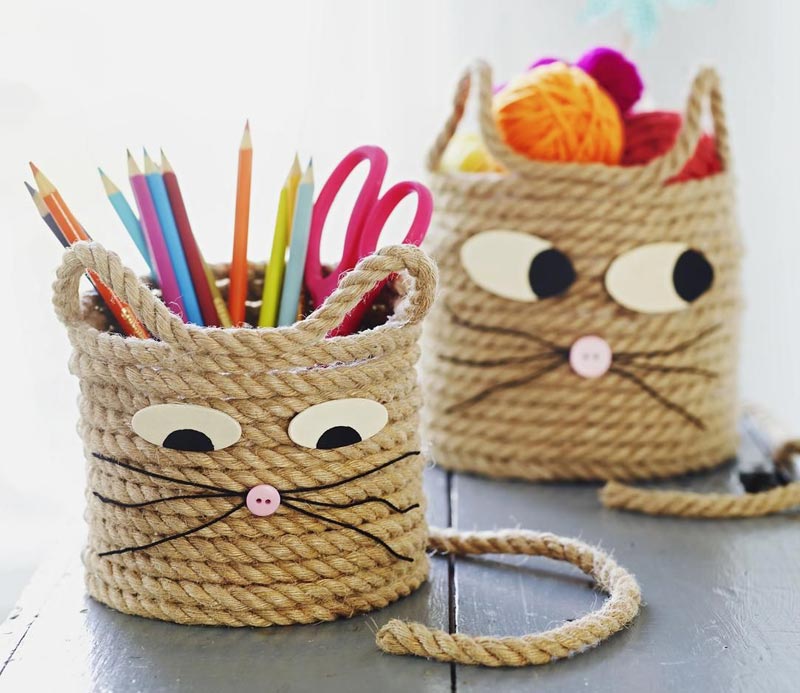
1. For the smaller basket, start with a 25-foot piece of 1/4-inch jute rope. For the larger one, use a 30-foot piece. To make the base, have your child coil the rope, using tacky glue to hold it together as she goes, into a 4 1/2-inch circle (make it 6 inches for the larger one).
2. Begin gluing the rope on top of the outer ring. Continue building the sides by adding glue every 1 to 2 inches, until the basket is 4 1/2 inches tall (6 inches for the larger one). To make the ears, bend the rope into an ear shape, then hot-glue it to the rope on the layer below and on either side of the ear (an adult’s job). Leave a 2-inch space, then repeat for the second ear. Trim the end, glue it down, and let dry.
3. Cut three 4-inch pieces of black embroidery floss, and knot them in the center. Lay the basket on its side, ears up. Glue the knot and whisker ends to the basket, then glue a pink button to the knot.
4. Draw eyes onto 1-inch oval wooden craft shapes with a marker; glue in place. Glue a 12-inch piece of rope to the back bottom edge of the basket for a tail. Let dry completely.

Too cute! Really would love to make this. I almost feel like my cat might be tempted to use this as a scratching post ;). Double cat friendly!!
I love those baskets!!!
I was looking for an easy. It practical craft to make when I go to an orphanage in Mexico next week. What’s so helpful is this will be interesting for a variety of ages! Thanks very much!