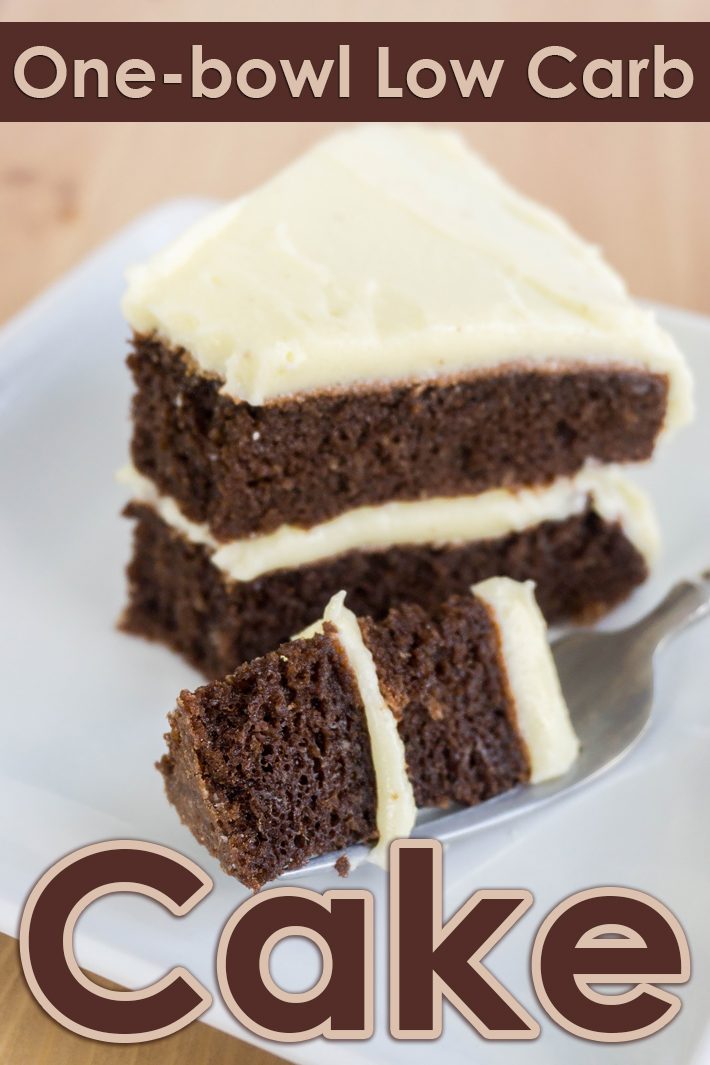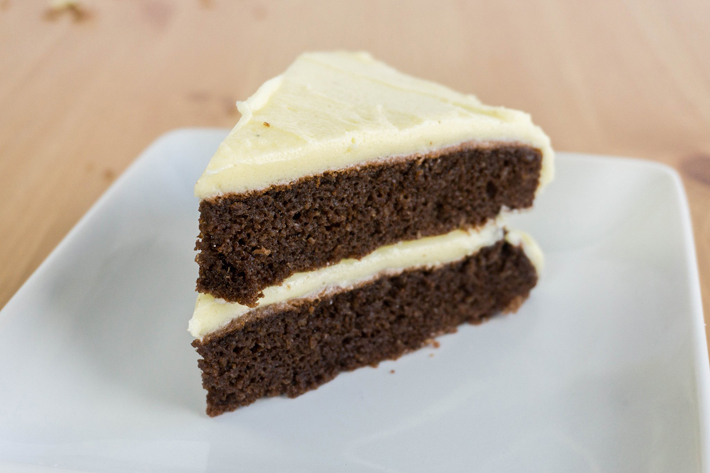
This is a simple one-bowl low carb cake. Almond flour is gluten-free and it isn’t finicky like wheat flour. Everything can just be mixed together with no worry about over mixing and making the batter tough. The only intense part of this low carb cake is paying attention to when to take it out of the oven. It does not taste good overbaked. If you’re going to make a mistake (I speak from experience here) – slightly underbaked is better than overbaked. I’m including detailed instructions on how to judge the doneness so your effort is successful the first time around!
One-bowl Low Carb Cake
INGREDIENTS
For the cake:
- 8 eggs
- 1 cup xylitol or erythritol
- 1 cup whole milk
- 3 cups almond flour (also called almond meal)
- 4 teaspoons baking powder
- 1 teaspoon baking soda
- 7 Tb. good quality cocoa powder
- 8 Tb. (4 oz.) unsalted butter melted or melted ghee (I like ghee better)
- 2 tsp. vanilla
For the Frosting:
- Use your favorite frosting or make whipped cream
- 1 pint heavy cream
- 1/4 cup xylitol or erythritol
- 1 teaspoon vanilla
INSTRUCTIONS
Make the Cake
- Preheat oven to 350.°
- Line the bottom of 2 round 8″ x 2″cake pans with parchment paper. The easiest way to do this is to trace around the bottom of a cake pan with a pencil on a sheet of parchment paper large enough for 2 cake pan bottoms. Fold the paper in half so that when you cut out 1 circle, you’re actually cutting out 2. Grease sides of pan and top of parchment paper with butter or coconut oil spray.
- May also be made as sheet cake: grease a 9″x13″ baking pan.
- Dough may be mixed with a spoon, with a hand-held mixer, or a standing mixer.
- Beat eggs, in a bowl large enough to hold all of the ingredients. Add xylitol and milk and combine. Add all of the other ingredients and combine well.
- Divide batter evenly into prepared pans. Bake at 350° for about 25-32 minutes. Cook until cake is just set. Do not overbake. Slightly underbaking is better than overbaking.
- Oven temperatures and cooking times vary. The best way to test for doneness is by lightly touching the center of the cake. The cake should feel just set.
- The first time you do this you want to get a feel for what is jiggly and what is set. The description makes it sound more complicated than it is…but I think it will be helpful.
- Look at the cake after about 20 minutes, when it is clearly not yet done and the center is jiggly. Check again after 3-5 minutes and you’ll notice that the center is getting more set. When the center has just completely set touch it lightly. If it feels really soft let it cook a little more. Check every few minutes, touching gently in the center, and remove from the oven when set but still a little soft. Notice how long this took. The next time you’ll know exactly for how long to bake the cakes. Also you get the feel of it after the first time so it isn’t so nerve-wracking. Let cake cool completely before frosting.
Make the Whipped Cream
- Combine cream, sweetener, and vanilla in bowl. Using a hand-held mixer or standing mixer, beat cream until stiff peaks form.
- Start at medium speed so cream doesn’t splatter.
- As cream firms, increase speed to high.

Assemble Cake
- Gently invert 1 layer onto serving plate and remove parchment paper.
- Top with about 1/3 of the whipped cream.
- Place 2nd layer on top.
- Frost sides and top of cake with remaining whipped cream.
- Refrigerate until ready to serve.
Nutrition
10 servings, nutrition per serving:
Calories: 297, Total Fat: 24g, Sodium: 83 mg, Total Carbohydrate: 12 g, Dietary Fiber: 5.4 g, Sugars: 3.2 g, Protein: 14 g


Leave a Reply