
A few old branches aren’t worth much, but we will convince you that they are worth a second glance. DIY Birch-Log Coffee Table – We’re seeing tons of nouveau-rustic furniture in trendy catalogs and shops right now. It’s one of the hottest looks on the furniture runway. We knew there had to be a cheaper way to score this designer style.
Beautiful Birch
Turns out, a few basic tools, materials, and a weekend are all you need to get the look for way less than designer price tags. We’ll show you how.
Surface Matters
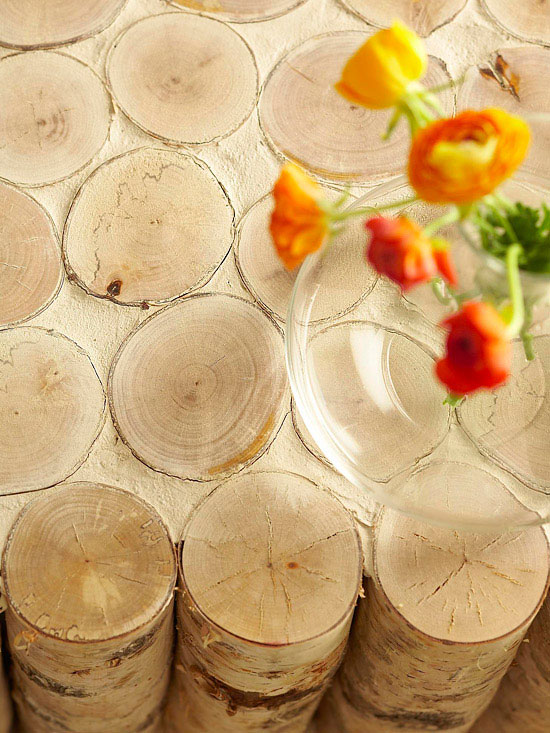
We love the look of birch. It’s smooth, light in tone and texture, and easy to handle. For this project, we used 34 birch logs, each about 3-4 inches in diameter. You can use a miter saw to cut birch logs to size, or you can pay a nominal fee at a lumber store to have the logs cut for you.
The best part about using birch? The trees grow and replenish themselves quickly, so you don’t have to worry about harming the environment to make your chic table.
Getting Started
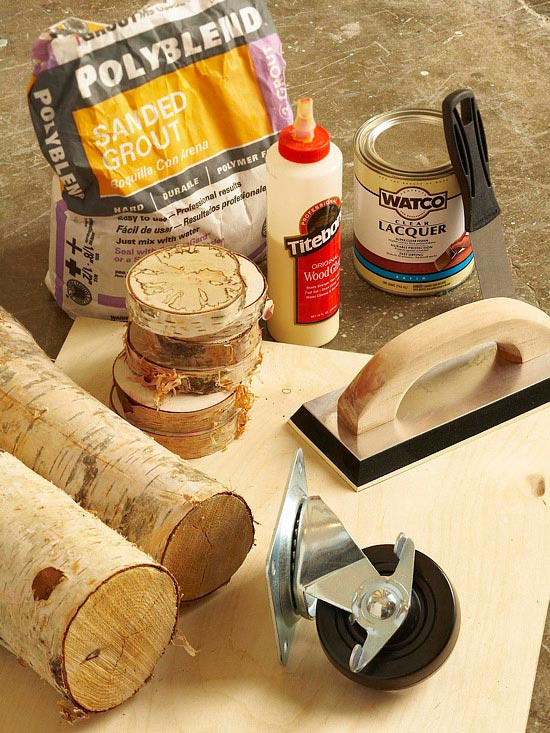
Once you have the wood, you can find the rest of the supplies at your local home center. Lowe’s (lowes.com) was our one-stop shop for everything we needed to complete the project.
What You’ll Need:
- Birch logs cut 18 inches long
- 4×8-foot sheet birch plywood
- Wood glue
- Wood screws
- Grout
- 4-inch casters
- Clear polyurethane
Tools You’ll Need:
- Circular saw
- Miter saw
- Cordless drill
- Grout float
- Putty knife
Build the Base
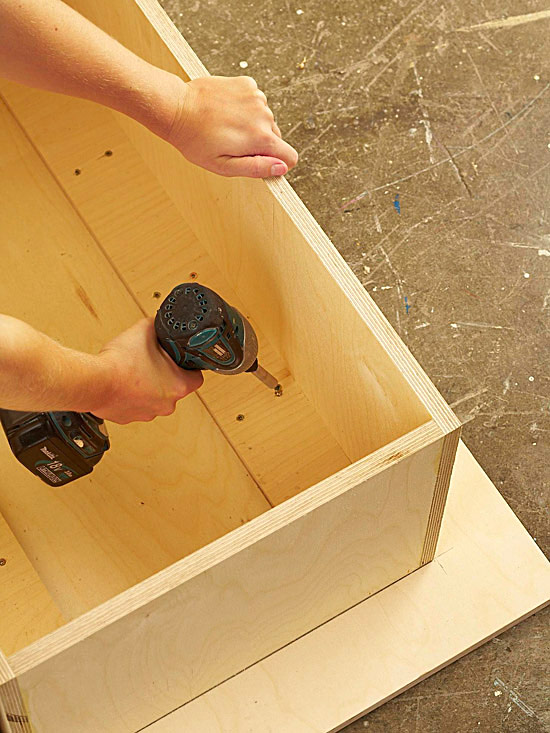
Step 1: Cut the plywood base to 33×24 inches, then build a plywood box measuring 27x18x16 inches. Cut two 27×16-inch and two 18×16-inch pieces for sides and one 27×18-inch piece for the top. Glue the box sides together, then screw. Center the box on the wood base, screwing through the box and into the base to secure.
Attach the Logs
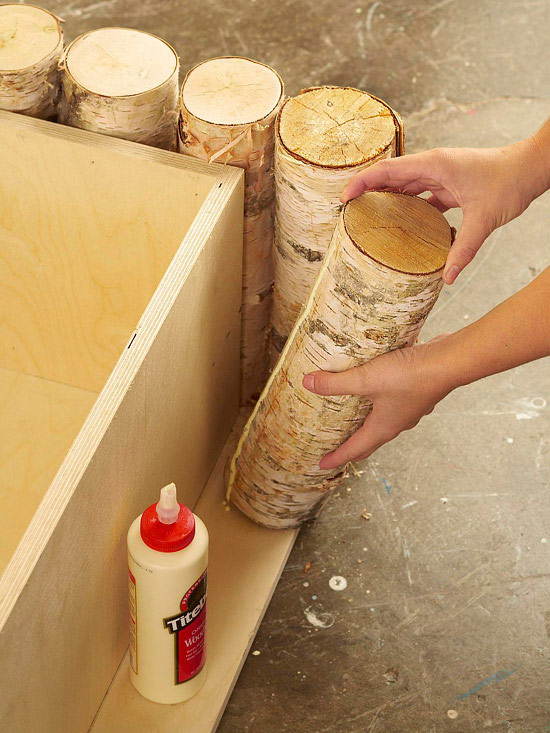
Step 2: Cut logs to 18 inches using a miter saw. We used 34 3-1/2-inch logs, but you can adjust the quantity based on the diameter of your logs. Bead wood glue along one side and on the bottom of each log. Secure the logs to the wood base and box as shown. For extra strength, screw through the wood box into each log.
Close the Top
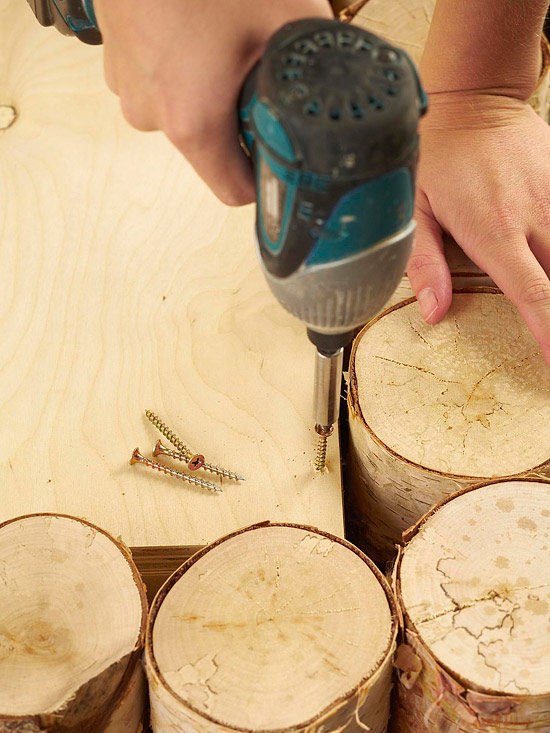
Step 3: Top the box with the 27×18-inch piece of plywood you cut in Step 1. Screw the top to the box to secure it.
Add Accents
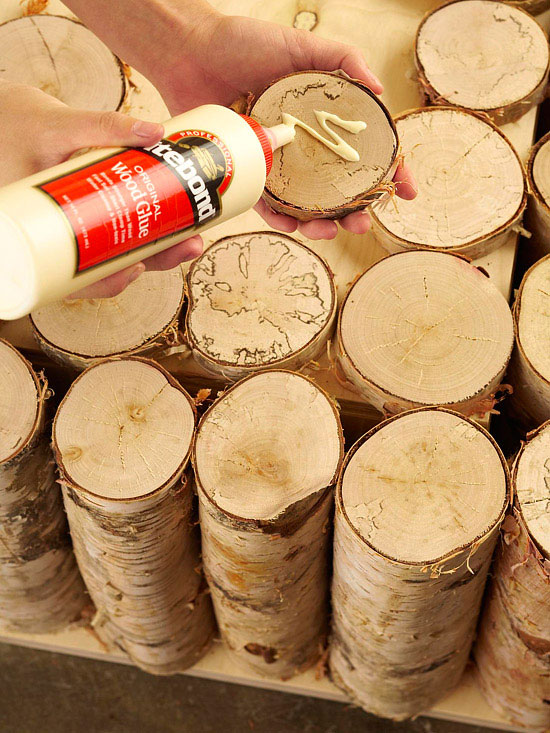
Step 4: Cut 1-inch wood rounds using a miter saw. We cut 40 for this project. Use wood glue to secure each round to the box top, aligning in rows as you glue.
Grout Work
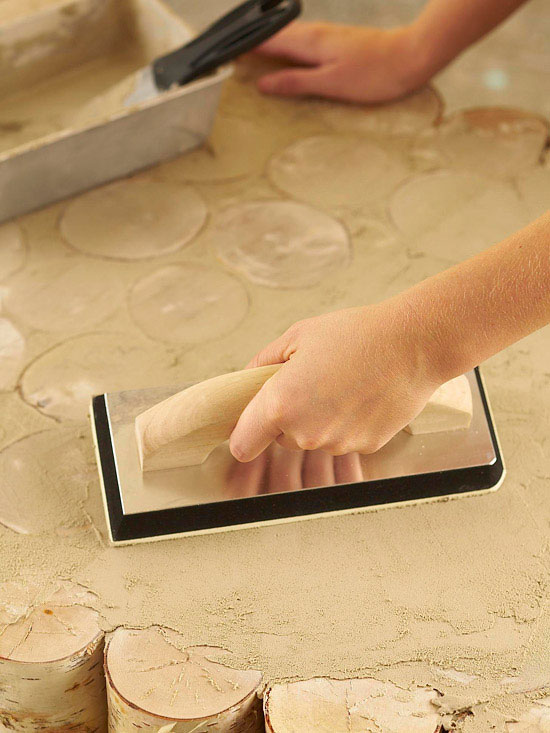
Step 5: Spread grout over the logs with a grout float, smoothing between the edges of the logs. Wipe off extra grout with the float. Use a putty knife to scrape off grout to your desired appearance. Allow the grout to dry before continuing to Step 6.
Finish with Wheels
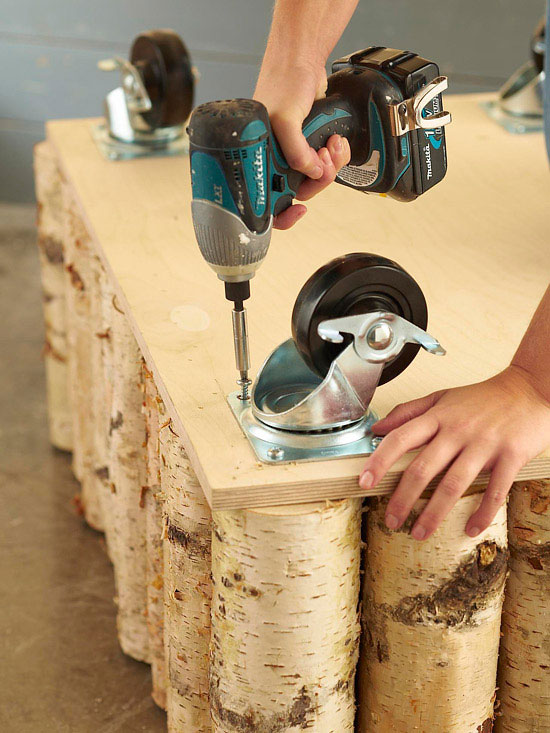

Step 6: Attach feet to the base with screws. Position the casters 1 inch from the edge of the table. Finish by applying a coat of clear polyurethane to the wood.



Leave a Reply