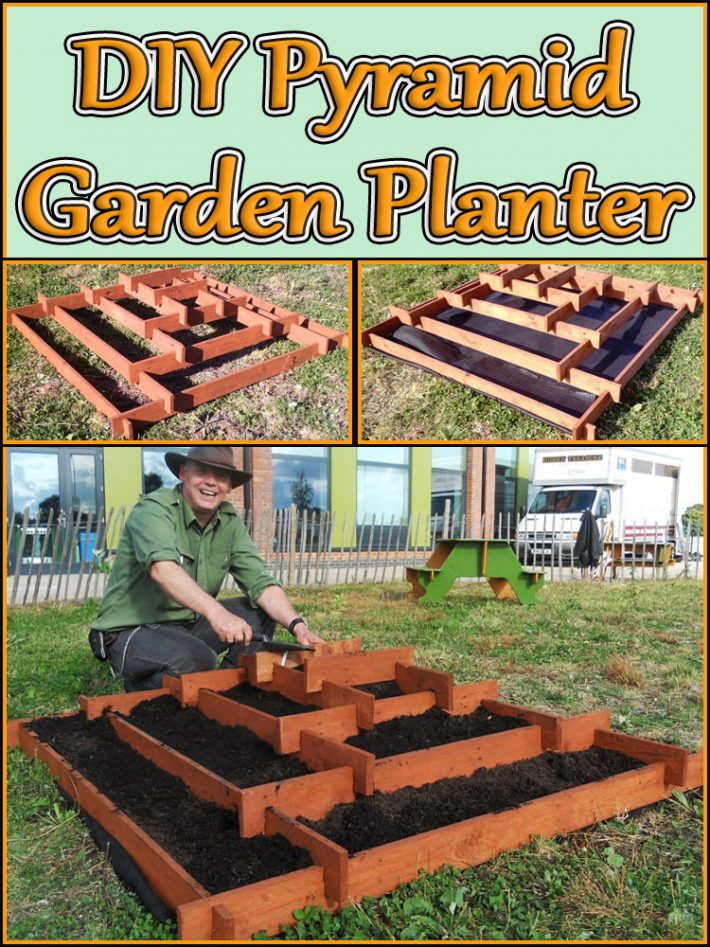
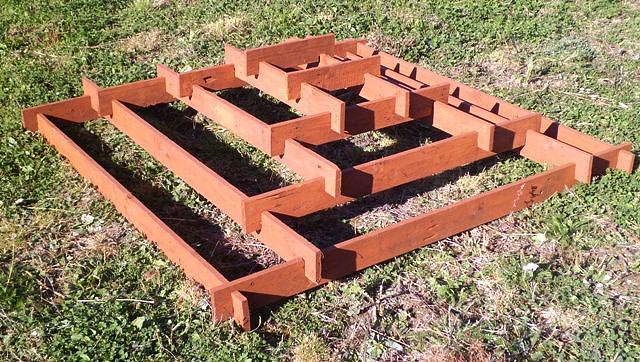
This time I have made slot together pyramid garden planter from the reclaimed Pallet timbers.
This planter took me approximately 90 minutes to make: The design is simple, and so is the required level of woodworking skill, the only tools required are a square, pencil, electric/cordless drill and suitable spade end drill bit, and a tenon saw; although a chisel and some sand paper would be useful for tidying up the slip joints.
I cut down some 2.4 metre long pallet deck planks that were 9 cm wide and 1.9 cm thick to 1.9 mtrs long for the base tier so that the tier inside the slip joints is a 1.8 mtr X 1.8 mtr square.
Step 1:
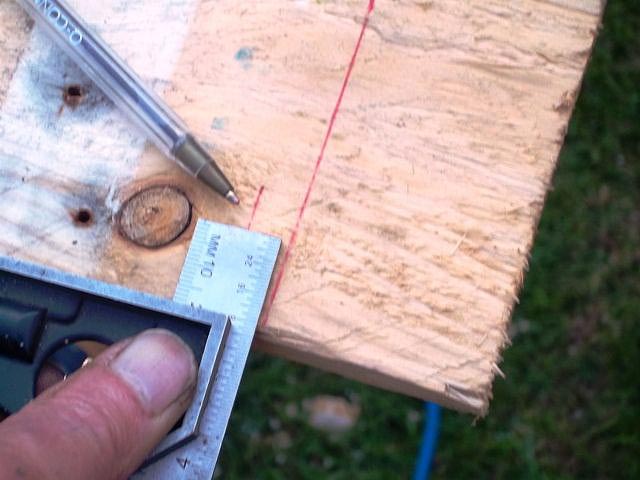
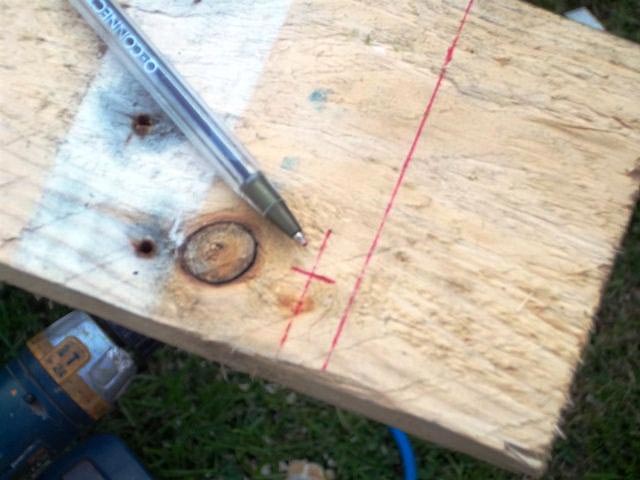
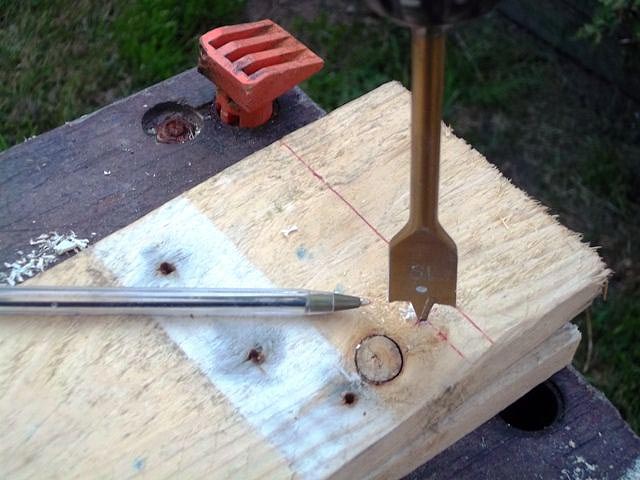
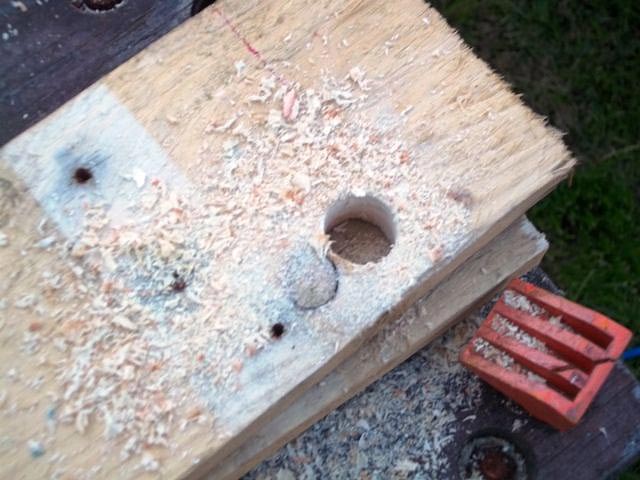
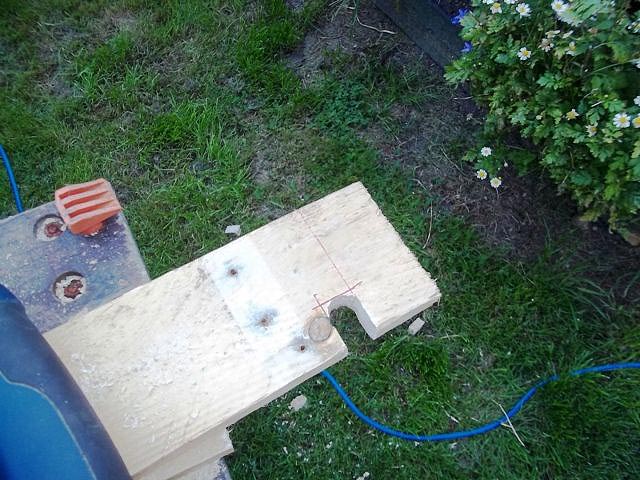
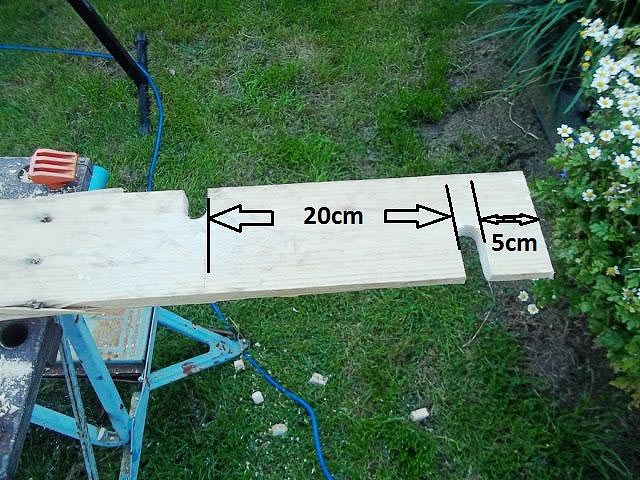
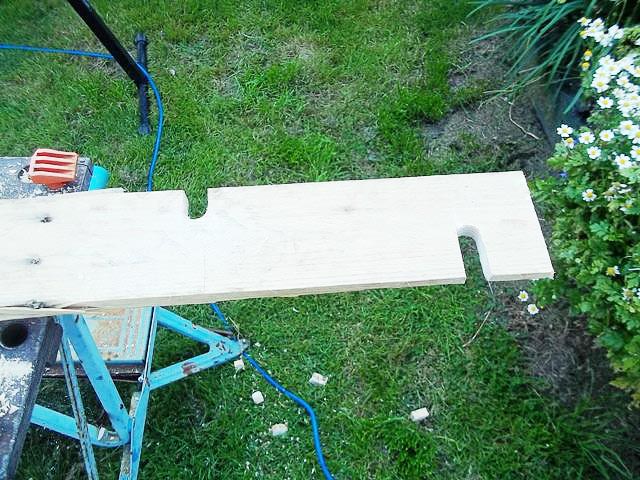
The corner slip joints for the first (base) tier are positioned 5 cm from the end of each plank and this measurement is used for the corners of all of the tiers. The slots for the tier above have been set at 20 cm in from the slots from the tier below, and again this measurement has been used throughout the construction of this planter.
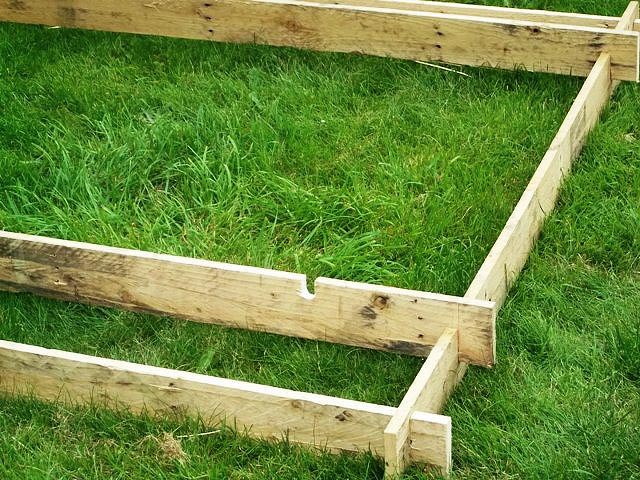
Only the slip joint slots at the corners of the lower tier need to be half the plank’s width in depth, this is to allow all four sides to sit firmly on the ground. All of the remaining slots used in this planter have been set at a depth of 1/3rd of the planks width.
Note that that the 1/2 depth slot is 5 cm from the end of the plank, and the 1/3 depth slot for the second tier is 20 cm in from the inside edge the first slot:
It is important to remember that on all the slip joints you are working inwards so that you keep the dimensions and the slots in the correct place.
Step 2:
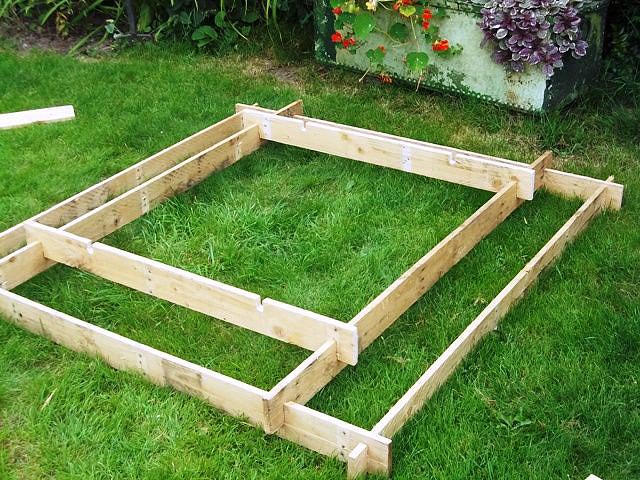
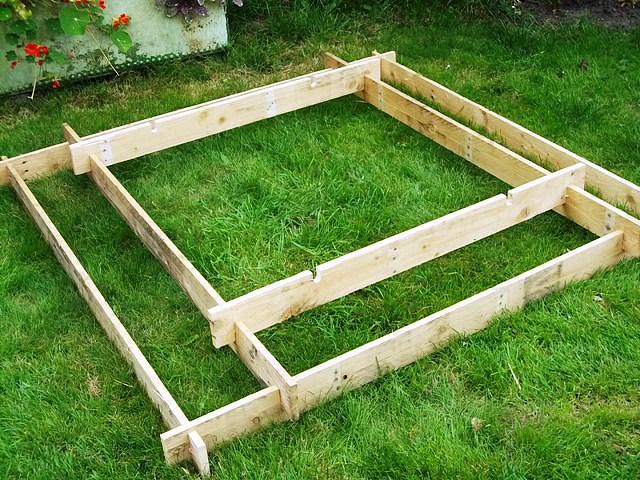
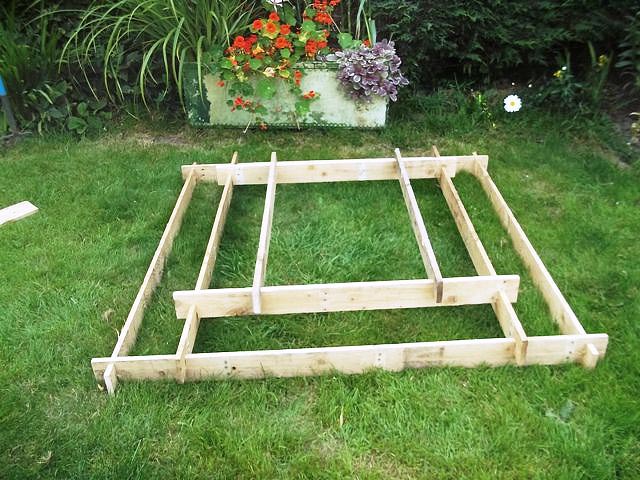
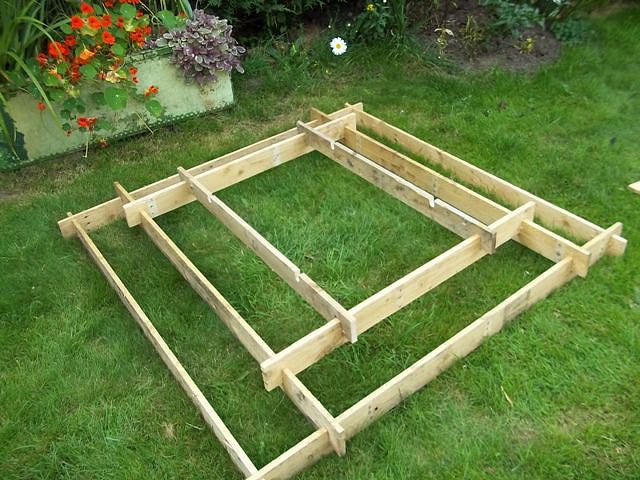
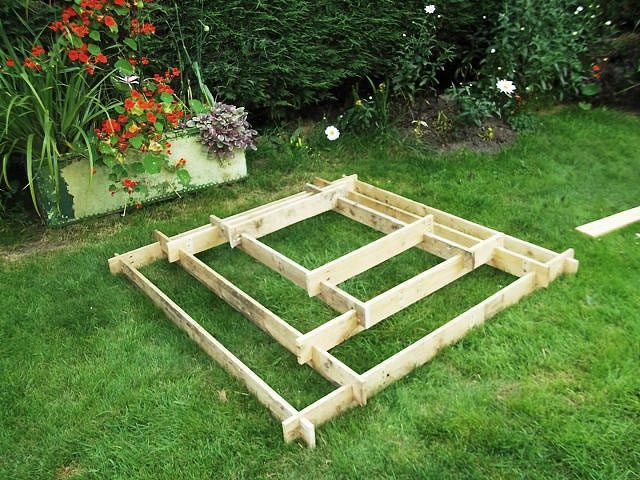
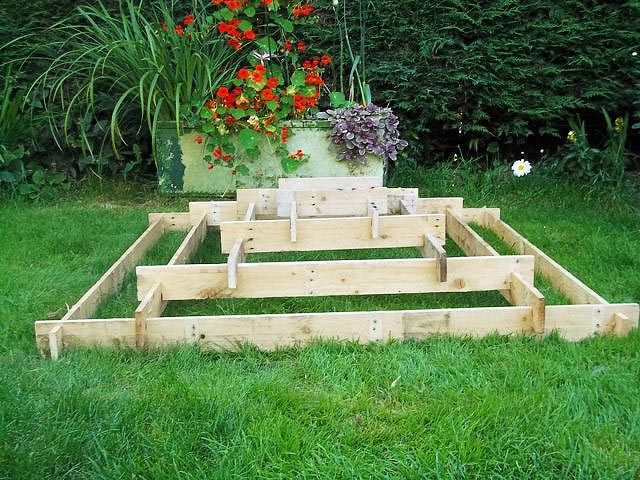
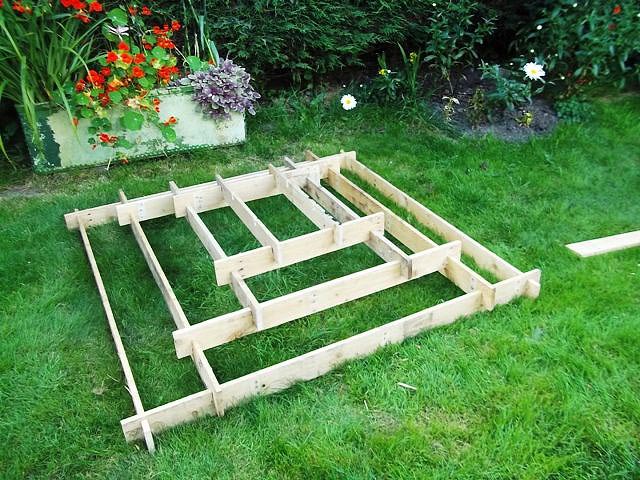
Each tier is 20cm in from the previous one, and the slots are cut 5cm from the end of each plank.
Step 3:
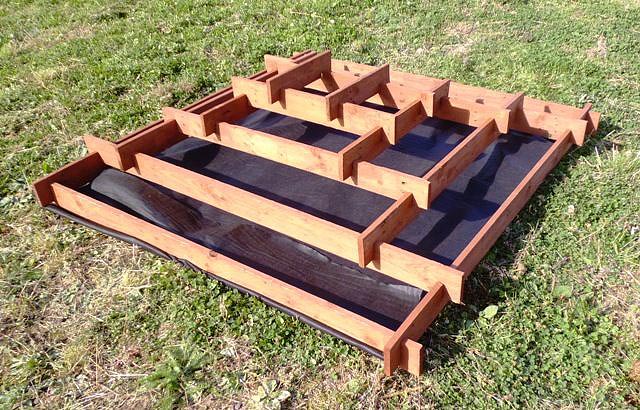
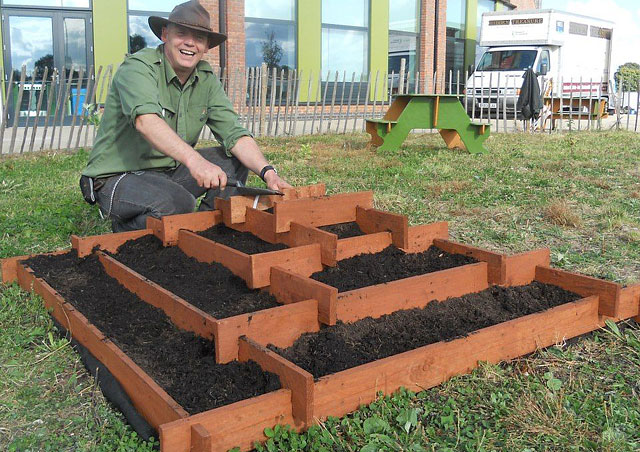
After a couple of coats of wood preservative the pyramid planter is now ready to be assembled and placed in its final position before filling with compost and adding the flowers and plants.


Leave a Reply