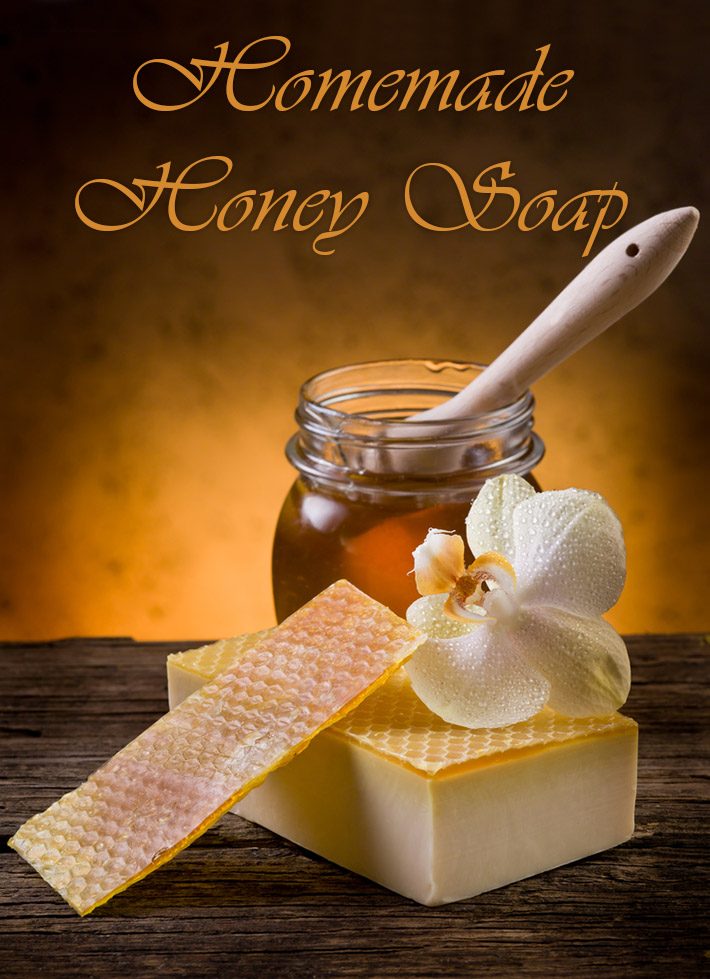
Honey has been used for centuries for skin care due to its moisturizing and anti-bacterial properties. The honey soap recipe below makes for a very lathering soap bar that will keep your skin soft and moisturized.
Honey Soap Recipe
- 48% beef tallow, rendered
- 25% olive oil
- 20% coconut oil, 76 degree
- 5% castor oil
- 2% beeswax
- lye (NaOH)
- distilled or demineralized water
- 4% essential oil blend of citronella and lemongrass (optional)
- 3% honey
1 pound test batch, at 5% superfat:
- 7.68 oz beef tallow
- 4.0 oz olive oil
- 3.2 oz coconut oil
- 0.8 oz castor oil
- 0.32 oz beeswax
- 2.23 oz lye
- 6.08 oz water
- 0.5 oz essential oils
- 0.48 oz honey
Instructions
- Slowly add the lye to the water, mix until fully dissolved and set aside to cool. Melt the beeswax in a double boiler until liquid. Heat the remaining oils and tallow and stir until fully dissolved and even in texture and color.
- When lye & fats are lukewarm, pour lye slowly into fat, stirring until thick and creamy. Add warm wax mixture in a thin stream, beating vigorously to disperse evenly. Add honey and essential oils. Pour into molds.
- Note that the honey will heat up and hasten the saponification process, so be ready to pour the mixture into the molds quickly.
- To avoid overheating the soap, do not insulate and place it in the freezer overnight. Acrylic and silicon molds are better for this recipe, as wooden log molds retain more heat.
Benefits of Honey for Skin Care
Since ancient times, people have revered honey as being both one of the greatest sweeteners as well as medicinal substances. It was used to treat many ailments before, and not simply through consumption but also through topical usage. Indeed, it would have been more common for the ancients to apply honey to their ills by smearing an affected or medically afflicted area with the substance, as opposed to simply ingesting honey as a medicine. However, even though the ancients used honey for various medical complaints, they were not yet aware of its antimicrobial properties, which we happen to know today.
Honey is such an effective antibacterial agent because its water activity is very low, and this discourages the growth of most bacteria. The substance is also an excellent humectant, which is to say that it is a hygroscopic or water-attracting material. Due to this, many people used to apply honey to their skin simply to soften it or prevent it from drying, as the honey would attract water to their skin and moisturize it. An alternative use of honey has been as a hair conditioner. Queen Anne of England, for example, used to regularly apply honey to her hair in order to soften and maintain it.
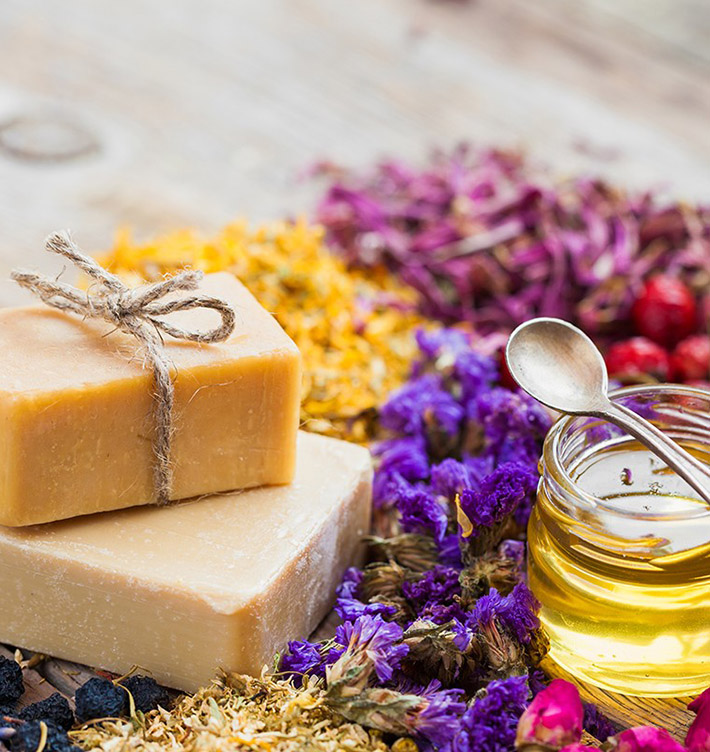
These properties are transmitted to the products made out of honey or honey soaps, which are known for their powerfully moisturizing and emollient properties. These soaps are antibacterial formulations that have the advantages of natural honey in a compact, solid form. You can use them on your skin to reduce dryness, as the ancients did, or perhaps even to prevent the formation of skin problems related to bacterial activity, such as acne. There have even been strong suggestions of honey working to counteract skin aging and the formation of wrinkles, so you can use honey soaps for your face as well.
Honey soap is excellent for those who are looking for healthier alternatives to the factory-made, generic-blend soaps usually available at the grocery stores. Honey-based soaps are not only more natural, they are also gentle on the skin due to their mild, soothing formulations.
Many of the old recipe’s for honey soap actually had honey in them. It was usually a plain white toilet soap flavored with citronella and various combinations of essential oils. The addition of beeswax to the recipe below gives it a faint sweet aroma. Actual honey may also be added to give it an amber color and a softer texture.
Soap Making Basics
You just want to whip up a batch of soap that’s relatively easy for a person who hasn’t done it before. After all, everybody has to make that first batch sometime. There are several websites that give good soap-making information, but for newbies it often feels like they’re jumping the gun a bit.
If you’ve been having a little bit of trouble tracking down some straight-forward information for first-timers, let me just say something really important: working with lye can be very dangerous! You should read a lot and get yourself acquainted with all the steps before you attempt your first batch. To ensure a safe and enjoyable experience, it’s highly recommended that you read this list of safety tips before you begin.
Safety Guidelines
- Always store lye in air-tight containers. Label the containers appropriately. A label with “DANGER! – Sodium Hydroxide” and a skull and crossbones or a big red X in a circle is not overkill
- Keep containers out fo reach of children and pets
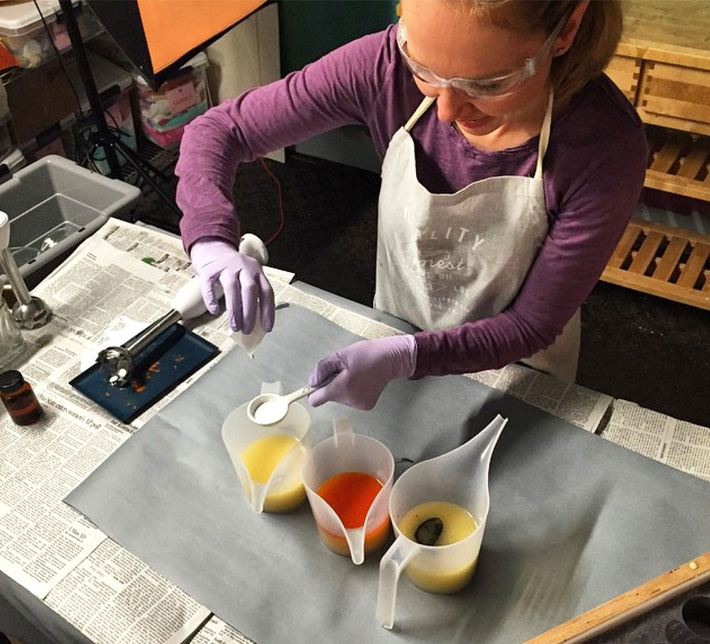
- When working with lye, you’ll need to wear safety goggles, rubber gloves, a long sleeved shirt, long pants, socks and shoes
- It’s a good idea to wear a disposable face mask while working with lye
- When mixing your lye-water solution, remember to ALWAYS ADD THE LYE TO THE WATER, and not the other way around. THIS IS VERY IMPORTANT. If you add the water to the lye, the chemical reaction could cause some of the mixture to spill on you!
- Add the lye slowly while stirring the liquid gently. It will get quite hot, so be sure to always start out with cool water, never warm or hot water.
- Prepare the lye and water solution in a well ventilated area. If I use the kitchen sink, I make sure that the stove vent is on and that the window above the sink is open. I actually prefer to mix it outside if it isn’t windy and the air temps are comfortable. I have an outdoor sink near my potting table that works well for this.
- If you do get some of the lye solution on your skin, rinse well with lots of cool water, then spray some vinegar on your skin. I keep a spray bottle handy for just such emergencies
Soap Making Checklist
In an effort to assist beginner soap-makers with the basics, and as a reminder to the more experienced, here’s a list of soap-making basics:
- Wear protective gear & clothing – rubber gloves, goggles, long sleeves, long pants, & shoes
- Run every formula through a lye calculator before using it
- Pots: use stainless steel pots. Enamel is ok so long as there are NO chips. No glass – heat from lye/water solution can cause glass to shatter
- Utensils: use stainless steel. No wood utensils as lye causes wood to splinter over time. Use plastics with caution as some will melt
- Use a stainless steel immersion/stick blender to mix lye solution into oils
- Use a digital scale that measures at least to 10th’s of an ounce & one that measures ounces & grams
- Measure by weight, not volume
- Don’t substitute oils without using a lye calculator to re-calculate the lye amount
- Keep a journal or book of formulas, & take notes of every batch
- Once you use pots, pans or even the immersion blender for soap making, don’t use them for anything else (specially cooking!).
- Keep those items for soap making only
- Line and/or prepare your molds before you start. There’s nothing worse than have your soap reach trace only to realize your mold are not ready
Standard Soap Making Procedures
Now that you have read the safety guidelines and the checklist, let’s go over some basic, step-by-step instructions. Depending on the recipe you’re making, the steps might be a little different. But for simple recipes you can consider these as standard soap making procedures:
- Start by weighting all your ingredients. Don’t forget to allow for the weight of the containers by using the tare function on your digital scale;
- To prepare your lye solution, put the weighted water into a bowl or pot, preferably stainless steel. Then slowly and carefully add the lye, stirring constantly. A reaction will occur, heating up the water. Do not let the water boil and don’t breathe the fumes.
- Set aside to cool.
- While the lye solution cools down, add your weighted oils to a stainless steel pan. Heat gently until the oils are melted.
- Take the temperatures of your oils and the lye solution. When both are within 10 degrees of each other (ideally in the 100 to 125 F range), slowly add the lye solution to the oils.
- Mix gently at first, until the mixture takes a smooth texture and color. Then turn on your immersion blender and mix thoroughly, in short bursts of 20 seconds so as not to burn your blender.
- At some point, your mixture will reach trace. Trace is when the surface of the solution starts to show ripples from your mixing and the ripples tend to stay on the surface. It should look almost like very thick custard.
- If you’re adding essential oils, fragrances, colorants or other additives, this is usually the time to do it — unless noted otherwise.
- Pour this into the molds and place them in the setting area, thencover them with the blanket.
- Let the molds sit for about 24 hours, then remove the blankets and lid and let the soap air in the mold for another few hours.
- You should have a nice hard block of fresh soap, which you can now remove from the mold. If it’s still a bit soft, let the block of soap sit fora day to firm up before unmolding.When the soap is firm enough, unmold and cut it into small bars.
- Place the bars in an open box or drying rack for 4 to 6 weeks. Make sure the bars don’t touch one another, and remember to turn them everyonce in a while, so all sidescan dry equally.
- While you should be able to test the soap after 2 weeks, it could still bea bit harsh on your skin. So, resist the urge and wait a few more weeks.The longer the soap cures, the milder it will be.


Leave a Reply