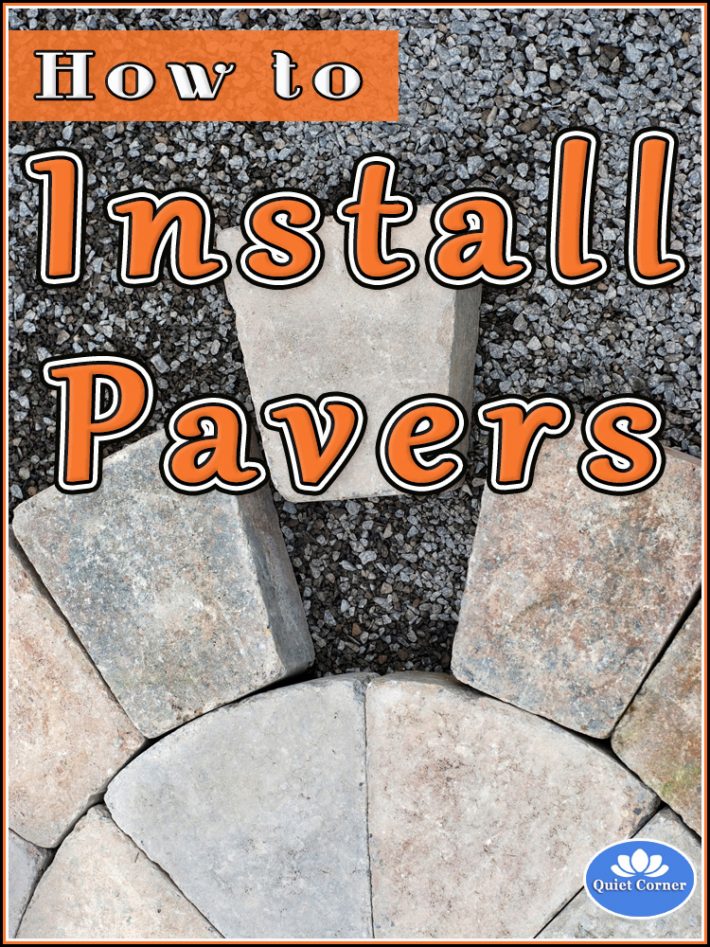
How to Install Pavers
This process demonstrates how to lay a basic precast paving stone walkway or patio. For large projects, it’s important to consult a soils engineer to evaluate whether your soil is prone to abnormal expansion and contraction due to water holding capacity. The most problematic is clay, and to compensate for its plasticity, you may need to lay thicker base material or add a geo-textile layer.
1. Prepare site
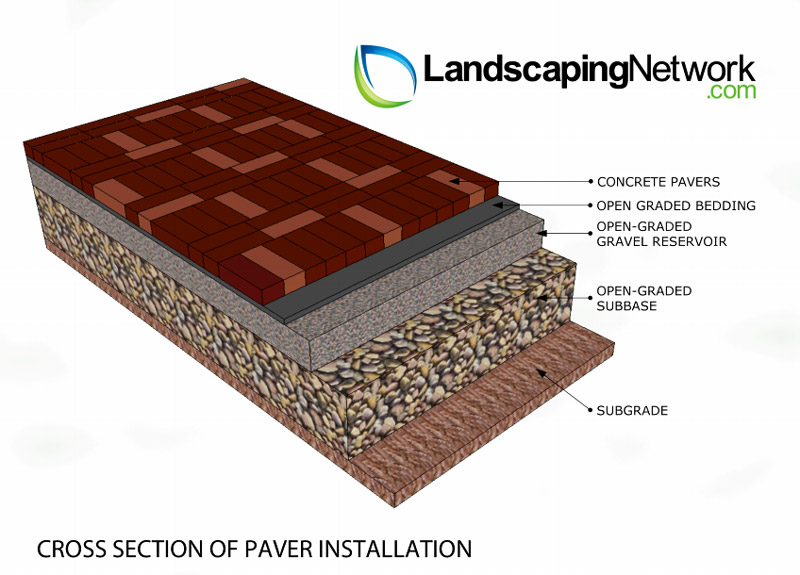
Remove all existing plants, lawn and constructed elements down to the level of undisturbed soil. Excavate down to the depth dictated by the design plan for the project. This is calculated as finish grade less the depth of paver, sand, and gravel layers. Excavation can range from just 6″ for walkways and patios to as much as 18″ for driveways.
2. Compact subgrade
This step ensures that the exposed soil is compacted to at least 95% or higher if the surface is to accommodate vehicular traffic. This is doubly important where the building pad is elevated or composed of cut and fill because there can be loose layers deeper down that can settle later on causing a depression in your paving. Special power equipment is necessary to achieve this compaction rate in heavy soils.
3. Lay geotextile
This is special fabric designed to help prevent deep soil disturbance due to freeze-thaw or over saturation. It is not necessary on all projects, but provides greater insurance against unexpected changes in subgrade.
4. Spread base material
The average residential project for pedestrian use is a 4 to 6 inch deep layer of gravel, but this can vary considerably from one project location to the next. Above this may be a two inch layer of coarse sand or very fine gravel that provides the setting bed for pavers.
5. Edge restraints
These products made of flexible PVC are designed to hold the base material layer in place so it does not erode away and allow the outside pavers to tip. Staked into place, it is an essential product that provides the most cost effective way of keeping a paving stone patio as crisp as the day it was built. Larger heavier restraints will be required for driveways to accommodate the weight of vehicles. Some projects may require more elaborate concrete or edge paver installation.
6. Bedding sand
This layer of concrete sand is spread no thicker than 1.5 inches. It is screeded to create a perfectly level base for the pavers. This step requires attention to detail ensuring the entire paved surface is perfectly leveled. At Colorado’s Arcadia Design Group, the preference is for more expensive polymeric sand, which is valued for preventing ants from tunneling through joints and creating mounds on the surface. It’s also better for resisting weeds. Due to the local availability of finely crushed local granite, this provides a lower cost ant-resistant alternative due to the sharp edges.
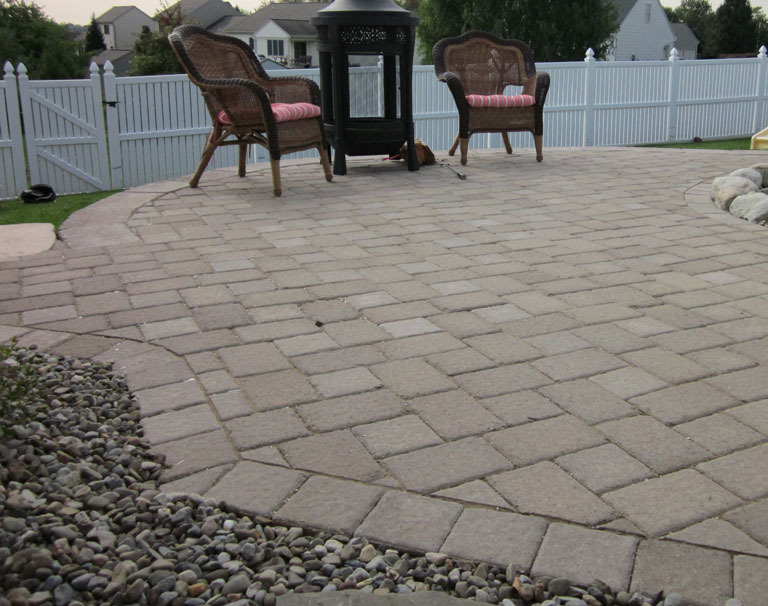
7. Lay pavers
String lines or chalk lines may be required to install the pavers. Spacing may be dictated by spacer bars formed into each paver, otherwise a gap of 1/16″ to 3/16″ is required between each paver. When the pattern results in irregular gaps at the final edges of a vehicular surface, it is a rule of thumb not to cut pavers to sizes any smaller than one third of a whole paver.
8. Sand and sweep
Use dry joint sand to spread over the finished paving and sweep it into the gaps between pavers, then compact the entire surface to work it in deeper and add more sand until joints are adequately filled For large projects, a mechanical device may be used to speed the process and provide additional compaction, particularly for vehicular surfaces.
9. Seal pavers
A penetrating acrylic sealer with a mat surface is recommended to keep paver color from fading and to prevent stains. It will require reapplication in the future to maintain the beauty of the paving, particularly in areas with snow, hard water or surfaces for vehicles.

Source www.landscapingnetwork.com

How To Clean A Coffee Pot
9 years ago
Wood Joinery – Sliding Dovetail Joint
9 years ago

DIY – How to Make Outdoor Bench
7 years ago
Leave a Reply