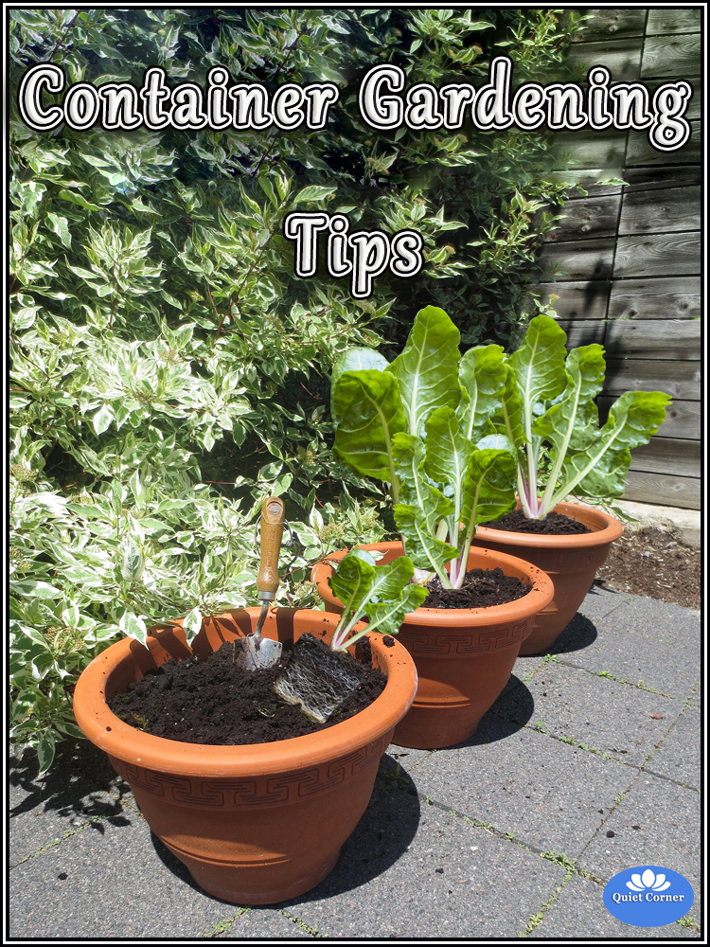
Top 5 Useful Container Gardening Tips
I look forward to spring every year. I start planning my small raised bed vegetable and herb garden about a month before I can actually put anything on the ground. I learned the hard way that I need to be patient lest I lose everything to an unexpected frost.
My yard is not very big so, I have always filled clay pots with brightly colored flowers to place around the outside of my home. Over the past couple of years, I have expanded my container gardening to include fruits, vegetables, and herbs, not just flowers. I have discovered that I can grow almost anything in a container. Here is what I have learned from my container gardening adventures.
1. Assess Your Sunlight
You need to take notes on how much area receives full sunlight and for how long each day. I have underestimated how much sun my containers need by placing them in the wrong areas. Some plants do better in shade than others. So, you need to know how much exposure your containers are going to receive before you start your seeds or buy your plants.
You will need to time the sun exposure in certain areas. Once you know how much direct sunlight your container will get you can refer to a sun calculator to determine which plants will work best. Most seed packets and seedling plants come with instructions that tell you how much sun they need.
2. Choose Your Containers
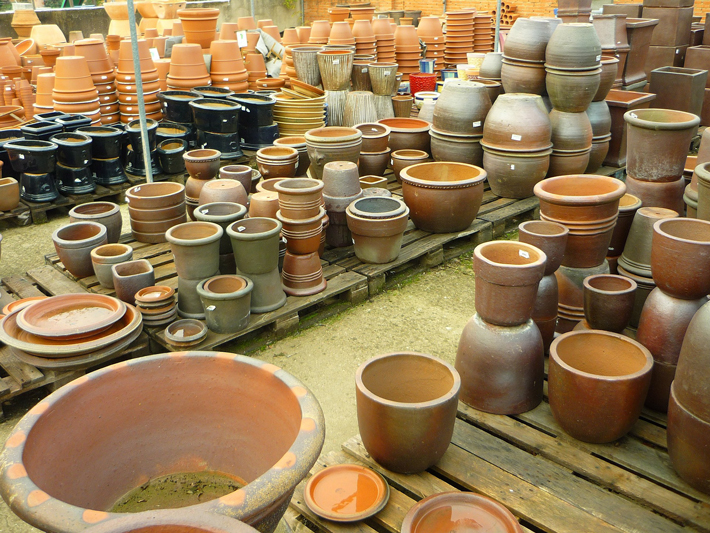
This is a really broad category. You can basically grow plants in anything from 5-gallon plastic construction buckets to sophisticated, custom, raised wood boxes.
I have experimented with different types of containers. What I have discovered is that you really need containers that will drain. Clay pots with holes work great. Same is true for plastic that you can drill holes into the bottom of. The roots need room and can’t be saturated with water all the time unless you are growing a plant like watercress that needs constant moisture.
Here are a few other ideas for containers:
• Wooden wine casks
• Plastic tote bags
• Old wheelbarrows
• Wooden drawers from discarded furniture
• Rain boots
• Bathtub
• Wagon
3. Get Nutrient Dense Soil
If you are fortunate enough to be able to find a rich, earthworm filled soil source that you can dig up, then that is the way to go. I live near salt water, so the soil is a bit sandy and likely high in salinity. I generally have to rely on purchased potting soil for my containers. This is usually not very nutritious for my plants.
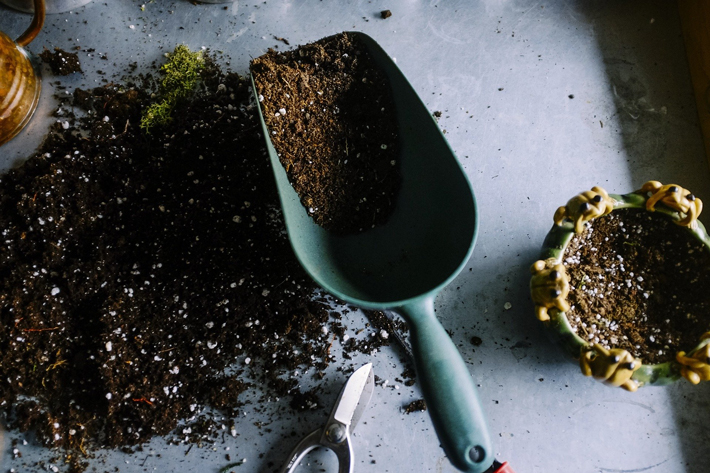
If you have to purchase potting soil, look for organic soil that doesn’t have any chemical fertilizers or additives in it. You can mix in an all natural plant food of either your own composted vegetable matter, seaweed, free range animal manure, or even fish emulsion, depending on what you are growing.
For fruits and vegetables, you will want nutrients that aren’t going to impart an unpleasant taste into the produce.
4. Give Your Seedlings Time to Adjust
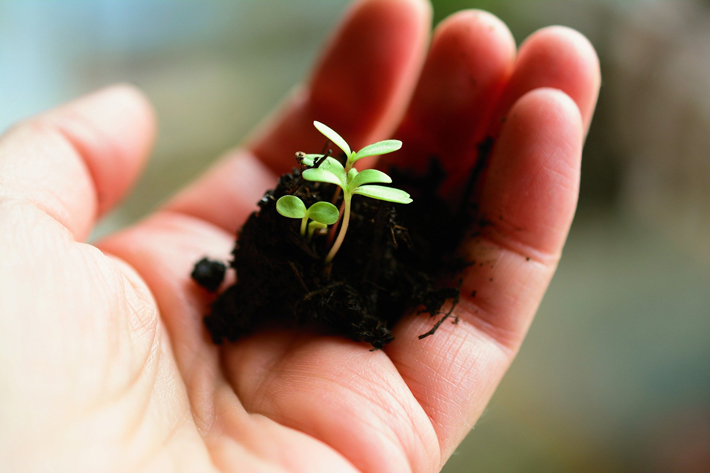
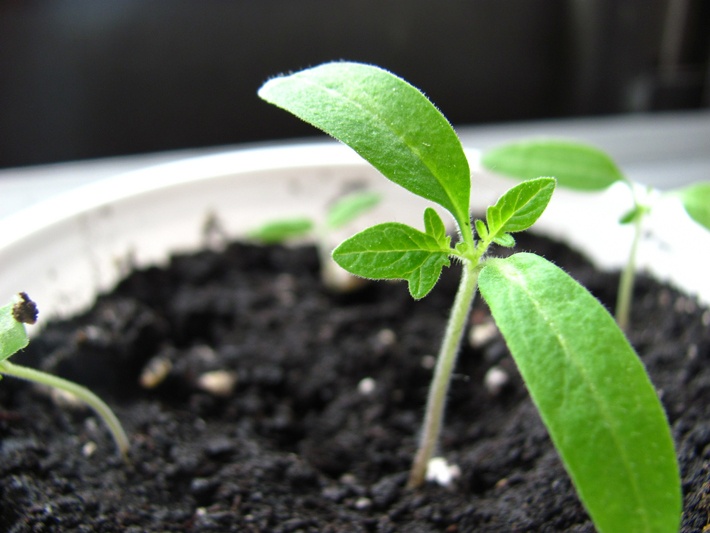
Seedlings are almost always started inside your home or in a greenhouse where it is nice and warm. Before you plant your seedlings in the containers, let them acclimate to the extremes of the outdoors gently. Place seedlings outside for an hour or two each day for direct sun and wind exposure. They also need to adjust to insects.
If you have been watering your seedlings with tap or filtered water, start adding some fresh rainwater to their hydration regimen. Eventually, allow them to stay outside overnight. Over time they will adapt to the conditions and will survive better once you plant them.
If your containers are inside, this might not be an issue.
5. Care for Your Plants
Any container garden needs care, just like ground gardens. Pay attention to how much water your plants are receiving. If rainwater is adequate, don’t be tempted to hydrate more. Remember, the containers will not drain as quickly as the ground.
Be mindful of the amount of sunlight your containers are receiving. They may need to be moved if it is too much or too little, especially as the seasons change and days grow longer. That is the nice thing about containers – you can relocate them.
Flowering plants need to be deadheaded from time to time. Herbs need to be pruned so that they don’t bolt and go to seed too quickly. Fruits and vegetables need to be harvested to make room for new growth. Weeds need to be kept in check so that they don’t choke the roots.
Sometimes insects are troublesome. Here are some natural pesticide recipes for flowering or green plants. For edible plants, your best pesticides are beneficial insects and removal by hand of the unwanted invaders. I recall one summer where I daily removed cabbageworm from the leaves of my collard greens by hand. If I missed a day the leaves would resemble Swiss cheese by evening.
Try it!
If you have limited space or are physically unable to work on the ground, container gardening may be your best bet for putting your green thumb to use this growing season. There are so many creative options for containers. And, you really can grow just about anything in a container, depending on the size.
Container gardens are attractive and relatively easy to maintain. Though, they do differ slightly from ground gardens. There is a bit of a learning curve. You will get the hang of it with a little trial and error. Try following some of the tips suggested here and you should end up with a bounty of greenery, flowers, herbs, fruits, and vegetables.

My containers are actually 5 gallon buckets, after moving from Montana where I had great success,back home to Arizona, I can’t get it right.
I too have to use potting so so my question is how much soil per bucket do you think is adequate.