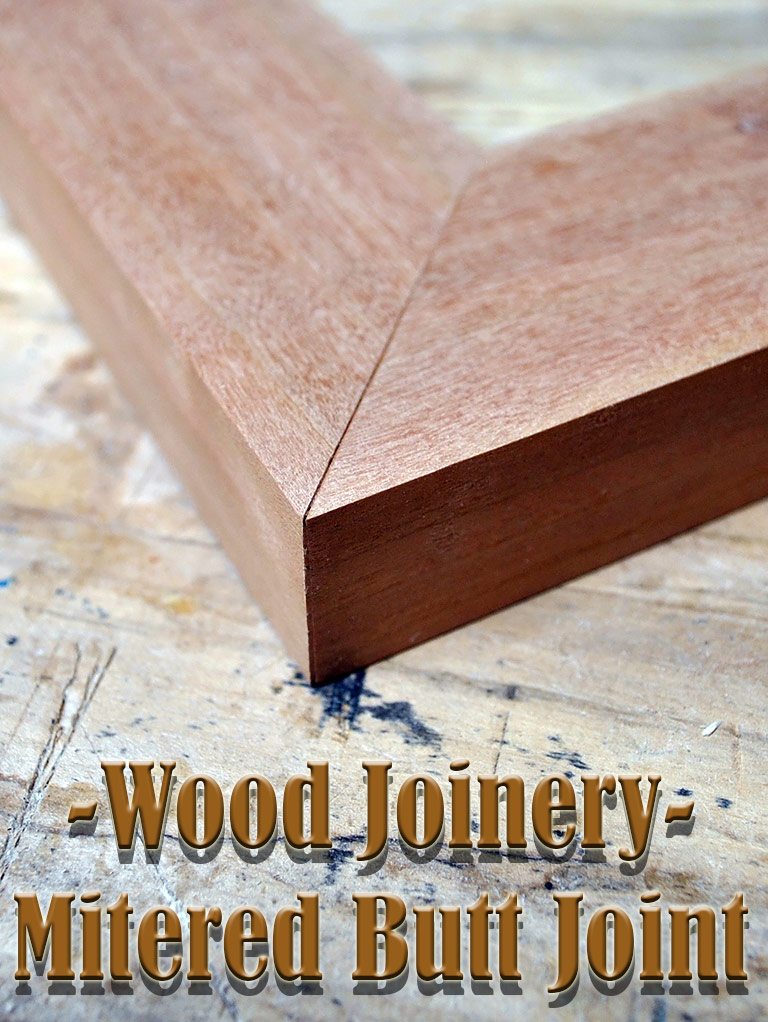
The butt joint is the most basic woodworking joint, where two pieces of wood are butted together (most often at a right angle to one another). The butt joint isn’t the most prettiest of joints, since the end grain of one of the two boards will be visible.
When you want a more attractive option, try a mitered butt joint. It won’t be any stronger than a standard butt joint, but it is certainly more pleasing to the eye, since you won’t see the end grain.
Angles Must be Precise
As in a basic butt joint, the most important aspect of creating a mitered butt joint is to cut the angles precisely. For making these angled cuts, the best tool to use is a compound miter saw.
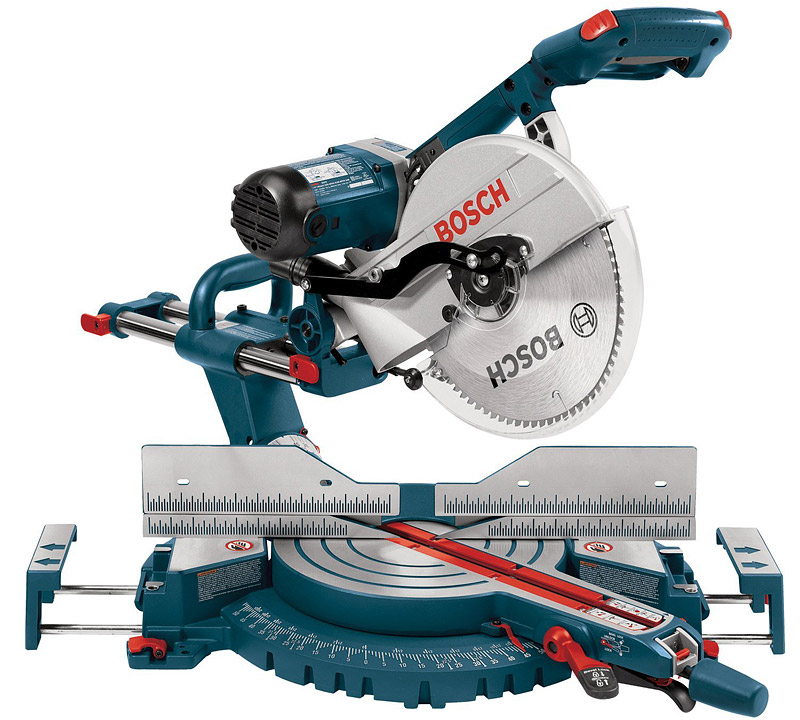
The first step to cutting a mitered butt joint is to determine the final angle of the joint and divide that number by two. For a square connection (90-degrees), you’ll need to make a 45-degree angle cut on each of the two boards to be joined. If the two pieces of stock are exactly the same width, the two cut ends should match up perfectly.
You can also use mitered butt joints when creating other joints of other angles. For example, if you were making an octagonally-shaped picture frame, each of the eight angles would be 45-degrees (rather than 90-degrees in the previous example). As such, you would cut 22 1/2-degree angles on each end to create the butt joints. If the final angle of the joint is to be 60-degrees, you’ll want to make a 30-degree miter on the end of each of the two boards which, when connected, will produce a finished angle of 60-degrees between the two boards.
Glue Holds the Joint
As in a basic butt joint, wood glue will provide most of the strength for holding the joint. However, because both sides of the glue joint will be on porous end grain, you will likely need to use more woodworking glue than when gluing on side grain.
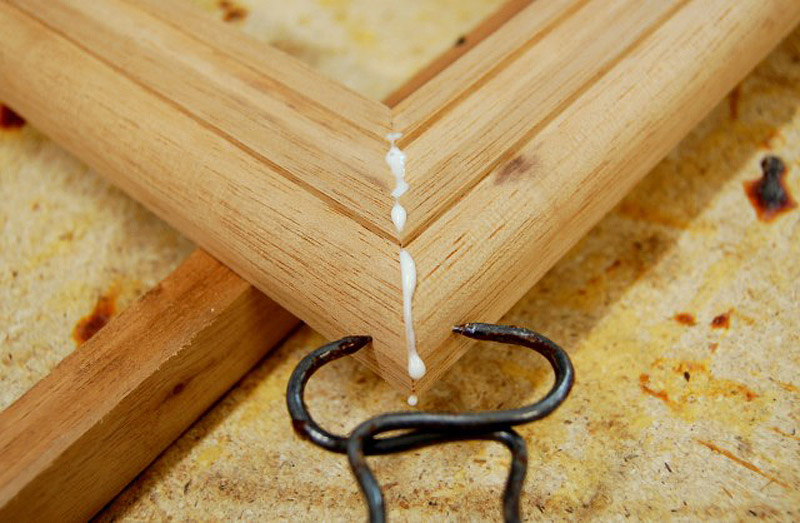
TIP: Be sure to dry-fit your pieces before applying glue to ensure a proper fit. For instance, if you’re making a picture frame, cut all lengths and angles and place the pieces into place on a work table, then cross-check the frame for squareness and make sure that the joints have no gaps before applying glue.
Use Mechanical Fasteners for Strength
As with a basic butt joint, there isn’t a lot of strength when using glue to hold a mitered butt joint. As such, you may wish to strengthen the joint by using finish nails, brads or screws to give lateral strength to the joint.
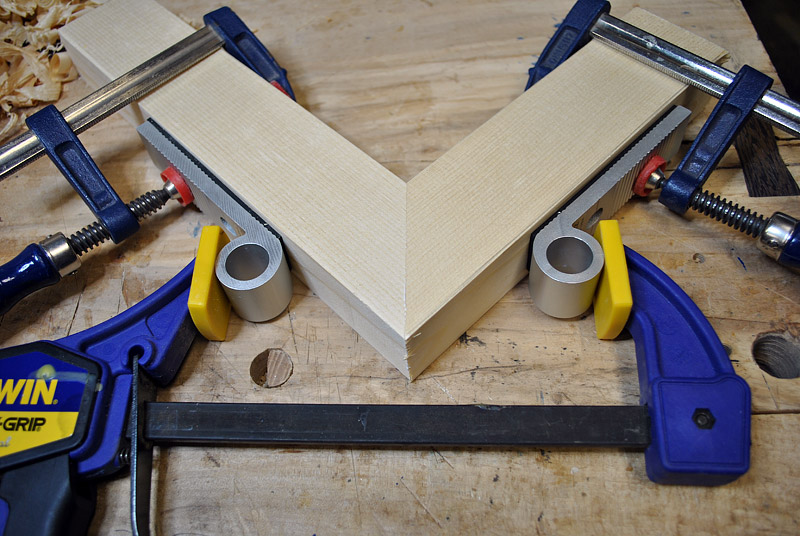
To use a finish nail or brad to secure the joint, apply glue to the joint and secure it with a woodworking clamp. Then, using a pneumatic finish nailer or brad nailer, drive a fastener through the face of one board into the end of the adjoining board in the joint.
Follow up by driving a second nail into the joint through the face of the opposite board and into the end grain of the board that you first face-nailed. If using hardwood on the joint, remember to pre-drill before installing screws to avoid splitting.



Leave a Reply