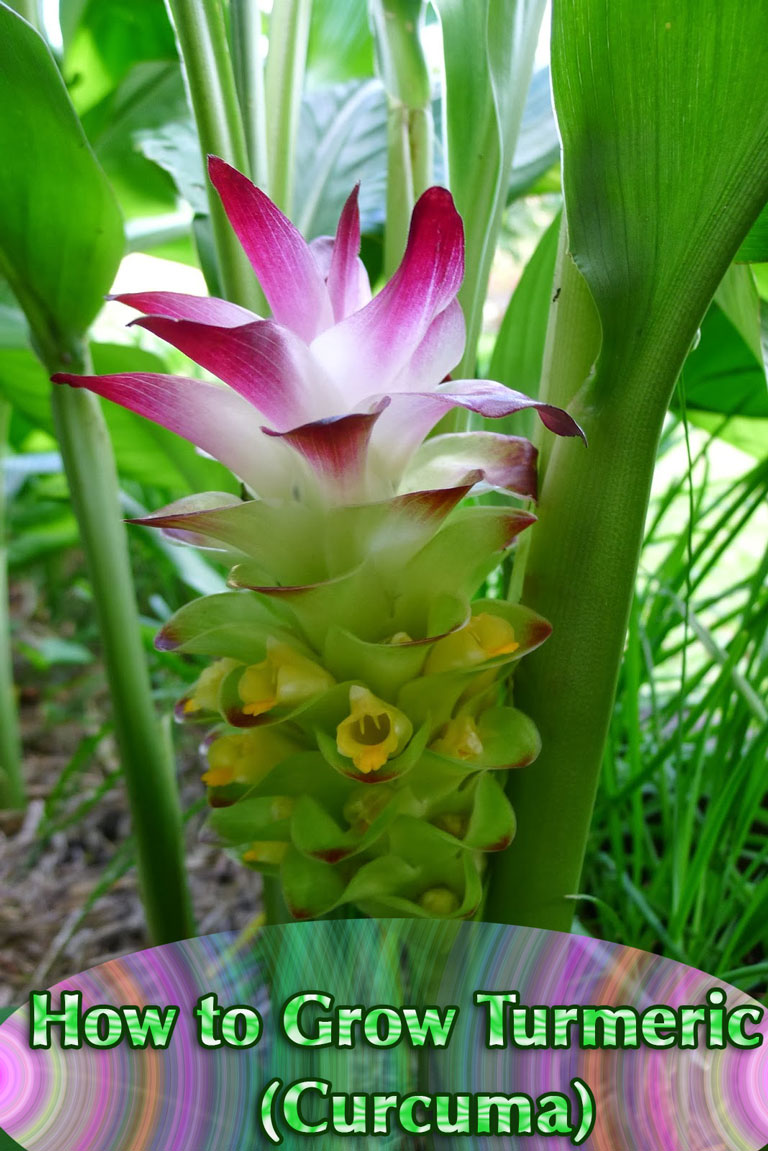
Learn How to Grow Turmeric (Curcuma)
Days to germination: Started by root cuttings, not seeds
Days to harvest: 250 days or more (8 to 10 months)
Light requirements: Full sun, or slight shade
Water requirements: Regular watering
Soil: Well-drained soil
Container: Necessary for most climates
Introduction
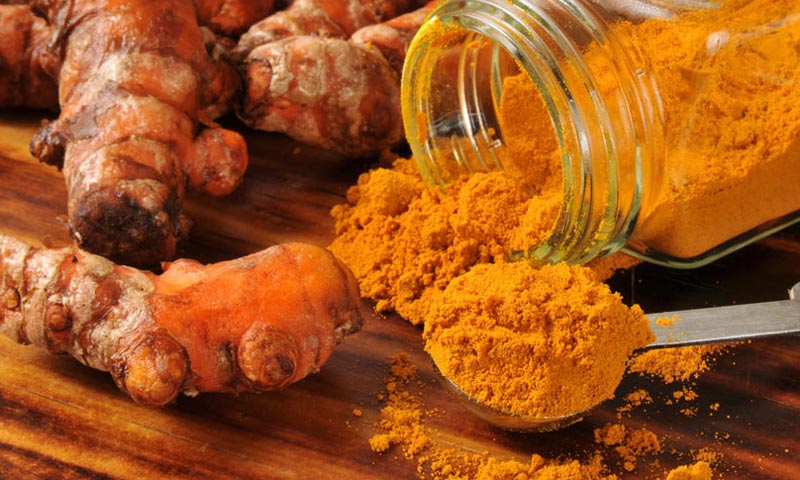
Turmeric is likely best known as a pungent and bright yellow spice in Indian cuisine. It’s a tropical plant, and can only be grown outdoors if you live in zones 9 or warmer. Your plants won’t be able to tolerate any climate colder than 65F.
Turmeric is different from most herbs in that you are not going to be harvesting the leaves, but the roots instead. The plant grows an underground tuber, or rhizome much like ginger does. It can take up to 10 months for a new crop of roots to develop, and it’s not a plant that you can harvest in small pieces through the season.
It’s closely related to ginger, and has a similar strong taste that is a little hard to describe. Turmeric is the main ingredient in most Indian curry powders. It sometimes goes by the name of Indian saffron but is not related to saffron at all.
Aside from its power as a seasoning, there is growing evidence of the health benefits from this herb. It’s high in anti-oxidants and may have anti-inflammatory or even anti-caner properties.
Starting from Seed
You won’t be planting seeds to start your turmeric plants, but using roots instead. It’s not just a matter of convenience, the plant doesn’t produce seeds for propagation.
If you have a market nearby where you can buy fresh turmeric roots, you may be able to use those to sprout a plant. Otherwise, you will have to find a local nursery or online store that carries them. Turmeric isn’t the most common of household plants so it may take some looking. If you have access to a supermarket that carries it, purchase 2 or 3 because they probably won’t all sprout.
Once you have a fresh rhizome or root, all you need to do is plant it. A large root will have several branches or fingers to it. You can cut these apart and start more than one plant if you wish. The easiest way to get it to sprout is to just bury the root under 2 inches of loose potting soil. If there are any knobs or buds on the root, turn it so they are facing upwards.
Keep it damp but not sopping wet or the root may rot. In a month or so, you should see sprouts come up.
If you are going to grow turmeric outside, you can transplant it out in the late fall. For indoor plants, you can do this anytime.
Transplanting
Though you could always just plant your pieces of root directly outside, it’s usually safer to keep them indoors until they have started to sprout.
If you are growing more than one, plant each seedling about 12 to 16 inches apart. A sunny location is best but a little bit of afternoon shade shouldn’t hurt either.
Growing Instructions
Once your plants are established and growing well, they will need very little care from you. During winter months, turmeric needs less water but once the growing season starts you will want to water fairly frequently to keep the soil moist.
Bi-monthly or even weekly feedings with a liquid fertilizer is ideal.
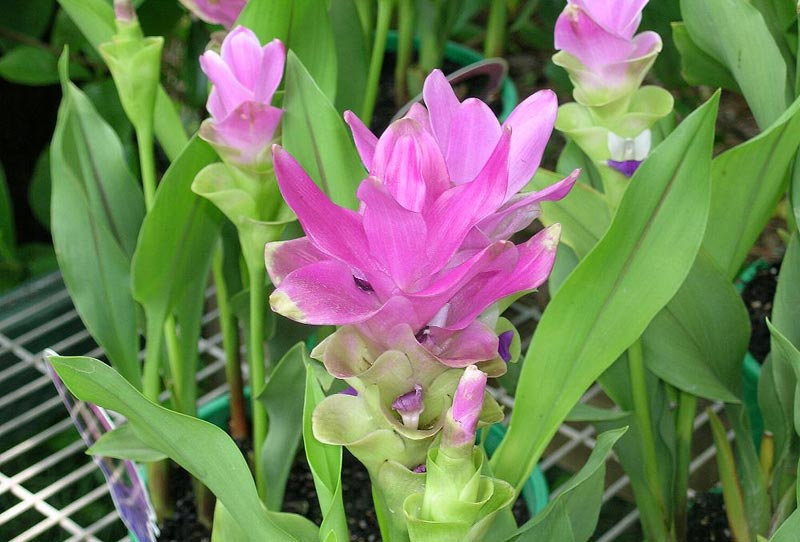
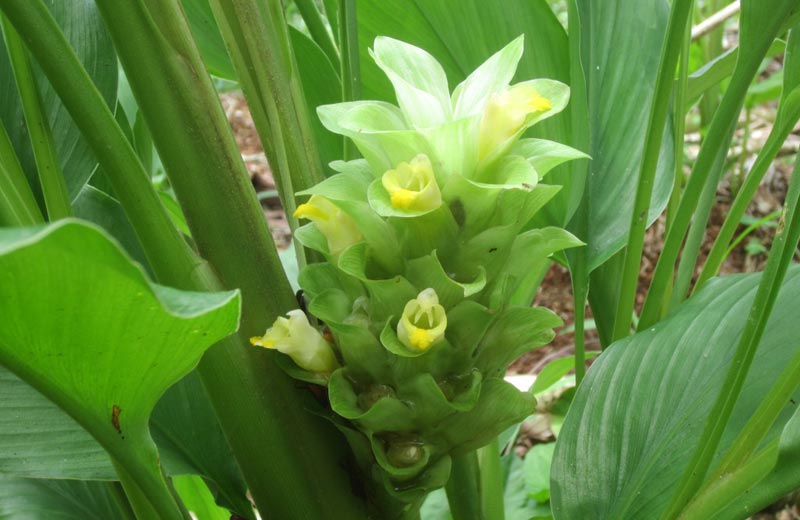
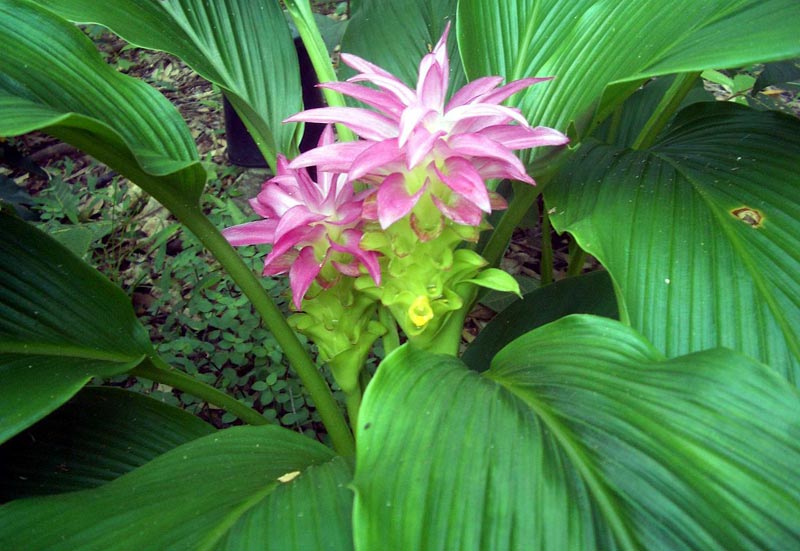
If you see your plant going to flower, there is nothing to worry about. It won’t have any effect on your later root harvest, and the flowers don’t actually produce any seeds.
Containers
The majority of people who are going to grow turmeric will have to do so indoors, and it does grow fine in pots.
It will likely grow too large for a windowsill but can thrive in a sunny room. Choose a container that is at least 12 inches across and the same in depth to give your plants room to grow.
Water potted turmeric regularly to keep the soil damp, and weekly feedings with mild or diluted fertilizer are very beneficial.
Pests and Diseases
Turmeric is a plant that is seldom bothered by insects or disease. Your plant may develop leaf blotch or leaf spot, which is a fungus infection that will start out as brown patches on the leaves. The leaves will eventually turn yellow and drop off. Bordeaux fungicide can help control it if you catch it soon enough.
If you are growing turmeric outside of Asia, there are not many insects interested in the plant. Aphids and mites sometimes cluster on the leaves, but they can easily be washed off with a spritz of water or a spray of insecticidal soap.
Harvest and Storage
As mentioned, you don’t usually harvest turmeric through the season like you do with leafy herbs. You will have to take care of your plant for 8 to 10 months before harvest time. Eventually, the plant will start to turn yellow and the leaves will start to dry out. That’s when your turmeric is ready to dig up.
Just dig up the plant and cut the rhizomes away from the stems. Wash off the dirt and it’s ready to use. For more turmeric, take one or two pieces of root and start another plant. If you are careful, it is possible to harvest a few root pieces without having to dig up the entire plant.
To use, you will have to peel the root first. Wear gloves, or you will have yellow-stained fingers for quite a few days.
For storage, just keep the unpeeled roots in an air-tight container. Keep it in a cool dark place and your roots should still be in great shape for up to 6 months. It’s not practical for home growers to try drying turmeric in order to make a ground powder. The roots are just used sliced or minced instead.
If you are used to cooking with dry and ground turmeric from the store, take care when using fresh. It’s much stronger in taste and you will only need a small amount to really add its peppery zest to a meal.



Leave a Reply